Introduction
In our previous lesson, you mastered the essential first steps for troubleshooting a computer that won't power on. You learned how to methodically check the external power cables, the wall outlet, and even swap components to rule out the most common culprits. But what happens when you've confirmed the outlet is live and the power cord is good, yet the computer remains completely lifeless?
This lesson picks up right where we left off. We will move from the outside world into the machine itself to investigate the next link in the power chain: the Power Supply Unit (PSU). You will learn how to isolate a power issue to the PSU, which is the component responsible for converting electricity from the wall into usable power for all other parts of the computer. By the end of this lesson, you will be able to perform a definitive test to determine if a PSU is faulty, a crucial skill for any technical support analyst.
The Process of Elimination
Troubleshooting is a process of elimination. Having confirmed in the last lesson that the power source and external cable are working, we can now confidently turn our attention to the internal components. When a computer shows absolutely no signs of life—no lights, no fans, no sounds—the PSU becomes the primary suspect.
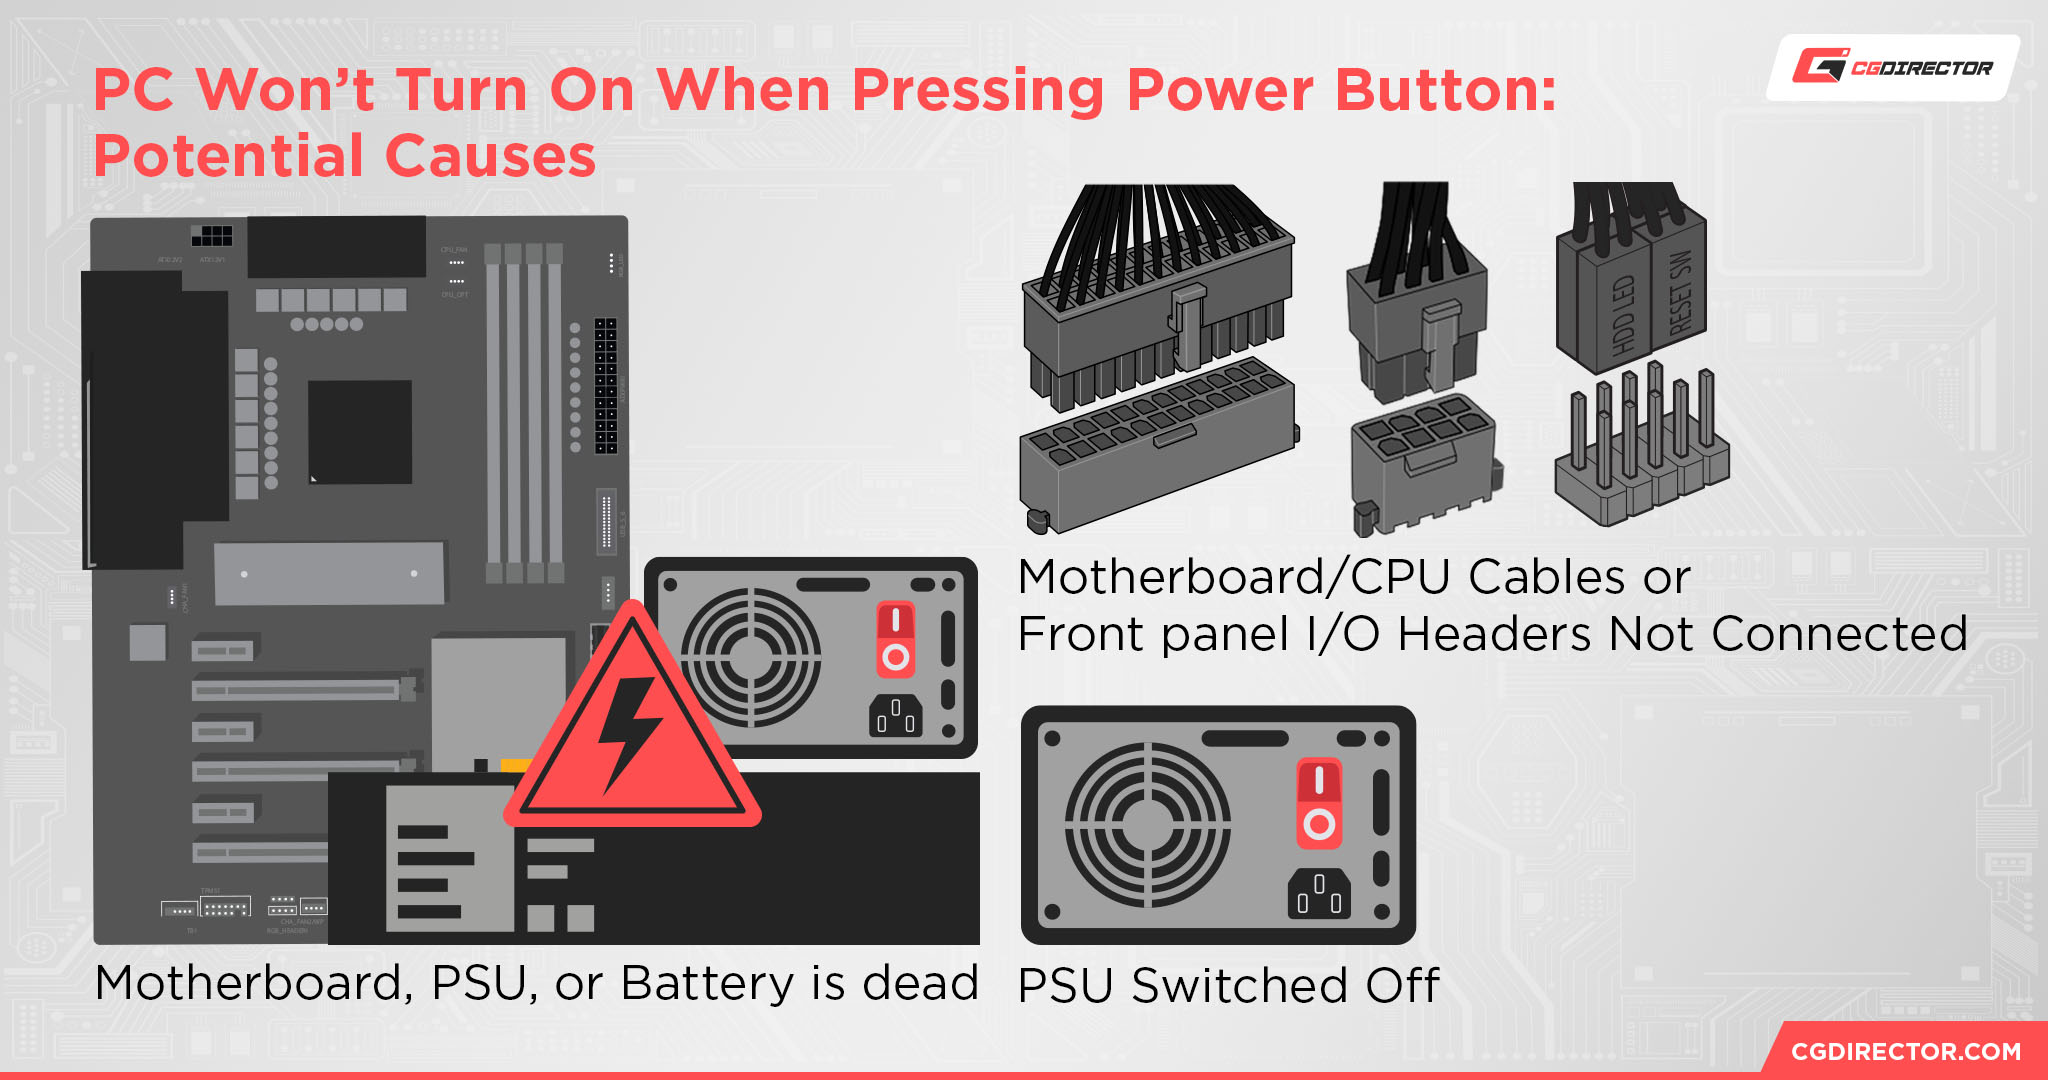
The PSU takes the high-voltage alternating current (AC) from your wall outlet and converts it into the various low-voltage direct current (DC) streams that your motherboard, CPU, and other components need to operate. If the PSU fails, the entire system is starved of power.
However, before we condemn the PSU, there are a few simple internal checks that can save you from replacing a perfectly good part.
First, a Word on Safety
From this point forward, our troubleshooting steps will involve opening the computer case. It is absolutely essential to prioritize safety.
Computer Won't Turn On? Smart Fixes and Step-by-Step Guide for Any PC Power Issue
This article from TechTimes provides critical safety guidelines for working inside a computer.
Please read the section titled Safety First. The two key takeaways are to always unplug the computer before touching anything inside and to be mindful of static electricity.
To summarize the key safety rules:
- Disconnect Power: Always unplug the main power cord from the back of the computer before opening the case.
- Prevent Static: Before touching any internal components, ground yourself by touching a large metal part of the computer's chassis. This discharges any static electricity from your body that could damage sensitive electronics.
Pre-Mortem: Checking Internal Connections
Sometimes, a power issue isn't caused by a failed component but by a connection that has simply worked its way loose. Before testing the PSU itself, we must check the main power connections inside the PC.
The following video demonstrates how to check the most important power-related internal cables.
"My Computer Will Not Turn On" - Troubleshooting PC Power Supply | Computers and Coffee
This video from iBUYPOWER provides a clear visual guide to the essential internal power connectors.
First, watch the section on checking the 24-pin cable. This is the main power connector from the PSU to the motherboard. Ensure it is fully and securely clipped into place. Next, watch the segment on the power button header. This small cable connects your case's power button to the motherboard. If it's loose or disconnected, pressing the power button will do nothing, mimicking a dead PSU. Make sure it's firmly seated on the correct pins.
If you've confirmed these internal connections are secure and the computer still won't turn on, it's time to perform a direct test on the PSU.
Isolating the PSU: The Paperclip Test
The "paperclip test" is a classic diagnostic technique used to determine if a PSU is functional without it being connected to the rest of the computer. It works by manually tricking the PSU into turning on. The motherboard normally does this by sending a low-voltage signal through one of the pins on the 24-pin connector. We will replicate that signal using a simple paperclip.
Warning: While this test is standard practice, follow the instructions precisely. You are dealing with a device that handles electricity.
The TeamViewer article and the Skytech Gaming video both offer excellent step-by-step guides.
How to fix a computer that won't turn on | TeamViewer
This article provides a textual explanation of the PSU testing process.
Read the section Step 5: Test the PSU. Focus on the description of the "paperclip test." Note the warning and the description of which wires to connect.
Now, let's see it in action. This video gives a very clear demonstration.
How to fix your PC if there's No Power
This video from Skytech Gaming walks through the entire paperclip test procedure.
Watch the segment from checking the power supply. Pay close attention to each step: Unplugging the PC and disconnecting the 24-pin connector from the motherboard. Identifying the correct pins to bridge with the paperclip (pin 4 and pin 5 in their example, which correspond to the green PS_ON wire and a black ground wire). Plugging the PSU back in (with the paperclip in place) and flipping the switch to see if the PSU fan and any connected case fans/lights turn on.
Interpreting the Results
The outcome of the paperclip test gives you a clear answer:
- If the PSU fan starts spinning (and any connected lights turn on), the PSU is likely functional. It is receiving power and is capable of turning on. The problem lies elsewhere—most likely a faulty motherboard, a bad power button on the case, or a short circuit in another component.
- If you hear or see absolutely nothing, and you are certain you have bridged the correct pins, you have successfully isolated the problem. The PSU is dead and needs to be replaced.
By reaching this conclusion, you have methodically and safely diagnosed a "no power" issue down to a specific faulty component.
Conclusion
In this lesson, you've bridged the gap between external and internal troubleshooting. You've learned that when a computer appears dead despite a good power source and cable, the Power Supply Unit is the next logical suspect.
Here are your key takeaways:
- Safety is paramount: Always unplug a computer and ground yourself before working inside the case.
- Check internal connections first: A loose 24-pin motherboard cable or power button header can mimic a dead PSU.
- The Paperclip Test isolates the PSU: By manually bridging the power-on and ground pins, you can test the PSU independently of the rest of the system.
- The result is definitive: If the PSU fails the paperclip test, you can confidently declare it faulty. If it passes, the problem lies further down the line (e.g., the motherboard).
You have now completed the core hardware troubleshooting for power-on failures. You can confidently diagnose a computer from the wall outlet all the way to the PSU.
In our next module, we will shift our focus from hardware to software. Now that you can ensure a computer has power, we'll begin to explore the Windows operating system—the digital environment where users spend all their time and where many support requests originate.