Introduction
Welcome to your first hands-on troubleshooting lesson! In our previous session, we familiarized ourselves with the various external devices and ports on a computer. Now, we'll apply that knowledge to tackle one of the most common and fundamental problems a user can face: a computer that shows no signs of life.
This lesson focuses on the first, crucial steps of diagnosing a "no power" issue. You will learn how to systematically verify the external power sources and cables. This methodical approach of checking the simplest things first is a core principle of IT support. By the end of this lesson, you will be able to confidently rule out the most frequent causes of a computer failing to turn on, a skill you will use daily as a technical support analyst.
Is It Really a "No Power" Problem?
When a user reports that their "computer won't turn on," your first job is to clarify what they are seeing. A support analyst needs to distinguish between a true "no power" issue and other problems that might seem similar to a user. A computer that is receiving power but failing to start up properly points to a very different set of causes.
The Dell support article, "Computer Won't Turn On," provides an excellent breakdown of these different states.
Computer Won't Turn On: Troubleshoot Power Issues | Dell Micronesia, Federated States Of
This article from Dell helps differentiate between various startup problems. It's critical to understand these distinctions to avoid chasing the wrong solution.
Read the sections Understanding Common Power Issues and Before you begin. Pay close attention to the descriptions of "No Power," "No POST," "No Boot," and "No Video." For this lesson, we are focusing exclusively on the "No Power" scenario: no lights, no fans, no sounds.
As you can see, a true "no power" situation means there is a complete absence of activity. If the computer's fans spin or its lights turn on, even for a moment, the problem lies elsewhere. Today, we assume the worst-case scenario: you press the power button, and absolutely nothing happens.
The Troubleshooting Method: Start at the Source
The golden rule of troubleshooting is to start with the simplest and most likely causes. When there's no power, we begin outside the computer case and work our way in. This means checking the path electricity takes from the wall to the computer.
This infographic provides a great overview of the troubleshooting process. In this lesson, we'll focus on the first two steps.
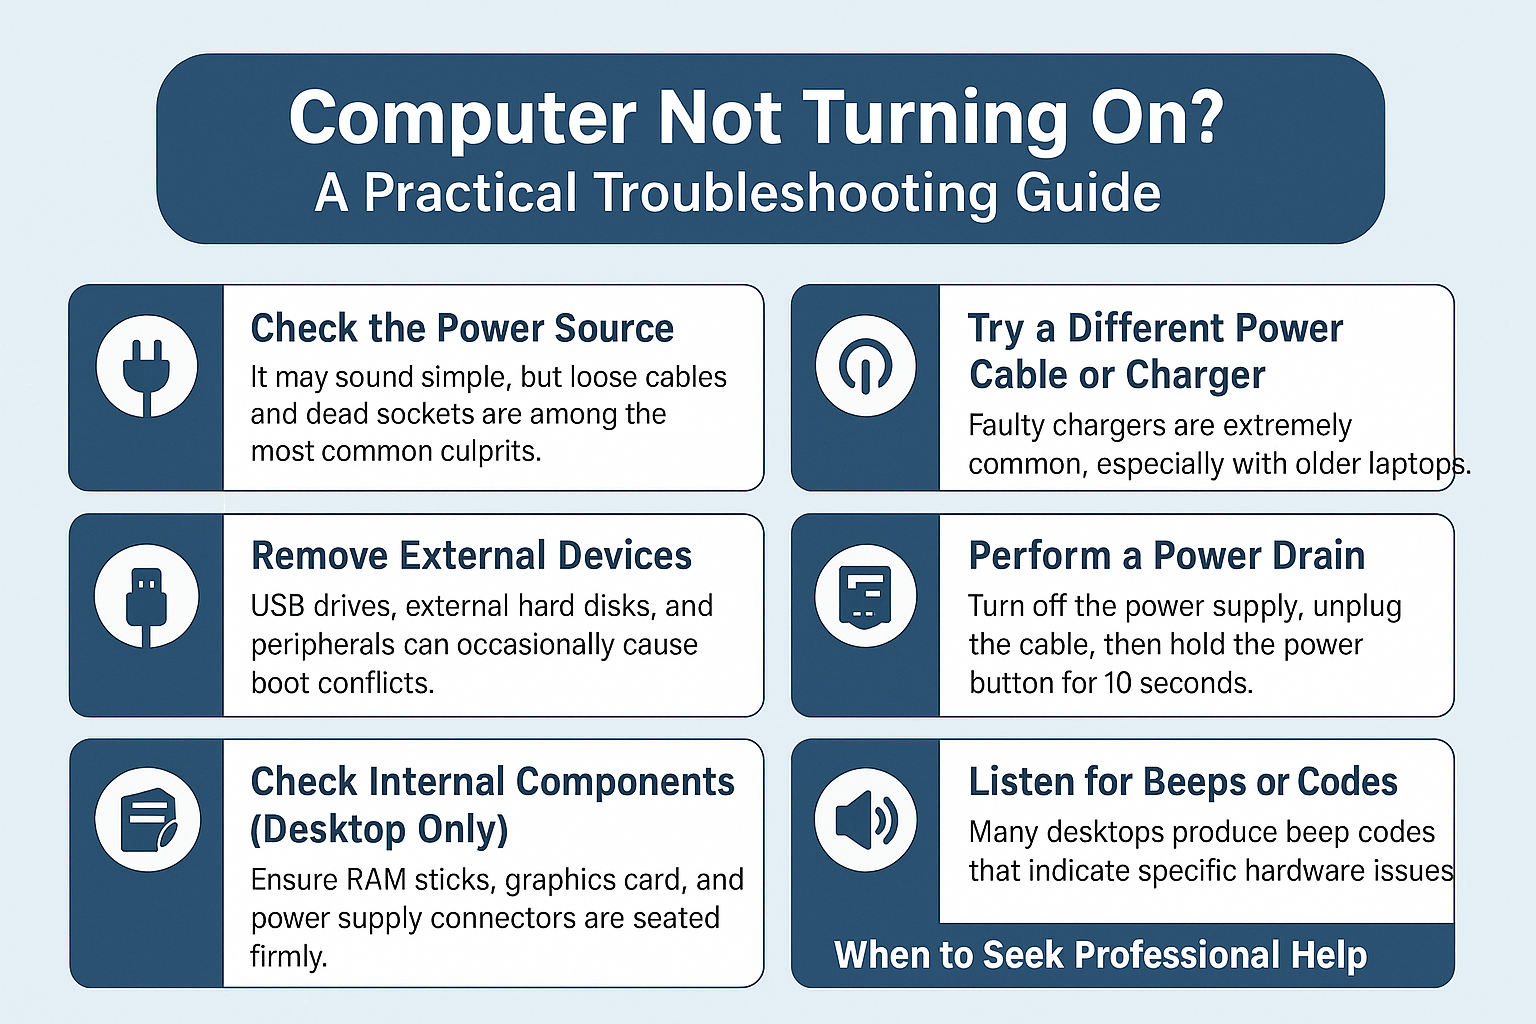
Step 1: Verify the Physical Connections
It might sound obvious, but loose cables are an extremely common cause of power issues. A cable can be knocked loose by a vacuum cleaner, a pet, or simply by someone's foot. Never skip this check.
The following video from iBUYPOWER quickly demonstrates these initial, essential checks.
"My Computer Will Not Turn On" - Troubleshooting PC Power Supply | Computers and Coffee
This short clip from the "Computers and Coffee" series shows the most basic power checks.
Watch the segment from checking the cord. Notice the three key actions: ensuring the cable is secure in the PC, checking the switch on the power supply itself, and verifying the power strip.
Let's break down those actions:
- Check the Cable at the PC: Make sure the power cable is firmly plugged into the back of the computer's power supply unit (PSU).

-
Check the PSU Switch: Most desktop power supplies have a small rocker switch next to the power socket. It's surprisingly easy to bump this into the "Off" position (usually marked with an 'O'). Ensure it is switched to the "On" position (usually marked with a line, 'I').
-
Check the Cable at the Wall/Power Strip: Verify the other end of the cable is securely plugged into the wall outlet or a power strip.
Step 2: Verify the Power Source
If all the cables are securely connected and there's still no power, the next step is to question the source of the electricity. Is the wall outlet or power strip actually working?
How to fix a computer that won't turn on | TeamViewer
This article from TeamViewer provides a clear, step-by-step guide. We'll focus on the section for verifying the power source.
Please read "Step 1: Verify your power source and cables." This section details the procedure for checking the outlet and power strip. Also, read the final paragraph about laptops, as the principle is the same.
To summarize the process for both desktops and laptops:
- Test the Outlet: The easiest way to confirm a wall outlet is working is to plug in another device that you know works, like a lamp or a phone charger. If it doesn't get power, the problem is with the outlet or the building's circuit breaker.
- Test the Power Strip: If the computer is plugged into a power strip or surge protector, check that the strip's own power switch is on (they often have a light to indicate this). To be certain, bypass the strip entirely and plug the computer directly into the wall outlet you just tested.
Step 3: Verify the Power Cable
You've confirmed the connections are tight and the power outlet is live. If the computer still won't turn on, there's one last external component to check: the power cable itself. Cables can fail internally, even if they look fine on the outside.
The best way to test a cable is to swap it with a known-good one. A common and convenient trick is to use the power cable from the monitor, as they are often identical. The following video explains this simple but effective test.
Troubleshooting Power Supply Issues - CompTIA A+ 220-1101 – 3.5
This video from ITFreeTraining demonstrates practical troubleshooting steps for power supply issues.
Watch the segment from testing the cable. The instructor shows how to use the monitor's power cable to test both the outlet and the computer's power cable in one go.
By unplugging the computer's power cable and using it to power the monitor, you can quickly see if the cable is working. If the monitor turns on, the cable is good. If you then plug the known-good monitor cable into the computer and it still doesn't power on, you have successfully verified that the problem is not with any of the external power components.
Conclusion
In this lesson, you've learned the structured, methodical approach to the first phase of troubleshooting a dead computer. By starting with the simplest external factors, you can quickly solve the most common problems or confidently rule them out before moving on to more complex diagnostics.
Here are the key takeaways from today's lesson:
- Clarify the Symptom: First, confirm you are dealing with a true "No Power" issue (no lights, no sounds, no fans) and not another type of startup failure.
- Check the Obvious: Always begin by verifying that all cables are securely connected and that the power supply switch is in the "On" position.
- Verify the Source: Test the wall outlet and bypass any power strips to ensure the source of electricity is working correctly.
- Test the Cable: Use a known-good cable (like one from a monitor) to rule out a faulty power cord.
You have now mastered the complete process for verifying external power sources. You can follow these steps in order for any desktop or laptop that appears to be dead.
In our next lesson, we will address the question: what's next? Having systematically ruled out all the external factors, we will turn our attention inward to the computer itself. You'll learn how to isolate the problem to the Power Supply Unit (PSU), the internal component responsible for distributing power to the rest of the machine.