Recommended resources
The freely available resources this lesson will direct you to.
Welcome back! In our previous lesson, we focused on the crucial first step of sound design: selecting or creating a wavetable to define the fundamental harmonic character of your lead. We established that a wavetable holds the potential for a rich sound, like a block of marble holds a potential sculpture.
Today, we're going to start chiseling that marble. This lesson focuses on bringing your chosen wavetable to life by creating movement. A static sound, no matter how harmonically rich, can feel flat and lifeless in a dynamic DnB track. By modulating the wavetable position, you can create the evolving, energetic character that makes a lead stand out. By the end of this session, you'll be able to justify when and why you should use wavetable position modulation versus a static position to create intentional movement in your DnB leads.
The Core Concept: From Static to Dynamic
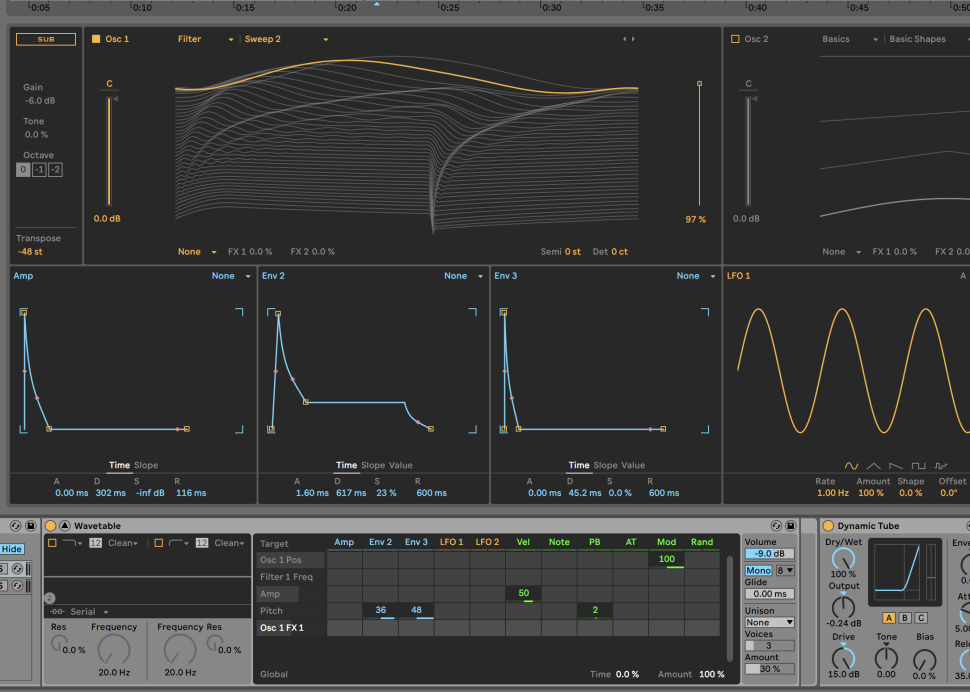
In the last lesson, you learned to sweep the Wavetable Position (WT Pos) knob manually to audition a wavetable's timbral range. Wavetable position modulation is simply the process of automating that knob movement with one of Serum's modulation sources, like an LFO or an envelope.
This is the fundamental difference between wavetable synthesis and classic subtractive synthesis with static oscillators (like a simple saw or square wave). We have the ability to morph the oscillator's core timbre over time.

To understand this concept from both a practical and a technical standpoint, the following video provides an excellent overview.
Wavetable Synthesis: Upgrade Your Sound Design
This video from EDMProd clearly demonstrates the effect of wavetable position modulation and then provides a great "under the hood" explanation of what's happening.
First, watch the section on applying an LFO to the wavetable position. Notice how a sound that was previously static immediately gains a sense of movement and evolution. Next, watch the conceptual breakdown from 2:26 to 4:13. This part explains that modulating the wavetable position is essentially like scrolling through different single-cycle waveforms within a larger audio file. Given your engineering background, you'll likely appreciate this clear, systematic explanation of the underlying process.
Strategic Decision: Static vs. Modulated
Now for the crucial question: when should you keep the wavetable position static, and when should you modulate it? This isn't a matter of right or wrong, but of intentional design choices that serve your sonic goal.
Case 1: The Static Position
Choosing a single, static wavetable position is a deliberate act of selecting one specific timbre from the many available in the wavetable.
- The Justification: You should use a static position when you want a consistent and solid timbral foundation. The goal is for the lead to have a strong, unwavering character. The "movement" in the sound will come from other sources, such as filter modulation, effects, or volume envelopes, rather than from the oscillator's core timbre changing.
- DnB Application:
- Layering: When designing a sound that will be layered with another, more dynamic lead, keeping one layer static provides a solid core that the other can play against.
- Perceived Hardness: A perfectly static timbre can sometimes be perceived as "harder" or more aggressive because it lacks the organic softness of a moving sound.
- Specific Tonal Goal: If you've found the perfect frame in a wavetable (e.g., a frame in a complex digital wavetable that has just the right metallic bite), you might choose to lock it there.
Case 2: The Modulated Position
Modulating the wavetable position is how you create an evolving, dynamic, and "living" lead sound. This is the more common approach for primary leads in modern DnB.
- The Justification: You should modulate the position when your goal is to create internal movement and interest within the note itself. This helps the lead command attention and cut through a dense mix without just being louder.
- DnB Application:
- Dancefloor Leads: A classic technique for a bright, energetic Fred V or Grafix style lead is to use an envelope to sweep the
WT Posfrom a duller frame to a brighter one, creating an exciting transient. - Neurofunk Bass/Leads: Fast, tempo-synced LFOs modulating the
WT Posof a complex wavetable create the signature robotic, pulsating textures of Neurofunk. - Liquid Pads/Leads: A very slow LFO gently sweeping the
WT Posof a harmonically rich wavetable can create the lush, slowly evolving pads and leads common in Liquid DnB.
- Dancefloor Leads: A classic technique for a bright, energetic Fred V or Grafix style lead is to use an envelope to sweep the
Choosing the Right Tool: Envelope vs. LFO
Once you've decided to modulate, the next choice is your tool. The functional difference between an envelope and an LFO is one you're already familiar with—one-shot vs. cyclic—but let's frame it in the context of wavetable modulation.
-
Envelope Modulation (One-Shot Timbral Shaping)
- Effect: Creates a specific timbral contour that happens once every time a note is triggered.
- Why use it? To shape the transient and initial character of the sound. By mapping an envelope with a fast attack and decay to the
WT Pos, you can make the timbre dramatically brighter or more complex for just the first few milliseconds of a note. - Example Workflow:
- Initialize a patch and load a wavetable from the
Digitalfolder (e.g.,GrowlTrip). - Set the
WT Posknob to a relatively low value (e.g., 20). - Assign
Envelope 2to theWT Posknob. - Set
Env 2to have 0 attack, a short decay (~200ms), and 0 sustain. - Adjust the modulation depth. Now, every note will have a sharp, aggressive "zap" at the start as the wavetable position quickly sweeps up and back down. This is a core technique for creating leads that cut.
- Initialize a patch and load a wavetable from the
-
LFO Modulation (Cyclic Timbral Evolution)
- Effect: Creates a continuous, repeating change in timbre.
- Why use it? To give the sound a sense of rhythmic pulse or constant evolution.
- Example Workflow (Neurofunk-style pulse):
- Use the same patch as above. Remove the envelope modulation.
- Assign an LFO to the
WT Posknob. - Set the LFO rate to a rhythmic value, like 1/8 or 1/16.
- Keep the LFO shape as a Triangle or Sine for a smooth sweep, or change it to a Saw or a custom step-sequencer shape for more abrupt, rhythmic changes. The sound now has a built-in rhythmic quality that's independent of the notes being played.
Advanced Technique: Global Unison Wavetable Modulation
Here is a more advanced application that creates an exceptionally rich and organic sound. Instead of modulating the WT Pos knob on the main oscillator panel, you can modulate the wavetable position for all unison voices on the Global tab.
- The Justification: Modulating the main
WT Posknob moves all unison voices through the wavetable together. Modulating theUnison WT Posparameter on the Global tab moves each unison voice through the wavetable with a slight offset. This means that at any given moment, your 7 unison voices are not just detuned in pitch, but also slightly different in timbre. The result is a much wider, more complex, and more "alive" sound.
For a clear explanation of this powerful but often-overlooked feature, read the following short guide.
Hidden Serum Tip: Modulate the Unison Engine
This article from ADSR Sounds explains how to modulate parameters on Serum's Global page. We'll focus on the section discussing wavetable position.
Read "Step 4 – Modulate Wavetable Position (Per Unison Voice)." The key takeaway is understanding the distinction it makes: this modulates the wavetable for each unison voice individually, creating a different type of tonal movement than standard modulation.
This technique is perfect for creating huge-sounding dancefloor supersaw leads or lush, atmospheric pads where you want the maximum possible sense of width and organic movement.
Conclusion
Today, you've learned how to transform a static sound source into a dynamic and evolving lead. We've moved beyond simply selecting a wavetable to strategically animating it to serve a specific musical purpose.
Key Takeaways:
- Wavetable position modulation is the key to creating movement and life in a sound by changing its core timbre over time.
- Using a static position is an intentional choice for a solid, consistent timbral foundation.
- Using a modulated position is essential for creating evolving, attention-grabbing leads.
- Envelopes are your tool for shaping the timbral transient of a sound (the "pluck" or "zap").
- LFOs are your tool for creating cyclic, rhythmic, or continuously evolving textures.
- For maximum richness, modulating the Global Unison Wavetable Position creates a complex, wide sound by offsetting the timbral movement of each unison voice.
In our next lesson, we will explore another powerful method for adding harmonic complexity: Frequency Modulation (FM). You'll learn how to use one oscillator to manipulate the timbre of another, unlocking the metallic, gritty, and aggressive textures that are signatures of Neurofunk and expressive artists like Fox Stevenson.