Recommended resources
The freely available resources this lesson will direct you to.
Welcome back! In our last session, we established the crucial connection between our app and a backend service like Firebase or Supabase. We enabled authentication in the console and used the SDK to build a bridge between our frontend code and the backend's powerful user management features.
Today, we'll walk across that bridge. Our goal is to create a sign-up form to register a new user. This is where your design work on a user interface directly meets the underlying code that brings it to life. We'll dissect the process from the moment a user types their email to the instant their account is created, demystifying the code your LLM assistant would generate for you.
The Anatomy of a Sign-Up Form
From a design perspective, a sign-up form is a collection of input fields and a call-to-action button. In code, it's a bit more dynamic. The component not only needs to display these elements but also has to keep track of what the user is typing in real-time.
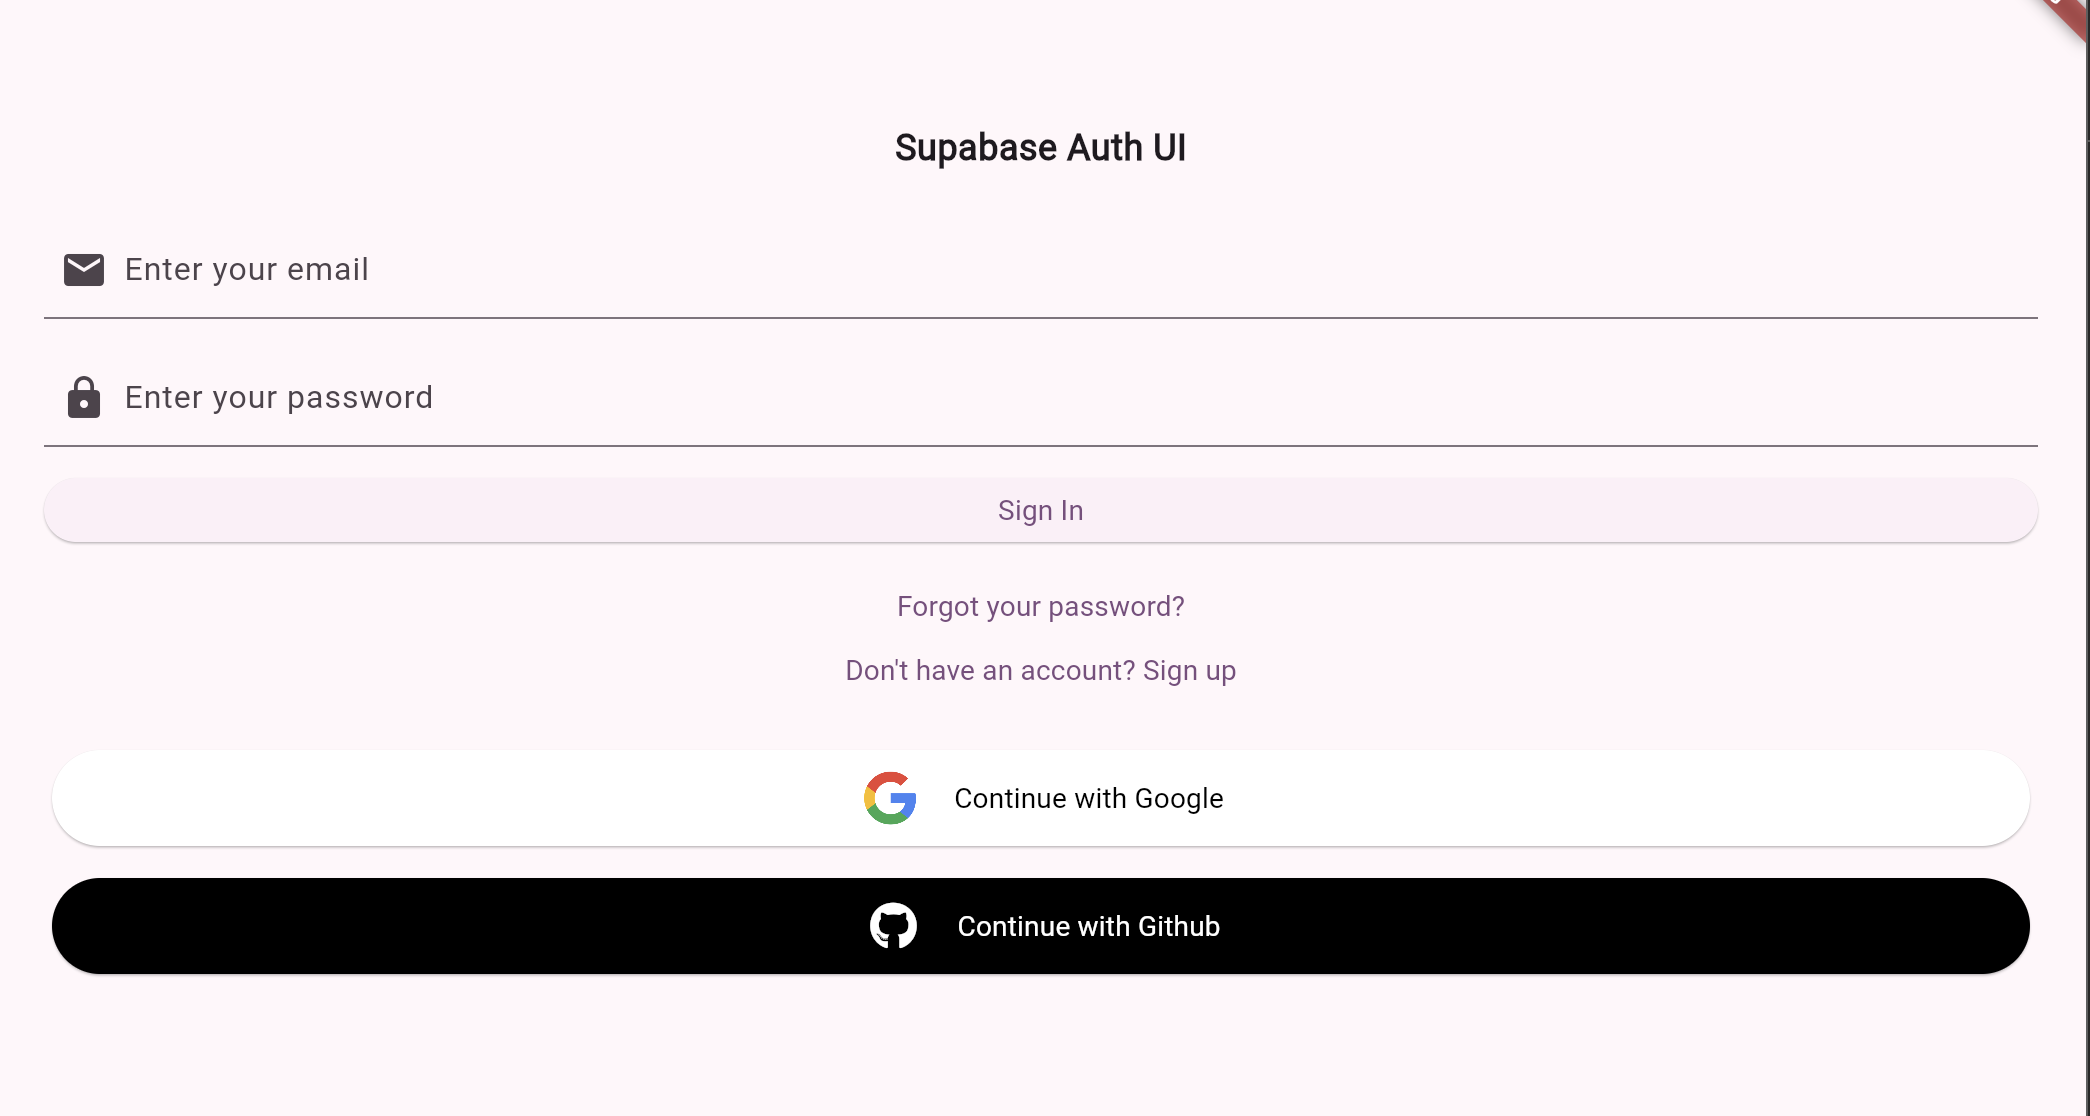
This "keeping track" is managed through something called state. Think of a component's state as its short-term memory. When a user types "hello@example.com" into the email field, the component stores that value in its state so it's ready to use it later when the "Sign Up" button is clicked.
In modern frameworks like React, this is often handled by a feature called useState. Let's examine a practical example to see how the visual form and its state are connected in code.
Building a Modern Next.js App with Supabase Authentication
This article provides an excellent, complete AuthForm component built with Next.js and Shadcn/UI—a library you'll likely encounter. It's a perfect real-world example of how UI and logic come together.
In the file components/auth/auth-form.tsx, focus on the first part of the AuthForm function. Find the lines that begin with const [email, setEmail] = useState(""); and const [password, setPassword] = useState("");. These are the "state variables" that will hold the user's input. Now look for the <TabsContent value="signup"> section. Inside, you'll see the <form>. Find the <Input> components. Notice how their value is set to the state variables (value={email}) and how the onChange property calls a function (onChange={(e) => setEmail(e.target.value)}) to update the state every time the user types a character.
This value and onChange pattern is the fundamental mechanism that creates a two-way connection: the state determines what's shown in the input field, and typing in the input field updates the state.
The Magic Button: Triggering the Sign-Up
When the user has filled in their details and clicks "Sign Up," the form needs to execute the sign-up logic. This is typically done by attaching a function to the form's onSubmit event or the button's onClick event. We often call this function an "event handler."
This handler function is where the magic happens. It performs a few critical tasks in sequence:
- Prevents Default Behavior: It stops the web browser from doing its default action (which is usually to reload the page on a form submission).
- Provides User Feedback: It often sets a "loading" state to true. This allows you to show a spinner or disable the button, signaling to the user that the app is working. This is a crucial UX detail.
- Calls the SDK: It takes the
emailandpasswordfrom the component's state and passes them to the SDK's sign-up function. This is the moment our app communicates with the Supabase/Firebase backend. - Handles the Outcome: The backend service will respond with either success or an error. The code must be prepared for both. If there's an error (e.g., "Password is too weak"), it should show a message to the user. If it's successful, it might show a confirmation message or redirect the user.
- Cleans Up: Regardless of the outcome, it should turn off the loading state.
Let's return to the same resource to see this logic in action.
Building a Modern Next.js App with Supabase Authentication
We'll now look at the handleSignUp function within the AuthForm component you just reviewed.
Find the function defined as the handleSignUp function. Read through its logic and notice the sequence of events: e.preventDefault(); is the first line, preventing the page from reloading. setLoading(true); and setError(null); prepare the UI for the request. await supabase.auth.signUp({...}); is the core of the operation. The await keyword tells the function to pause and wait for Supabase to respond. This is the asynchronous call to the backend. The if (error) block checks the response and updates the UI with an error message if something went wrong. The finally { setLoading(false); } block ensures the loading spinner is hidden, whether the request succeeded or failed.
This structure is a very common pattern you'll see in code generated by LLMs. By understanding this flow, you can better diagnose issues or ask your AI assistant for modifications, like "change the error message style" or "show a success notification instead of a simple text message."
After the Click: Confirmation and Data Storage
Creating a user in the authentication system is just the first step. Two other important things often happen as part of a robust sign-up process.
1. Email Confirmation
Services like Firebase and Supabase can automatically send a verification email to the user. This is a standard security measure to ensure the email address is valid and owned by the user. Enabling this is usually a toggle in the console, but your code and the service's configuration need to know where to send the user after they click the link in the email.
This video briefly touches on this setup, which is a common step your LLM assistant might guide you through.
Supabase + Next.js ULTIMATE Auth Combo
This video on building with Supabase and Next.js shows the practical step of configuring the email confirmation template.
Watch the short segment from the dashboard setup. The presenter updates the "Confirm URL" in the Supabase email template. This tells Supabase where to redirect users after they've verified their email, completing the sign-up loop.
2. Creating a User Profile
The authentication service (auth.users in Supabase) is specialized; it typically only stores the bare minimum needed for logging in (like an ID, email, and hashed password). But your app will likely need to store more information about the user: their name, a profile picture, a bio, user preferences, etc.
The standard practice is to create a separate profiles table in your database. You then need a way to automatically create a new row in this profiles table every time a new user successfully signs up. This can be done with a database trigger—a piece of automated logic that runs on the backend.
Build a Supabase Project with React and TypeScript Tutorial
This tutorial provides a great explanation and the code for creating a profiles table and an automated trigger.
Read this section. Pay attention to the create function public.handle_new_user() and the create trigger on_auth_user_created commands. This is SQL code that sets up a rule on your database: "After a new user is inserted into the auth.users table, execute the handle_new_user function," which in turn creates their profile row.
This is a powerful backend concept that simplifies your frontend code immensely. Your sign-up form doesn't need to know about the profiles table; it just signs the user up, and the backend trigger handles the rest.
Conclusion
You've now seen how a simple sign-up form is a sophisticated dance between frontend UI, component state, SDK functions, and backend logic. When your LLM generates a sign-up component, you can now recognize the key patterns and understand the role of each part.
Key Takeaways:
- A sign-up form uses state (e.g.,
useStatein React) to keep track of user input from UI elements like<Input>. - An event handler function (e.g.,
handleSignUp) is triggered on button click to orchestrate the sign-up process. - The core of this process is a single, asynchronous call to the authentication SDK (e.g.,
supabase.auth.signUp). - A robust form provides clear user feedback for loading states and errors, which is critical for good UX.
- The full sign-up flow often involves backend processes like email confirmation and creating a user record in a separate
profilestable, which can be automated with database triggers.
In our next lesson, we'll tackle the other side of the coin: creating a login form to authenticate an existing user. You'll find that the concepts and code structure are remarkably similar, reinforcing everything we've learned today.