Recommended resources
The freely available resources this lesson will direct you to.
Excellent! Let's build on what we've learned. In the last lesson, we focused on the CDJ-3000, understanding it as the source—the machine that plays and manipulates a single track. Now, we'll move to the central hub where the audio from multiple sources comes together: the mixer.
Lesson 2: The Heart of the Setup - The DJM-900NXS2 Mixer
Introduction
Welcome to your second lesson! Where the CDJ is the source of a single stream of audio, the mixer is where you control the confluence of those streams. It's the command center for your entire setup.
Today, we'll focus on the Pioneer DJM-900NXS2, the industry-standard club mixer. By the end of this lesson, you will be able to identify the function of each primary control on a Pioneer DJM-900NXS2 mixer: Channel Faders, Crossfader, Trim/Gain, 3-Band EQ, and Master Level.
To use an analogy from your software engineering world, if each CDJ is a microservice outputting an audio data stream, the mixer is the API gateway and processing layer. It receives multiple streams, allows you to modify them (EQ), control their individual output (channel faders), blend them together (crossfader), and control the final, aggregated output to the user (master level).
Approximate time to complete: 45 minutes.
1. The Mixer Landscape: A Top-Down View
Before we dive into individual controls, let's get oriented. The DJM-900NXS2 is logically laid out in vertical "channel strips." Each strip corresponds to one audio input (e.g., one CDJ).
Take a look at the image below. You can see four main channel strips in the center. To the right is the master section, which controls the overall output.

The DJM-900NXS2 mixer. Notice the four identical vertical channel strips. Each one is a self-contained control panel for a single audio source.
The path that the audio takes from the input jack, through the controls, and out to the speakers is called the signal flow. We will follow this path to understand each control in a logical order.
2. The Channel Strip: Following the Signal Flow
An audio signal from a CDJ enters a channel strip at the top and flows downwards. Let's examine the key controls it passes through.
For a great visual walkthrough of these controls, we'll refer to the following video. You don't need to watch it all at once; we'll break it down section by section.
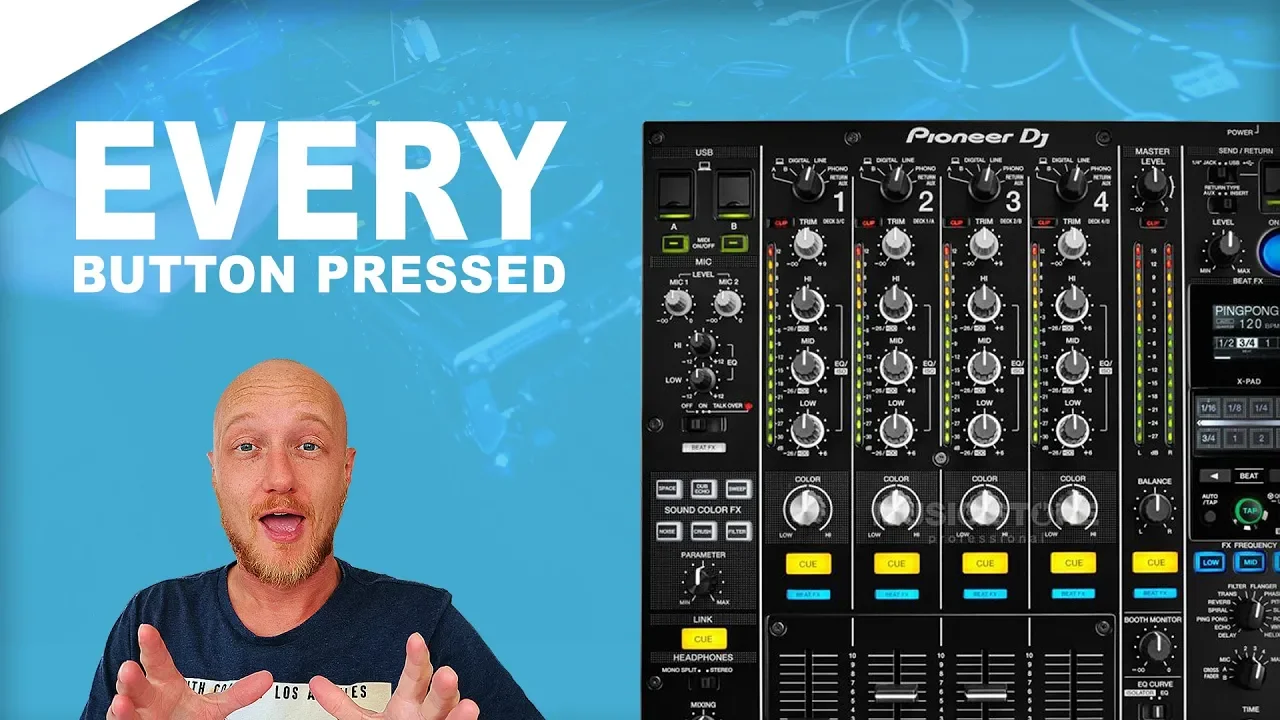
A. Trim / Gain: The Input Gatekeeper
This is the very first control the audio signal encounters.
- Function: The Trim knob (also called Gain) adjusts the input level of the audio coming into the channel strip. Its purpose is to ensure the signal is at an optimal volume for the mixer to work with.
- Why it's important (Gain Staging): Different tracks are mastered at different volumes. The Trim knob lets you normalize them. You want the signal to be strong, but not so strong that it "clips" (distorts). A small light labeled
CLIPwill flash red if the signal is too loud. - Your Goal: Adjust the Trim so that the loudest parts of your track make the channel's LED meter peak in the yellow/orange range, but never hit the final red light.
Analogy: This is your input validation and normalization step. Before processing the data stream, you ensure it's within the expected range (0 to 1, but not 1.1) to prevent downstream errors (distortion).
Activity: Watch Video (approx. 1 minute)
Watch this segment to see the Trim knob in action.
Focus on the timestamp [23:08 - 23:56]. The presenter explains how the Trim knob sets the input volume for the channel.
B. 3-Band EQ: The Sound Sculptor
After the Trim, the signal flows to the Equalizer (EQ) section.
- Function: This section gives you three knobs—
HI,MID, andLOW—to control the volume of different frequency ranges of your track.- LOW: The bass and sub-bass frequencies (the "womp-womp").
- MID: The middle frequencies, where vocals and many synth melodies live.
- HI: The high frequencies, like hi-hats and cymbals (the "tss-tss").
- Application: EQ is fundamental to mixing. For example, to blend two DnB tracks smoothly, you might swap their basslines by turning the
LOWknob down on the outgoing track while simultaneously turning it up on the incoming track.
Activity: Watch Video (approx. 1 minute)
This next video gives a very clear and concise explanation of the EQ controls and a related switch.
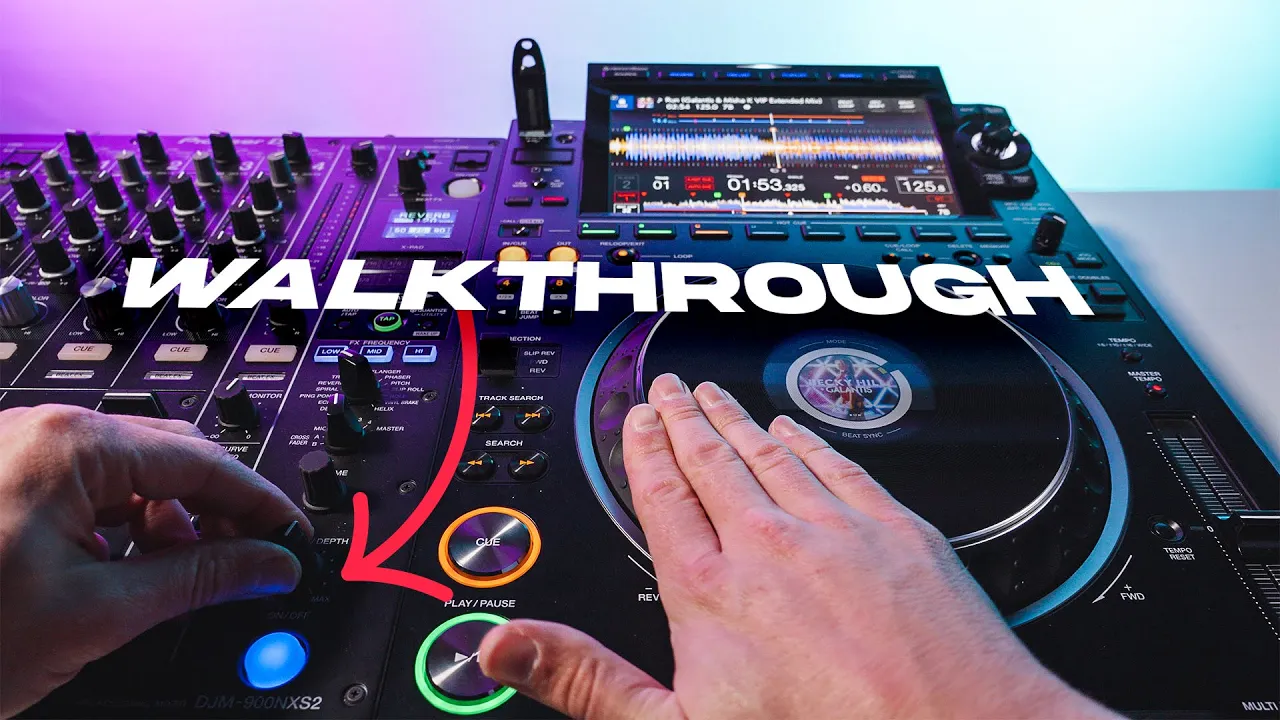
Watch from [09:10 - 09:47]. Pay attention to the explanation of the ISOLATOR / EQ switch, which changes how drastically the knobs cut the frequencies. For DnB mixing, ISOLATOR mode is often preferred because it can cut a frequency band out completely.
C. Channel Fader: The Volume Gate
This is the large vertical slider at the bottom of the channel strip.
- Function: The Channel Fader controls the volume of that channel's signal being sent to the final mix. All the way down means zero volume; all the way up means full volume (as set by your Trim knob).
- Application: This is your primary tool for bringing tracks in and out. A long, smooth push of the fader creates a gradual blend.
Analogy: If the Trim knob normalizes the input, the Channel Fader is the final on/off gate and volume controller for that individual process before it gets merged with others.
You can find a detailed description of this control in the official manual.
Activity: Read the Manual (approx. 2 minutes)
Open the DJM-900NXS2 manual and navigate to the "Part names and functions" section (page 8 in the PDF). Read the description for item m, the Channel Fader. It simply "Adjusts the level of audio signals output in each channel."
3. Blending and Output
Once the signals pass through their individual channel strips, they are ready to be blended and sent to the speakers.
A. The Crossfader: The Quick-Switch
Located horizontally at the very bottom of the mixer, the crossfader is a specialized tool for blending.
- Function: The Crossfader allows you to transition between two channels. First, you assign a channel to either side
A(left) orB(right) using theCROSS FADER ASSIGNswitch on the channel strip. Sliding the crossfader to the left will play only channelA, sliding it to the right will play only channelB. The middle position plays both. - Application: While indispensable in genres like hip-hop for scratching, many DnB DJs prefer the nuanced control of using the individual Channel Faders. However, the crossfader is excellent for making very fast cuts between tracks.
Activity: Watch Video (approx. 2 minutes)
Let's return to our main walkthrough video.
Watch the segment from [23:56 - 25:28]. The presenter clearly demonstrates how to assign channels to the crossfader and how it works.
B. Master Level: The Final Output
This is the final control in the signal chain.
- Function: The Master Level knob, located in the master section on the right, controls the volume of the final mixed-down audio that is sent to the main speakers and the recording output. It is the overall volume control for everything.
- Your Goal: Set this to a level that is loud enough for the room but, again, does not cause clipping on the main Master Level meter. In a club, the sound engineer will often ask you to keep your master output at a specific level.
Analogy: This is the main() function's final return value. It's the single output that the entire system produces after all internal processing and merging is complete.
Activity: Watch Video (approx. 1.5 minutes)
One last look at our walkthrough video will clarify this final step.
Watch from [25:04 - 26:28], where the function of the Master Level and its corresponding LED meter is explained.
Conclusion
Fantastic! You've now surveyed the essential controls of the DJ mixer. You've traced the signal path from input to output, understanding how each component modifies the audio along the way.
Key Takeaways:
- Signal Flow is Key: Audio enters at the Trim, is shaped by the EQ, has its volume controlled by the Channel Fader, can be blended with the Crossfader, and finally leaves through the Master Level.
- Trim/Gain: Sets the input level for a single channel. Prevents distortion.
- 3-Band EQ: Sculpts the character of a channel's sound by adjusting bass, mids, and highs.
- Channel Fader: Controls the output volume of a single channel in the mix.
- Crossfader: A fast way to blend between two assigned channels.
- Master Level: Controls the final, overall volume of everything going to the speakers.
Preview of the Next Lesson:
We've now looked at the CDJ (the source) and the Mixer (the hub) in isolation. The next logical step is to get them talking to each other. In our next lesson, we will cover how to connect two CDJ-3000s to a DJM-900NXS2 mixer using both audio cables for the sound and an Ethernet cable for data sharing, creating a fully integrated, professional DJ setup.