Recommended resources
The freely available resources this lesson will direct you to.
Hello Ryazan,
Welcome back to your third lesson. In our first two sessions, we did a "component inspection," identifying the key controls on both the CDJ-3000 players and the DJM-900NXS2 mixer. We looked at them as separate, powerful units. Now, it's time to assemble them into a cohesive, functional system.
Today's lesson is all about the physical setup. By the end of this session, you will know how to connect two CDJ-3000s to a DJM-900NXS2 mixer using audio cables and an Ethernet cable for Pro DJ Link. Think of this as establishing the physical and network layers of your DJ system architecture.
Approximate time to complete: 30 minutes.
A Tale of Two Networks: Audio vs. Data
Connecting a professional DJ setup involves two separate types of connections, serving two distinct purposes:
- The Audio Path: This is the traditional path for the audio signal itself. It's how the sound gets from the player to the mixer. This is an analog or digital point-to-point connection.
- The Data Path (Pro DJ Link): This is a modern local area network (LAN) for your DJ gear. It uses standard Ethernet cables to allow the players and mixer to share information—like BPM, key, track metadata, and sync status—but it does not carry the main audio signal.
Making this distinction is crucial. You need both for the setup to work as intended. Let's start with the audio path.
1. The Audio Path: Sending the Signal
The first step is to get the sound from each CDJ into a separate channel on the mixer. We'll use standard analog audio cables for this.
Your tools: Two pairs of RCA cables. These are the familiar red and white analog connectors.
The Process:
- Take one RCA cable. Plug the red and white connectors into the AUDIO OUT (L/R) ports on the back of your first CDJ-3000.
- Plug the other end of that cable into the LINE input for CH1 (Channel 1) on the back of the DJM-900NXS2 mixer.
- Repeat the process for the second CDJ-3000, connecting its
AUDIO OUTto the LINE input for CH2 on the mixer.
That's it. You have now physically piped the audio from each player into its own channel strip on the mixer.
For a clear visual of where these ports are, watch this short segment of the following video.
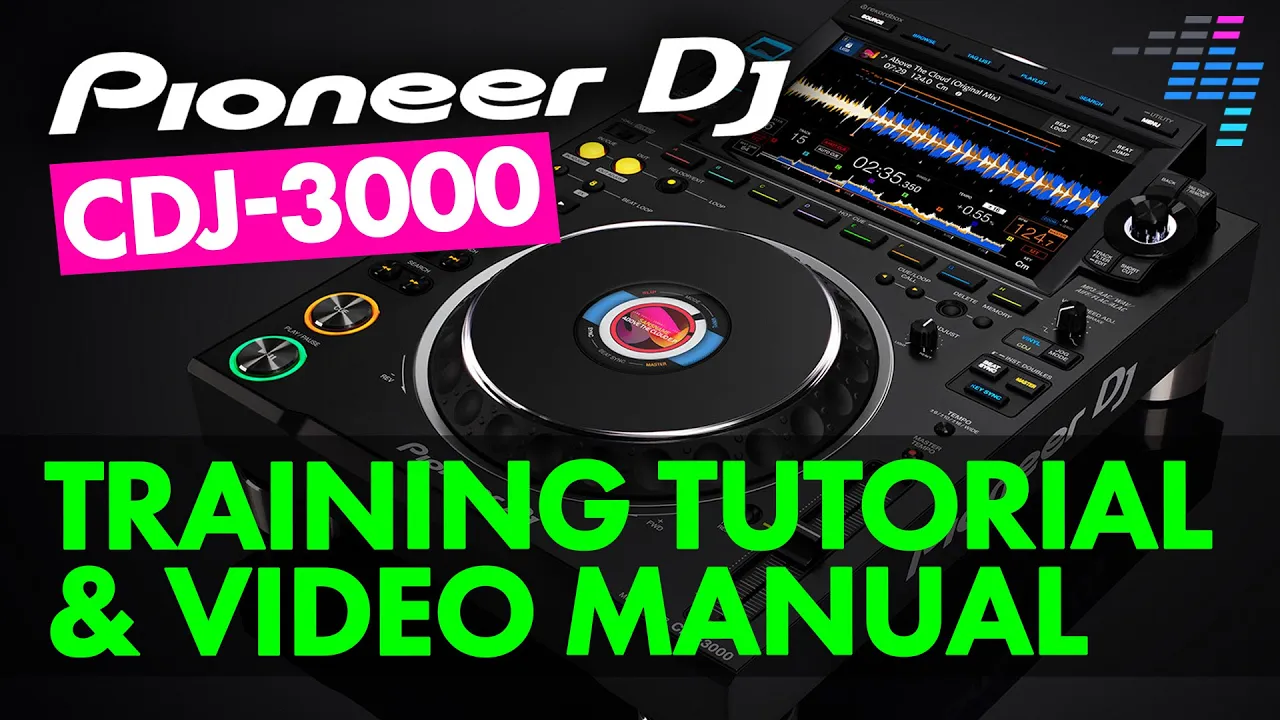
Focus on timestamp [00:15:10 - 00:15:28]. The presenter points out the analog and digital audio outputs on the rear panel of the CDJ-3000. For our purposes, we're using the analog (RCA) outputs.
2. The Data Path: Introducing Pro DJ Link
Now for the "smart" part of the setup. Pro DJ Link is Pioneer's protocol that turns your separate devices into a networked system. This is what enables features like sharing a single USB drive across multiple players, syncing tempos, and viewing detailed waveform data.
To get a crystal-clear understanding of what Pro DJ Link is (and isn't), please watch this clip.
Watch from [00:01:27 - 00:02:22]. The key takeaway here is that Pro DJ Link works over a standard LAN using Ethernet cables (Cat5e or Cat6 are perfect) and that it is strictly for data, not audio.
There are two primary ways to set up this network.
Method A: Direct Connection (Two Players Only)
This is the simplest configuration, but it's limited.
- How it works: You connect a single Ethernet cable directly from the port on the back of one CDJ-3000 to the port on the back of the other.
- Result: The two players can now communicate and share a music library from a single USB stick.
- Limitation: The mixer is not part of this data network, so it won't receive BPM information for its effects.
This video demonstrates this simple direct link.
Watch from [00:03:03 - 00:03:30] to see the direct connection being made.
While simple, this isn't the setup we want for a fully-featured system. For that, we need a network switch.
Method B: The Club Standard (Using a Network Switch)
To connect more than two devices (i.e., your two players and your mixer), you need a central hub. In networking terms, that's a switch. This is the professional standard you'll find in clubs.
- Your tools: A simple, unmanaged 5-port Ethernet switch and three Ethernet cables.
- How it works: Each device gets its own connection to the central switch.
The Process:
- Connect one Ethernet cable from the LINK port on CDJ 1 to any port on the switch.
- Connect a second Ethernet cable from the LINK port on CDJ 2 to another port on the switch.
- Connect a third Ethernet cable from the LINK port on the DJM-900NXS2 mixer to a third port on the switch.
For a practical demonstration of this exact setup, let's go back to the CDJ-3000 tutorial.
Watch the section from [00:28:56 - 00:29:30]. This shows the two players and mixer all being plugged into a small Ethernet switch.
The Result: You now have a robust network. All three devices can share data, enabling the full suite of integrated features. This is the setup we will assume for all future lessons.
To understand the benefits of adding the mixer to the link, this article provides a great summary.
Activity: Read an Article Snippet (approx. 2 minutes)
Please read the article Pro DJ Link: How To Set Up Pioneer DJ Setups Properly by DJ TechTools. Focus on the section titled "More Complicated: Using A Switch." It succinctly explains how connecting the DJM-900NXS2 to the switch allows the mixer to use the BPM info from the players for its effects, a crucial feature for creative mixing.
Conclusion
Excellent work. You've now physically assembled the core of a professional DJ setup. The system is cabled for both audio and data, ready for action.
Key Takeaways:
- A standard DJ setup requires two independent connection types: audio (RCA cables) for the sound signal and data (Ethernet cables) for information sharing via Pro DJ Link.
- Audio cables connect each player's AUDIO OUT to a separate LINE IN channel on the mixer.
- Pro DJ Link connects the players and mixer into a local network.
- The most robust and standard method for Pro DJ Link is using a network switch, with each device (2x CDJs, 1x Mixer) plugged into the switch.
Preview of the Next Lesson:
With our hardware fully connected, the next step is to bring it to life. In the next lesson, you'll load a track from a USB drive on a CDJ-3000 and use the Play/Pause buttons to begin playback. We'll finally start making some noise