Recommended resources
The freely available resources this lesson will direct you to.
Hello! I'm excited to get started on our journey into the world of DJing. Your background as a software engineer and your experience with detailed, iterative projects like brewing kvass will be a fantastic asset here. DJing, especially with the precision of DnB, is very much a technical craft built on understanding a system and executing steps in a logical sequence.
This first lesson is the "Hello, World!" of DJing—we're going to get familiar with the most fundamental piece of equipment: the player.
Lesson 1: Your First Look at the CDJ-3000
Introduction
Welcome to your first lesson in the "DJing DnB on Pioneer CDJs" course! Today, we'll focus on the primary tool for playing and manipulating your tracks: the Pioneer CDJ-3000. Think of it as the core component you'll interact with to control a single audio source.
Our goal is to demystify the main controls so you feel comfortable and oriented. By the end of this lesson, you will be able to identify the function of each primary control on a Pioneer CDJ-3000: Play/Pause, Cue, Jog Wheel, and Pitch Fader.
As an engineer, you can think of the CDJ as the primary interface for an "audio playback object." The controls we'll cover today are the main methods you'll use to manipulate its state—playing, pausing, setting start points, and adjusting its playback speed.
Approximate time to complete: 35-45 minutes.
1. Getting Acquainted: The CDJ-3000 Layout
Before we dive into individual functions, let's get a feel for the overall layout. A standard DJ setup has two of these players, one for each track you'll be mixing.
Below is an image of the bottom half of a CDJ-3000. Take a moment to locate the four controls we'll be focusing on today:
- The large, central Jog Wheel.
- The Play/Pause and Cue buttons (bottom left).
- The vertical Pitch Fader (labeled 'TEMPO' on the right).

This is our workspace for today. All the fundamental actions of starting, stopping, and adjusting a track happen here.
To begin, let's watch a quick walkthrough of the CDJ-3000. This will give you a comprehensive tour of the entire unit. Pay close attention as the presenter introduces the four controls we've just located.
Activity: Watch Video (approx. 8 minutes)
Please watch the following video from Digital DJ Tips. It provides a great tour of the hardware.
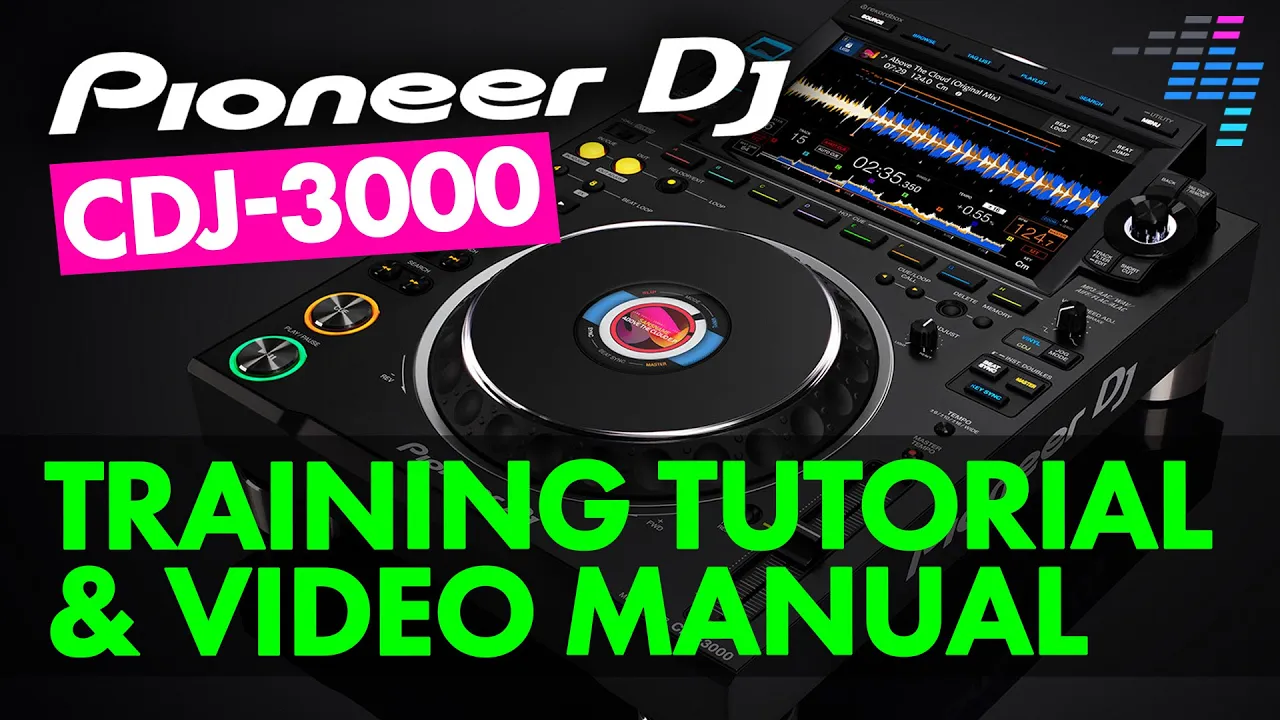
Focus on the segment from [07:40 - 15:10]. The presenter will go over all the buttons. Don't worry about memorizing everything; just focus on getting a general sense of the landscape and where our four key controls are.
2. The Core Controls: Function and Purpose
Now that you've had the grand tour, let's zoom in on the functionality of our four primary controls.
A. Play/Pause and Cue: The Start/Stop Engine
These are the most fundamental buttons you'll use.
- Play/Pause: This is your ignition. As you'd expect, it starts the track if it's paused and pauses it if it's playing. The light on the button gives you state feedback: solid when playing, blinking when paused.
- Cue: This button is more complex and absolutely crucial. Its primary job is to set a temporary cue point. Think of it as a bookmark or a starting line for your track.
- Setting a Cue: When a track is paused, you can use the jog wheel to find the exact point you want to start from (usually the very first beat of the song). Pressing Cue sets this position as the main cue point.
- Returning to Cue: While a track is playing, pressing Cue will immediately stop the playback and return it to your set cue point.
- Previewing (Stutter/Cue Sample): If you press and hold the Cue button from a paused state, the track will play from the cue point for as long as you hold it down. When you release it, the track jumps back to the cue point and pauses. This is great for "stuttering" a sound in or confirming your cue point is perfectly on the beat.
Activity: Watch Video (approx. 5 minutes)
Watch this segment from the same video, where the host demonstrates setting and using cue points in detail.
Please watch from [55:45 - 1:00:30]. This section covers:
- Setting a basic cue point.
- Returning to the cue point.
- Using the "Cue Check/Sample" feature (press and hold).
This concept of setting and returning to a precise point is the foundation of mixing on beat.
B. Pitch Fader (Tempo): Controlling the Speed
The Pitch Fader (labeled TEMPO) is your accelerator and brake. Its sole purpose is to adjust the tempo, or speed, of the track, measured in BPM (Beats Per Minute). This is the primary tool you'll use for beatmatching—the process of getting two tracks to play at the same speed.
- Operation: Pushing the fader up slows the track down (decreasing its BPM). Pulling it down speeds the track up (increasing its BPM). This might feel counter-intuitive, but it's a carryover from vinyl turntables and you'll get used to it quickly.
- Tempo Range: The
TEMPO RANGEbutton allows you to change the sensitivity of the fader (e.g., ±6%, ±10%, ±16%, WIDE). For DnB, which has a narrow BPM range (usually 170-175), a smaller range like ±6% or ±10% is often used for finer control.
Think of this like setting your fermentation temperature for kvass. You're not making moment-to-moment adjustments; you're setting a new, stable state for the system's speed.
Activity: Watch Video (approx. 1 minute)
This short clip clearly demonstrates the pitch fader in action.
Watch from [50:24 - 51:22]. Notice how the BPM value on the screen changes as the fader moves and how the TEMPO RANGE button alters the fader's impact.
C. The Jog Wheel: The Art of the Nudge
If the pitch fader is for setting the overall speed, the Jog Wheel is for making real-time, fine-grained corrections. It has two main functions, determined by the JOG MODE button:
-
Vinyl Mode (Standard for most DJs):
- Top Surface (Touch-sensitive): Touching the top lets you "scratch" or scrub through the track, directly manipulating the playback position just like a vinyl record. This is what you'll use to find your cue point with precision.
- Outer Rim (Nudging): Pushing the outer edge of the wheel forward temporarily speeds the track up. Pulling it back temporarily slows it down. This action, called pitch bending or nudging, is how you correct for small timing drifts between two tracks to keep their beats perfectly aligned.
-
CDJ Mode (Legacy): In this mode, the entire wheel (top and sides) only nudges the track. You can't scratch. Most modern DJs, especially in performance-oriented genres like DnB, use Vinyl mode.
Analogy for an Engineer: The Pitch Fader sets the base clock speed of a process. The Jog Wheel is like a manual intervention to nudge a process that's running slightly ahead or behind schedule to keep it perfectly in sync with another process.
Activity: Watch Video (approx. 4 minutes)
This final clip explains the jog wheel's different modes and functions.
Watch from [51:22 - 55:15]. This will give you a clear understanding of:
- Scratching vs. Nudging in Vinyl Mode.
- The purpose of the legacy CDJ mode.
- Adjusting the physical resistance of the wheel with
JOG ADJUST.
Conclusion
Great work! You've just covered the four most essential controls on a CDJ-3000. These are the building blocks for every single action you will take when mixing.
Key Takeaways:
- Play/Pause: Your simple "on/off" switch for track playback.
- Cue: Your essential tool for setting a precise starting point for a track.
- Pitch Fader: Your control for making macro adjustments to a track's tempo (BPM).
- Jog Wheel: Your tool for making micro-adjustments (nudging) to keep beats aligned and for finding precise points within a track.
The fundamental workflow you'll eventually master involves using these controls in concert: use the Jog Wheel to find a beat, set it with Cue, match the speed with the Pitch Fader, start the track with Play, and keep it in time with the Jog Wheel.
Preview of the Next Lesson:
Now that you understand how to control a single track on one player, the next question is: how do you combine it with another? In our next lesson, we will shift our focus to the heart of the setup: the Pioneer DJM-900NXS2 mixer. You'll learn how to manage audio signals from both CDJs and begin to understand how tracks are blended together.