Recommended resources
The freely available resources this lesson will direct you to.
- Gradle for Beginners (Build Types, Product Flavors, Build Variants, Source Sets)www.youtube.com
- Shrink, Optimize and Secure Your App With R8 & ProGuard - Full Guidewww.youtube.com
- Configure build variants | Android Studiodeveloper.android.com
- Gradle build overview | Android Studio | Android Developersdeveloper.android.com
Hello! In the previous lesson, you moved dependency declarations into a Gradle version catalog while leaving each module in charge of how it uses those dependencies. Build types are another module-level choice: they let the same Android project produce a build for development and a different build for release.
In about 40 minutes, you’ll define distinct debug and release configurations in an app module, build both, and check what each configuration actually provides. This is a foundation for the later work of testing and publishing a production app—not a substitute for that work.
One app, two purposes
A build type is a set of build options. Android projects have debug and release build types by default, even if only release appears in the module’s build file. With no product flavors, these give you the debug and release build variants you see in Android Studio.
The distinction is practical. A debug build is debuggable and normally uses a generic debug signing key so you can install and inspect it during development. A release build should not be debuggable. It also needs an appropriate release signing setup before distribution; being called release does not, by itself, make an artifact ready to publish.
Watch the relevant portions of Philipp Lackner’s Gradle for Beginners (Build Types, Product Flavors, Build Variants, Source Sets) for the relationship between build types and the variants selected in Android Studio:
Gradle for Beginners (Build Types, Product Flavors, Build Variants, Source Sets)
Philipp Lackner introduces the default build types, shows release-specific settings, and locates the build-variant selector in Android Studio.
Watch the build types for the debug-versus-release distinction. Then watch variant selection to see that debug exists even when its block is absent from the build file. The video uses build-file syntax and publishing assumptions that may differ from your project; use the concepts here, and check your own Gradle file before changing it.
The Android Developers’ Configure build variants guide is the reference for the configuration you’re about to edit. Read these two short passages rather than the whole guide:
Configure build variants | Android Studio
Read the Android Developers guide to confirm where build types belong and to distinguish debug signing from release signing.
Under “Configure build types,” begin with the paragraph starting “You can create and configure build types inside the” and read the default setup through the sentence ending “generic debug keystore.” Then, under “Configure signing settings,” read the opening paragraph, from “Gradle doesn't sign” through “using Android Studio.” Focus on what is provided automatically and what you must arrange for a distributable release.
Define the difference in the app module
Open your application module’s build.gradle.kts, commonly app/build.gradle.kts. Find its existing android {} and buildTypes {} blocks. Edit those blocks; do not paste in a second android {} block. The example below shows only the part relevant to this lesson:
android {
    buildTypes {
        getByName("debug") {
            isDebuggable = true
            applicationIdSuffix = ".debug"
            versionNameSuffix = "-debug"
        }

        getByName("release") {
            isDebuggable = false
            isMinifyEnabled = false
        }
    }
}
Here, getByName configures the two existing default build types. Explicitly setting isDebuggable makes their intended difference easy to review. The debug application ID suffix changes, for example, a base application ID of org.example.market into org.example.market.debug for that build. Android treats those as different installed apps, so a debug build can coexist with a release build. The version-name suffix helps distinguish the debug version, but it does not change the app’s launcher label.
The release block deliberately has no application ID suffix: it retains the base application ID. In this illustration, isMinifyEnabled = false leaves code shrinking off while you establish and verify the two configurations. If your existing release block already enables minification, keep its setting rather than replacing it with false. Keep any existing proguardFiles(...) declaration, too. You’ll configure R8 and investigate release-only behavior in a later module.
The screenshot below shows an older Android Studio screen for the same idea. It is useful for recognizing that settings belong to a selected build type, but your module’s Gradle file is the configuration to edit; do not copy signing values from the image.
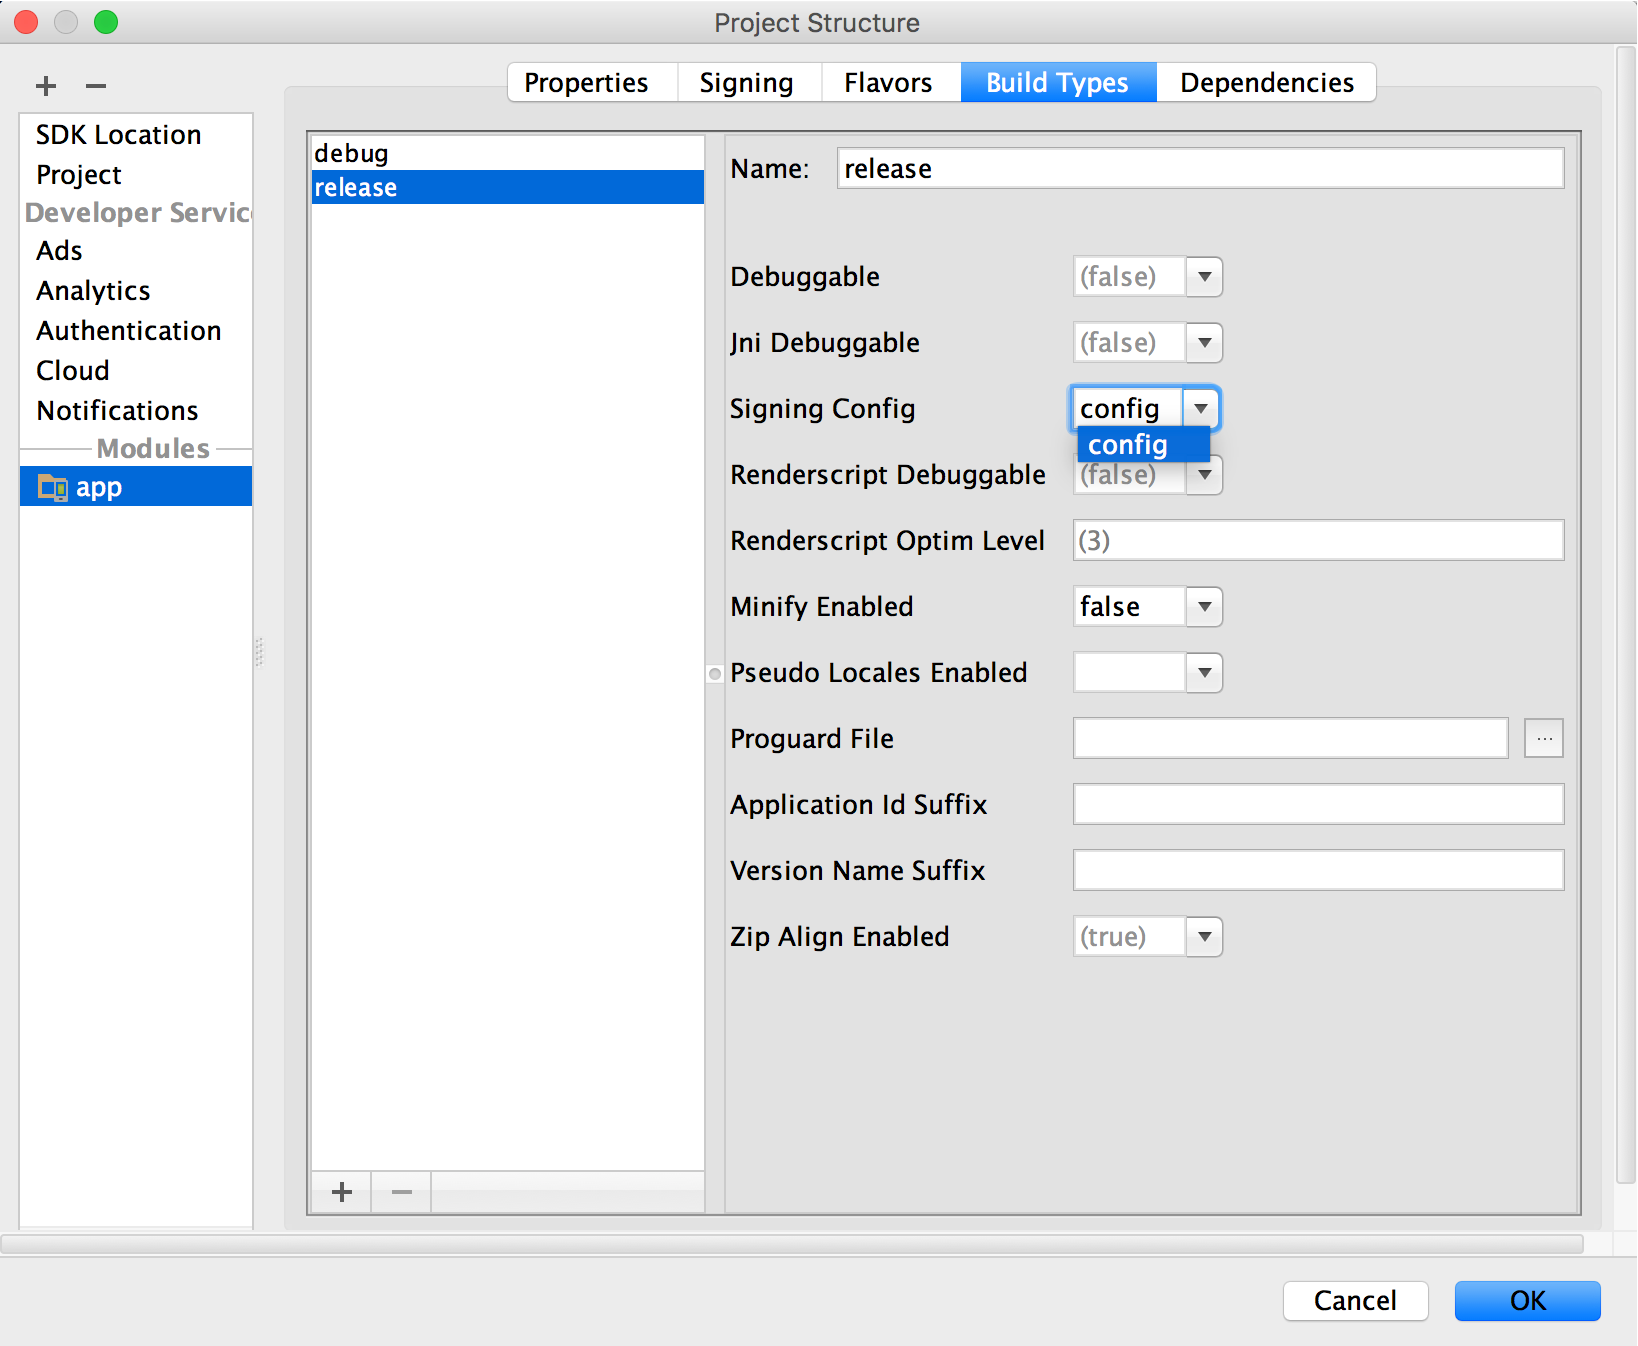
A build type can also change which code or resources are included. You do not need separate source files to meet this lesson’s goal: start by making the build options explicit. Likewise, the .debug application ID does not automatically connect the debug build to a test service or prevent it from contacting a production service. Those connections require their own configuration later.
Build both, then inspect the result
Make the change on a focused branch and sync Gradle in Android Studio. If sync fails, first check that the code is inside the app module’s existing android {} block, that the file is build.gradle.kts rather than a Groovy build.gradle, and that braces are balanced.
From the project root, build both variants explicitly:
./gradlew :app:assembleDebug :app:assembleRelease
On Windows, use .\gradlew.bat instead of ./gradlew; replace app if your application module has a different name. Selecting a variant in Android Studio controls which one the IDE works with, while these task names request each build directly. A successful task confirms that Gradle can assemble its artifact—not that both artifacts are suitable for distribution.
Check the build output for separate debug and release artifacts under the app module’s build/outputs directory. Then compare your configuration against the intended results:
- Debug: debuggable, with the
.debugapplication ID suffix and-debugversion-name suffix. - Release: not debuggable, retaining the base application ID and your project’s existing minification choice.
Finally, inspect any signingConfig already present in the release block. A debug signing key is convenient for development, but it is not the credential to use for a published release. Without an explicitly configured release signing arrangement, a release assembly may produce an unsigned artifact; that is still a useful build check, not a publishable app. Do not put keystore passwords in a committed build file. Secure release signing is covered later in the course.
Takeaways
debug and release are existing Android build types that you can configure separately in the application module. You made the debug build identifiable and debuggable while keeping release non-debuggable and on the base application ID. Building both variants verifies the configuration, but release signing and thorough release testing remain separate responsibilities.
Next, you’ll move from project configuration into the app itself by modeling a Compose screen with immutable UI state.