Recommended resources
The freely available resources this lesson will direct you to.
Hello! Welcome back to our module on Advanced Agent Architectures.
In our previous lesson, we explored the conceptual foundations of multi-agent systems, discussing why we need them and the common collaboration patterns like hierarchical, sequential, and debate. We established that breaking down complex problems for specialized agents to solve is often more effective than relying on a single, monolithic agent.
Today, we transition from theory to practice. This lesson is designed to help you achieve the following learning outcome: Implement a two-agent system with distinct roles to collaborate on a task. We will build a system where a "manager" agent routes a user's query to one of two specialized "worker" agents, putting the hierarchical pattern we discussed directly into code.
To do this, we'll use LangGraph, a library for building stateful, multi-agent applications. Its explicit, graph-based approach is an excellent way to understand the mechanics of agent orchestration, as it makes the flow of control and data between agents visible and easy to manage.
1. The Building Blocks of a LangGraph System
Before we write any code, let's understand the core components of LangGraph. At its heart, LangGraph allows you to define agentic workflows as state graphs. Think of this like designing a state machine, a concept you are likely familiar with from software engineering.
A LangGraph system is composed of three main parts:
- State: A shared object, typically a Python dictionary or
TypedDict, that holds the current information of the system. This is the "single source of truth" that all agents can read from and write to. It's a practical implementation of the "Shared State" or "Blackboard" communication pattern we discussed. - Nodes: These are the workers of the system. A node is a Python function or a LangChain runnable (like an agent) that performs an action. Each node receives the current state, executes its logic, and returns an object to update the state.
- Edges: These are the connectors that define the path of execution between nodes. An edge directs the workflow from one node to the next. LangGraph supports conditional edges, which allow you to implement routing logic—for example, "if the state contains X, go to Node A; otherwise, go to Node B."
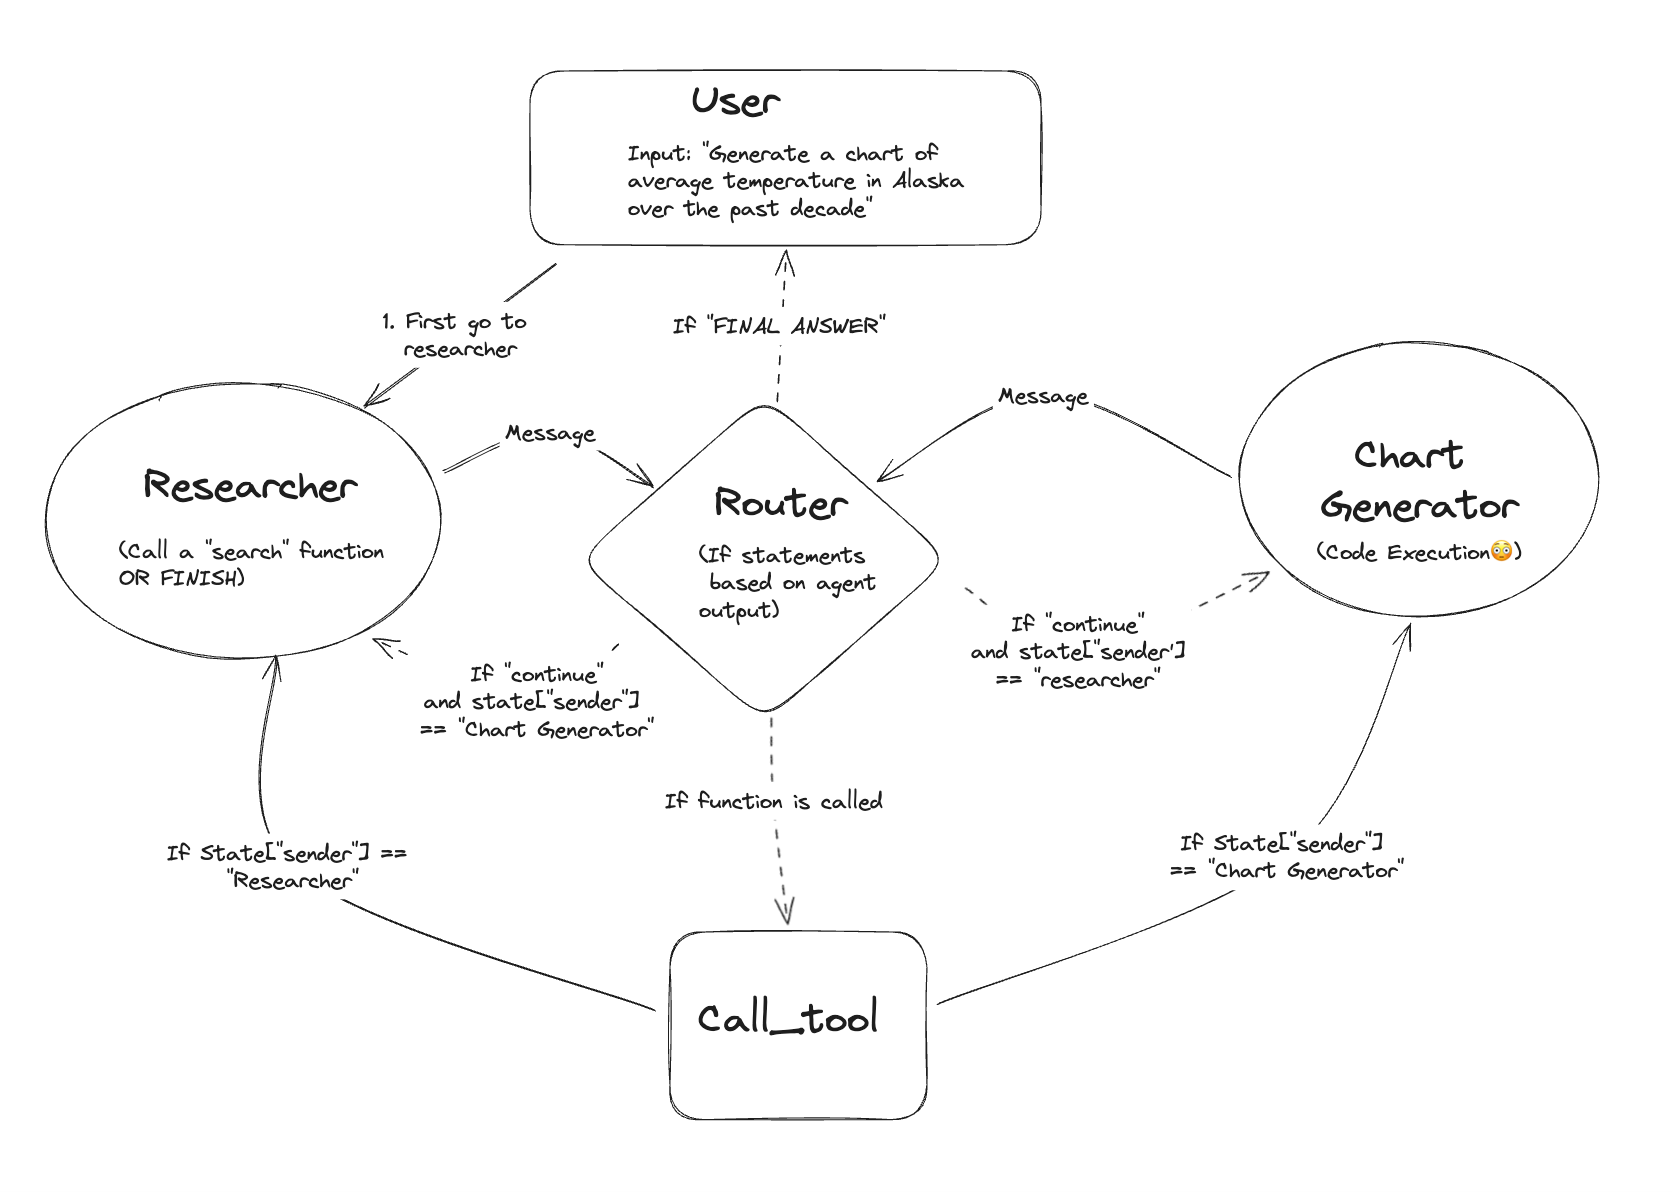
To get a more dynamic feel for these concepts, please watch the introductory part of the following tutorial.
LangGraph Tutorial - How to Build Advanced AI Agent Systems
This video from Tech With Tim provides an excellent, code-focused tutorial on LangGraph. The beginning portion visually explains the core concepts of nodes, edges, and state using clear diagrams.
Watch from the beginning to 04:21. Focus on understanding the graph diagrams and how they represent an agent's workflow, especially the more complex example with a classifier and a router.
2. Implementing a Two-Agent System with a Router
Now, let's build the system shown in the video: an application that classifies a user's query and routes it to one of two specialized agents:
- A Therapist Agent for emotional or personal queries.
- A Logical Agent for factual or analytical queries.
This system will have four main nodes:
- A Classifier node to determine the user's intent.
- A Router node that uses the classification to decide where to go next.
- The Therapist Agent node.
- The Logical Agent node.
The Tech With Tim video provides a complete, step-by-step walkthrough. We will follow its structure, and I will highlight the key architectural concepts along the way.
Step 1: Setting up the Environment
First, you'll need to install the necessary libraries and configure an API key. The video uses Anthropic's Claude, but you can adapt the code to use OpenAI's GPT models or another provider.
LangGraph Tutorial - How to Build Advanced AI Agent Systems
This segment covers the project setup, including installing dependencies like langgraph, langchain, and the Anthropic library, and setting up the API key in an environment file.
Watch the section from 04:21 to 11:54 to see how the project is configured. You can follow along to set up your own environment. As an experienced developer, you can likely move through this part quickly.
Step 2: Defining the State and Agent Nodes
With the environment ready, the next step is to define the structure of our application in code. This involves two key activities:
- Defining the
Stateclass that will be passed around the graph. - Defining the Python functions that will serve as our
Nodes.
A crucial technique used here is structured output. The classifier node will use a Pydantic model to force the LLM to return its classification in a specific JSON format ({"message_type": "emotional"} or {"message_type": "logical"}). This makes the agent's output reliable and machine-readable, which is essential for the router to function correctly.
The video below walks you through creating the State, the Pydantic model for the classifier, and the functions for all four nodes.
LangGraph Tutorial - How to Build Advanced AI Agent Systems
These segments detail the core logic of our multi-agent system. You will see how to define the shared state, use Pydantic for structured output, and create the distinct agent nodes, each with its own specialized system prompt.
Watch from 25:26 to 37:31. As you watch, pay close attention to: The updated State class, which now includes a message_type field. The MessageClassifier Pydantic model and how with_structured_output is used to create the classifier LLM. The router function, which contains simple if/else logic based on the state. The different system prompts used for the therapist_agent and logical_agent to give them their specialized roles.
This implementation clearly demonstrates the power of specialization. The therapist_agent and logical_agent use the same underlying LLM, but their behavior is completely different because of their unique system prompts and the routing logic that directs the right tasks to them.
Step 3: Constructing and Running the Graph
Now that we have our state definition and our nodes, we can assemble them into a graph. This is where you explicitly define the control flow.
The most important part of this step is using add_conditional_edges. This function tells LangGraph that the next step after the router_agent node is not fixed, but depends on the output of a function that inspects the state. This is how we implement our routing logic.
LangGraph Tutorial - How to Build Advanced AI Agent Systems
This part of the video shows how to wire everything together. You will see how to add the nodes and edges to the graph, with special attention to the conditional edge that implements the routing.
Watch from 37:31 to 41:33. Focus on understanding how add_node, add_edge, and especially add_conditional_edges are used to build the complete workflow.
Once the graph is defined, you compile() it into a runnable object. The final step is to create an interactive loop to test the system.
LangGraph Tutorial - How to Build Advanced AI Agent Systems
This final segment shows the complete system in action. You'll see how to invoke the compiled graph and how it correctly routes different types of user input to the appropriate agent.
Watch from 41:33 to 46:09 to see the final code and the demonstration. Try running the code yourself with different queries to see if the router behaves as you expect.
By completing these steps, you have successfully implemented a two-agent system where agents with distinct roles (therapist, logical analyst) collaborate on a task (answering a user's query) through a hierarchical pattern (classifier/router as supervisor).
3. A Note on Other Frameworks: crewAI
LangGraph is powerful because it gives you low-level control over the state graph. For comparison, it's useful to be aware of higher-level frameworks like crewAI, which abstracts away some of the graph-building complexity.
crewAI focuses on a role-playing metaphor. Instead of defining nodes and edges, you define:
- Agents: with a
role,goal, andbackstory. - Tasks: with a
descriptionandexpected_output. - A Crew: which orchestrates the agents and tasks.
This approach lets you think more about the "who" (the agents' personas) and less about the "how" (the specific graph structure). You can see this declarative style in the agents.yaml file from the resource below.
Building Multi-Agent Systems With CrewAI
This article demonstrates building a multi-agent system with crewAI. You don't need to read it all, but looking at the agent and task configuration files provides a great contrast to the LangGraph approach.
Skim through 'Step 2: Defining agents' and 'Step 3: Defining tasks'. Notice how agents are defined in a config/agents.yaml file with roles, goals, and backstories. This shows a more declarative, persona-driven approach to agent creation.
Both LangGraph and crewAI are excellent tools. LangGraph is ideal when you need fine-grained control over a complex, potentially cyclical workflow, while crewAI excels at quickly setting up collaborative teams of role-playing agents for more linear processes.
Conclusion
In this lesson, you moved from theory to practice by building a functioning multi-agent system. You took the abstract concepts of nodes, state, and collaboration patterns and translated them into working Python code.
Key Takeaways:
- LangGraph Fundamentals: You learned that agentic workflows can be modeled as state graphs composed of State (shared memory), Nodes (workers), and Edges (control flow).
- Practical Implementation: You built a system with a classifier, a router, and two specialized agents (
therapistandlogical), demonstrating a hierarchical collaboration pattern. - Conditional Routing: You saw how
add_conditional_edgesis the key to creating dynamic, intelligent workflows where the system can make decisions about its own execution path. - Specialization through Prompts: You reinforced the idea that an agent's role and expertise are primarily defined by its system prompt.
You've now built a system with two agents. But what happens when you want to scale this up? Imagine a system with ten agents, each equipped with a dozen tools. Managing all those tools and ensuring the right agent has access to the right ones becomes a significant challenge.
In our next lesson, we will explore this exact problem. We will discuss the challenges of tool integration at scale and introduce the Model Context Protocol (MCP), an architectural pattern designed to solve it.