Hello! In our last lesson, we conducted a Failure Mode and Effects Analysis (FMEA) to systematically identify and prioritize potential risks in our rotary mechanism design. That exercise concluded the core analysis phase of Project 2, giving us confidence in the design's robustness.
Now, we shift our focus from technical validation to the practical logistics of production. The learning outcome for this lesson is to develop a detailed Bill of Materials (BOM) and a preliminary cost estimate. This is a critical step in a professional engineering workflow, serving as the primary document that connects the design to procurement, manufacturing, and project management. Creating a comprehensive BOM is an essential skill and a key deliverable for your portfolio.
1. What is a Bill of Materials (BOM)?
A Bill of Materials (BOM) is a comprehensive, structured list of all the items required to build a product. It's more than just a parts list; it's the recipe for your assembly. A good BOM includes part numbers, descriptions, quantities, and other critical information for everyone involved in the product lifecycle, from purchasing agents to assembly technicians.
In an engineering context, a detailed BOM typically contains columns for:
- Item Number
- Part Number (a unique identifier for each component)
- Description
- Quantity
- Material
- Source (e.g., 'Manufactured' or 'Purchased')
- Vendor (for purchased parts)
- Unit Cost
Here is an example of what a professional engineering BOM looks like:

2. Creating a BOM in Onshape
One of the major advantages of an integrated CAD system like Onshape is that it automatically generates a BOM from your assembly model. Our task is to take this auto-generated table and enrich it with the necessary detail for it to become a professional document.
Let's start by learning the basic mechanics of the BOM tool within the Onshape assembly environment.
The Onshape Help documentation provides an excellent overview of how to access and work with the BOM table directly within your assembly.
Please read the introduction and the section on 'Loading and viewing the table'. You can find this by scrolling down to the heading. Focus on how to open the BOM panel and the basic structure of the populated table. You don't need to read about iOS or Android specific features.
As you saw, the BOM panel is easily accessible and dynamically linked to your assembly. Any changes in the assembly, like adding or removing a part, are instantly reflected in the BOM.
Structured vs. Flattened BOMs
Onshape offers two primary ways to view your BOM, and choosing the right one depends on who is using it.
- Structured BOM: This view maintains the hierarchical structure of your assembly. It shows subassemblies and lists their components indented beneath them. This is useful for understanding the product architecture and for assembly instructions. Onshape offers Top-level and Multi-level structured BOMs.
- Flattened BOM: This view provides a simple, consolidated list of all unique parts and their total quantities, regardless of which subassembly they are in. This is ideal for purchasing and inventory management.
To visualize the difference, the Onshape documentation on drawing BOMs has very clear illustrations.
Please review the section that shows examples of Flattened, Structured-Top level, and Structured-Multi-level BOMs. You will find it within the 'Steps' section, after step 2. This will give you a clear visual understanding of each type.
Test your understanding!
You are creating a BOM for a gearbox assembly. You have two main subassemblies: a high-speed input stage and a low-speed output stage. You also have fasteners that hold the gearbox housing together.
- If your purchasing manager wants a simple list of every single unique part number and the total quantity of each required for one gearbox, what type of BOM view would you provide:
StructuredorFlattened? Why? - If your assembly team needs to understand which components belong to the input stage vs. the output stage, what type of BOM view is more useful? Why?
Show answer
- A
FlattenedBOM would be best for the purchasing manager. This view shows a simple, consolidated list of all unique components and their total quantities, regardless of which subassembly they belong to. It makes procurement straightforward. - A
StructuredBOM is more useful for the assembly team. This view maintains the hierarchy of the assembly, showing which parts belong to each subassembly (input stage vs. output stage). This helps the team understand the product structure and assemble it correctly.
3. Populating the BOM with Detailed Information
An auto-generated BOM is just a starting point. To make it truly useful, we need to add more information, especially for cost estimation. This involves adding custom columns and populating them with data.
Let's explore how to customize the BOM table by adding new data fields and handling different types of components.
Please read the following sections from the Onshape Help document: 'Additional table data': This explains how to add new columns like 'Vendor'. 'Subassembly BOM behavior': This is key for purchased assemblies. Focus on the 'Show assembly only' option. 'Adding Items': This covers how to add non-geometric items like glue or paint. 'Export to CSV': This shows how to get your BOM out of Onshape for further use.
These features allow you to create a comprehensive list that includes:
- Custom-manufactured parts: These are the parts you designed (e.g., housing, shafts).
- Purchased components: These are off-the-shelf items like bearings, fasteners, and motors. Using the "Show assembly only" behavior for a purchased motor assembly, for example, ensures it appears as a single line item with one part number and price.
- "Bulk" items: These are non-geometric items like Loctite or grease, which are critical for assembly but not modeled in CAD.
4. Developing a Preliminary Cost Estimate
With a detailed BOM, we can create a preliminary cost estimate. This is a "bottom-up" estimate, where we sum the cost of individual components to find the total product cost.
The process involves two main activities:
- Costing Purchased Parts: This is relatively straightforward. You find the component on a supplier's website (like McMaster-Carr, Misumi, or a bearing supplier) and get the price for the quantity you need.
- Costing Manufactured Parts: This is more complex. The cost depends on material, manufacturing process (e.g., CNC machining, casting), quantity, and labor rates. For a preliminary estimate, we can use simplified methods:
- Material Cost: Calculate the part's volume (available in Onshape's properties) and multiply by the material density and cost per kilogram.
- Manufacturing Cost: This can be estimated by getting instant online quotes from services like Xometry or Protolabs, or by using an estimated machine time multiplied by a standard shop rate (e.g., $75-$150/hour).
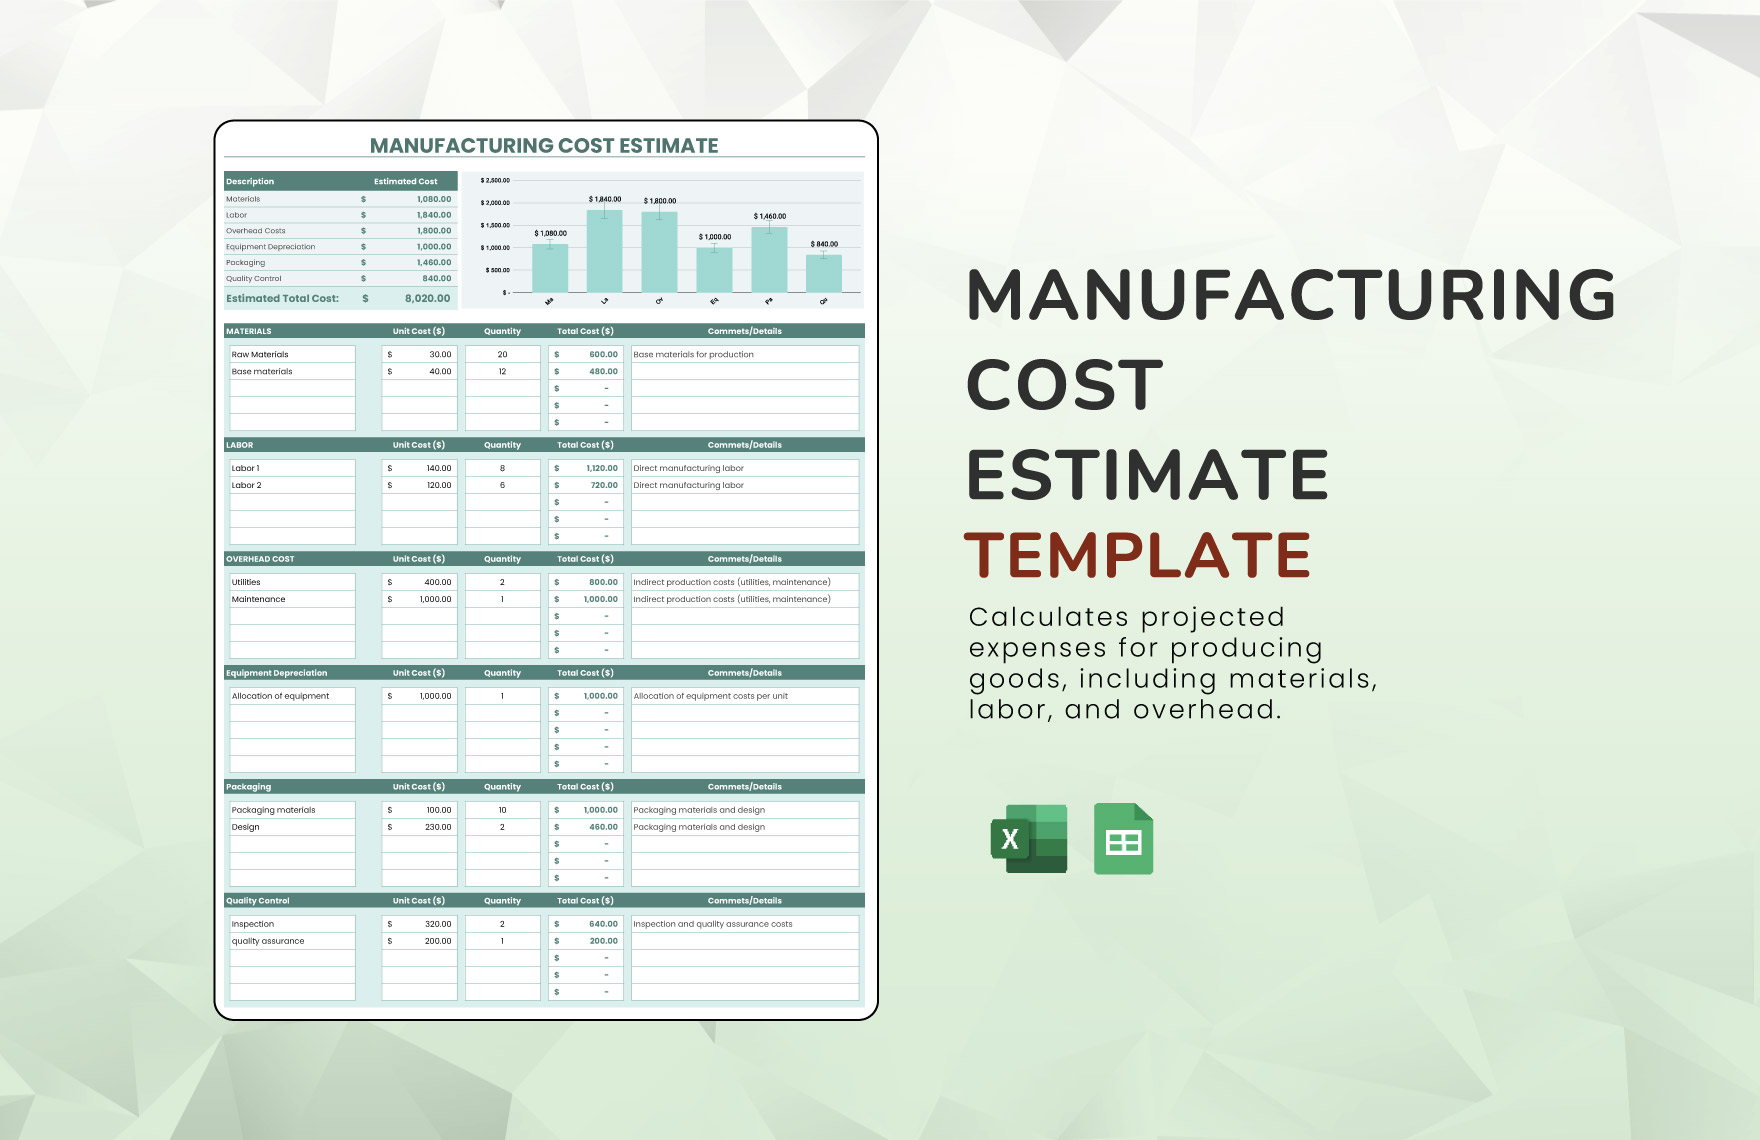
For our purposes, we'll add 'Unit Cost' and 'Total Cost' columns to our BOM and populate them with researched prices and reasonable estimates.
5. Your Task: Create the BOM and Cost Estimate for Project 2
Now, let's apply these concepts to our Rotary Mechanism project.
- Open your Rotary Mechanism assembly in Onshape.
- Open the BOM panel on the right side of the screen.
- Customize the BOM:
- Click "Add column" and add the following properties:
Material,Vendor, andName. - You will also want columns for cost. Since 'Cost' isn't a default property, you'll need to create custom properties for your account if you want the data to be permanently stored with the parts. For this exercise, a simpler approach is to export to a spreadsheet and add the cost columns there.
- Click "Add column" and add the following properties:
- Populate Part Properties:
- For your custom-designed parts (housing, shafts, etc.), ensure you have assigned the correct material in the Part Studio. This will automatically populate the 'Material' column in the BOM.
- Export to CSV:
- Click the overflow menu (three dots) in the BOM panel and select Export to CSV.
- Complete the Cost Estimate in a Spreadsheet:
- Open the CSV file in a spreadsheet program (like Google Sheets or Excel).
- Add two new columns:
Unit CostandTotal Cost. - Populate the costs:
- For purchased parts (bearings, fasteners, motor, pulleys): Go to a supplier website (e.g., McMaster-Carr) and find the price for each item. Enter the supplier in the
Vendorcolumn and the price in theUnit Costcolumn. - For manufactured parts: Use an estimated cost. For this exercise, a simple estimate is fine. For example: Shafts ($50), Gears ($75), Housing ($250). Enter "Custom" or your name in the
Vendorcolumn.
- For purchased parts (bearings, fasteners, motor, pulleys): Go to a supplier website (e.g., McMaster-Carr) and find the price for each item. Enter the supplier in the
- Calculate Total Cost: In the
Total Costcolumn, create a formula to multiplyQuantitybyUnit Cost. - Sum the costs: Create a final "Grand Total" for the entire assembly.
- Add Non-Geometric Items: Don't forget to add a row for items like thread locker (e.g., Loctite 242) for your set screws or grease for the gears. Estimate a small cost for the amount used per assembly.
Your final spreadsheet is a key project deliverable and an excellent piece of documentation for your portfolio.
Conclusion
In this lesson, you've learned how to transition from a completed design model to a critical piece of production documentation: the Bill of Materials. We've seen how to leverage Onshape's tools to automate the creation of a BOM and then enrich it with the data needed for a preliminary cost estimate.
Key Takeaways:
- A Bill of Materials (BOM) is a foundational document for manufacturing, procurement, and cost tracking.
- Onshape automatically generates a BOM from an assembly, which can be viewed in
StructuredorFlattenedformats depending on the need. - A professional BOM is customized with additional properties like Material, Vendor, and Cost.
- A preliminary "bottom-up" cost estimate is created by costing each item in the BOM and summing the results.
Preview of the Next Lesson:
Now that we have analyzed our design, assessed its risks, and documented its components and cost, the next step is to create the formal engineering drawings. In the next lesson, we will generate a complete set of engineering drawings, including assembly and key component views with GD&T, bringing Project 2 one step closer to a complete, professional package.