Hello! Welcome to the final lesson in our module on creating AI talking avatars.
In the last lesson, you learned how to bring your own static image to life, creating a custom talking head video. This is a powerful skill for personal branding and creating unique characters.
Today, we'll explore a different but equally valuable approach: using pre-made stock avatars. These are high-quality, ready-to-use digital presenters that can save you time and add a professional touch to your videos. This lesson will teach you how to select and customize a pre-made stock avatar for a professional presentation video. By the end of this session, you'll be able to quickly generate polished, presentation-style videos using a library of AI actors.
1. Why Use Stock Avatars?
While using your own photo offers ultimate personalization, stock avatars have several key advantages, especially for professional or marketing content:
- Speed and Efficiency: You can skip the entire process of taking and preparing a perfect source photograph. Just pick an avatar and go.
- Professional Quality: Stock avatars are often recorded in studio conditions, ensuring high-quality visuals, lighting, and a polished appearance.
- Variety and Inclusivity: The libraries are vast, offering a wide range of ages, ethnicities, and styles. This allows you to choose a presenter that best represents your brand or connects with your target audience.
- Consistency: You can use the same avatar across a series of videos (e.g., a training course or a marketing campaign) to build brand recognition and a consistent feel.
2. Getting Started with HeyGen's Stock Avatars
One of the most popular tools for this is HeyGen, which offers a great selection of avatars on its free plan. Let's walk through how to use it.
The following video provides a clear, concise tutorial on getting started with HeyGen. It covers creating a free account, browsing the avatar library, and generating your first video.
Heygen AI Tutorial ✅ Create AI Avatar videos in Minutes [2026]
This video, 'Heygen AI Tutorial' by Future Systems, will guide you through the initial steps of using HeyGen.
Please watch from 00:33 to 04:38. Pay attention to the following parts: Signing up for a free account (00:33 - 01:57). Selecting a stock avatar and choosing different 'looks' or outfits (02:04 - 03:03). Entering a script and generating the video (03:03 - 04:38).
As you saw, the process is very straightforward. You select an avatar, choose a look, type in your script, and generate the video. To dive deeper into the customization options available, let's look at a textual guide.
How to Use HeyGen: A Step-by-Step Guide
The article 'How to Use HeyGen' from CreativAI Tools provides more detail on the customization possibilities that make your avatar video feel professional.
Please read the sections titled 'Step 2: Choose Your Avatar & Enter Your Script' and 'Step 3: Choose Voice & Customize Audio'. Focus on the variety of avatars available and the extensive options for customizing the voice (tone, speed, pitch, emotion), which are key to matching the avatar to a professional presentation style.
By combining the avatar selection with voice customization, you can create a presenter that perfectly fits the tone of your message—whether it's energetic and cheerful for marketing, or calm and professional for training.
3. Your Turn: Creating a Professional Intro in CapCut
Now let's apply these concepts in CapCut, your preferred tool. CapCut also includes a library of pre-made AI avatars that you can use directly within your projects.
The process is very similar to what we saw with HeyGen. This resource from CapCut's blog explains how to find and use them.
Make A Talking Avatar AI for Free Online with Realistic Look & Sound
The article 'Make A Talking Avatar AI for Free Online with Realistic Look & Sound' explains how to use CapCut's web-based AI avatar tool.
Please read the first three sections of the article. Focus on the 'Easy steps to use CapCut Web' for the core workflow, the 'Key features' to understand what you can customize (like appearance and language), and the 'Tips' section for advice on adding professionalism through pauses and tone adjustments.
Your Task (15 minutes)
It's time to create a short, professional video using a CapCut stock avatar.
- Open CapCut (either the web or desktop version).
- Find and select the AI Avatar feature.
- Browse the library and choose an avatar that looks suitable for a professional business or training presentation.
- In the script box, write a short, two-sentence welcome message. For example:
"Welcome to our new employee onboarding series. In this first module, we will cover our company's core values and mission."
- Choose a voice that sounds clear and professional. Experiment with the different voice options available.
- Generate the video. Pay attention to how the final output looks and sounds.
This exercise will solidify your ability to quickly produce a polished video clip ready for a larger presentation or course.
4. Advanced Customization: A Look at Paid Tools
Free tools are fantastic, but as you grow, you might need more granular control over your brand's image. Professional platforms, which are typically subscription-based, offer advanced customization.
Synthesia is a popular example. While it requires a paid plan, it demonstrates features that are crucial for corporate branding. The following video showcases how you can customize an avatar's appearance.
The Only Synthesia AI Tutorial You Will Ever Need (FOR BEGINNERS)
In 'The Only Synthesia AI Tutorial You Will Ever Need' by Simon Crowe, you can see some advanced customization options. We'll focus on how to tailor an avatar's look to match a brand.
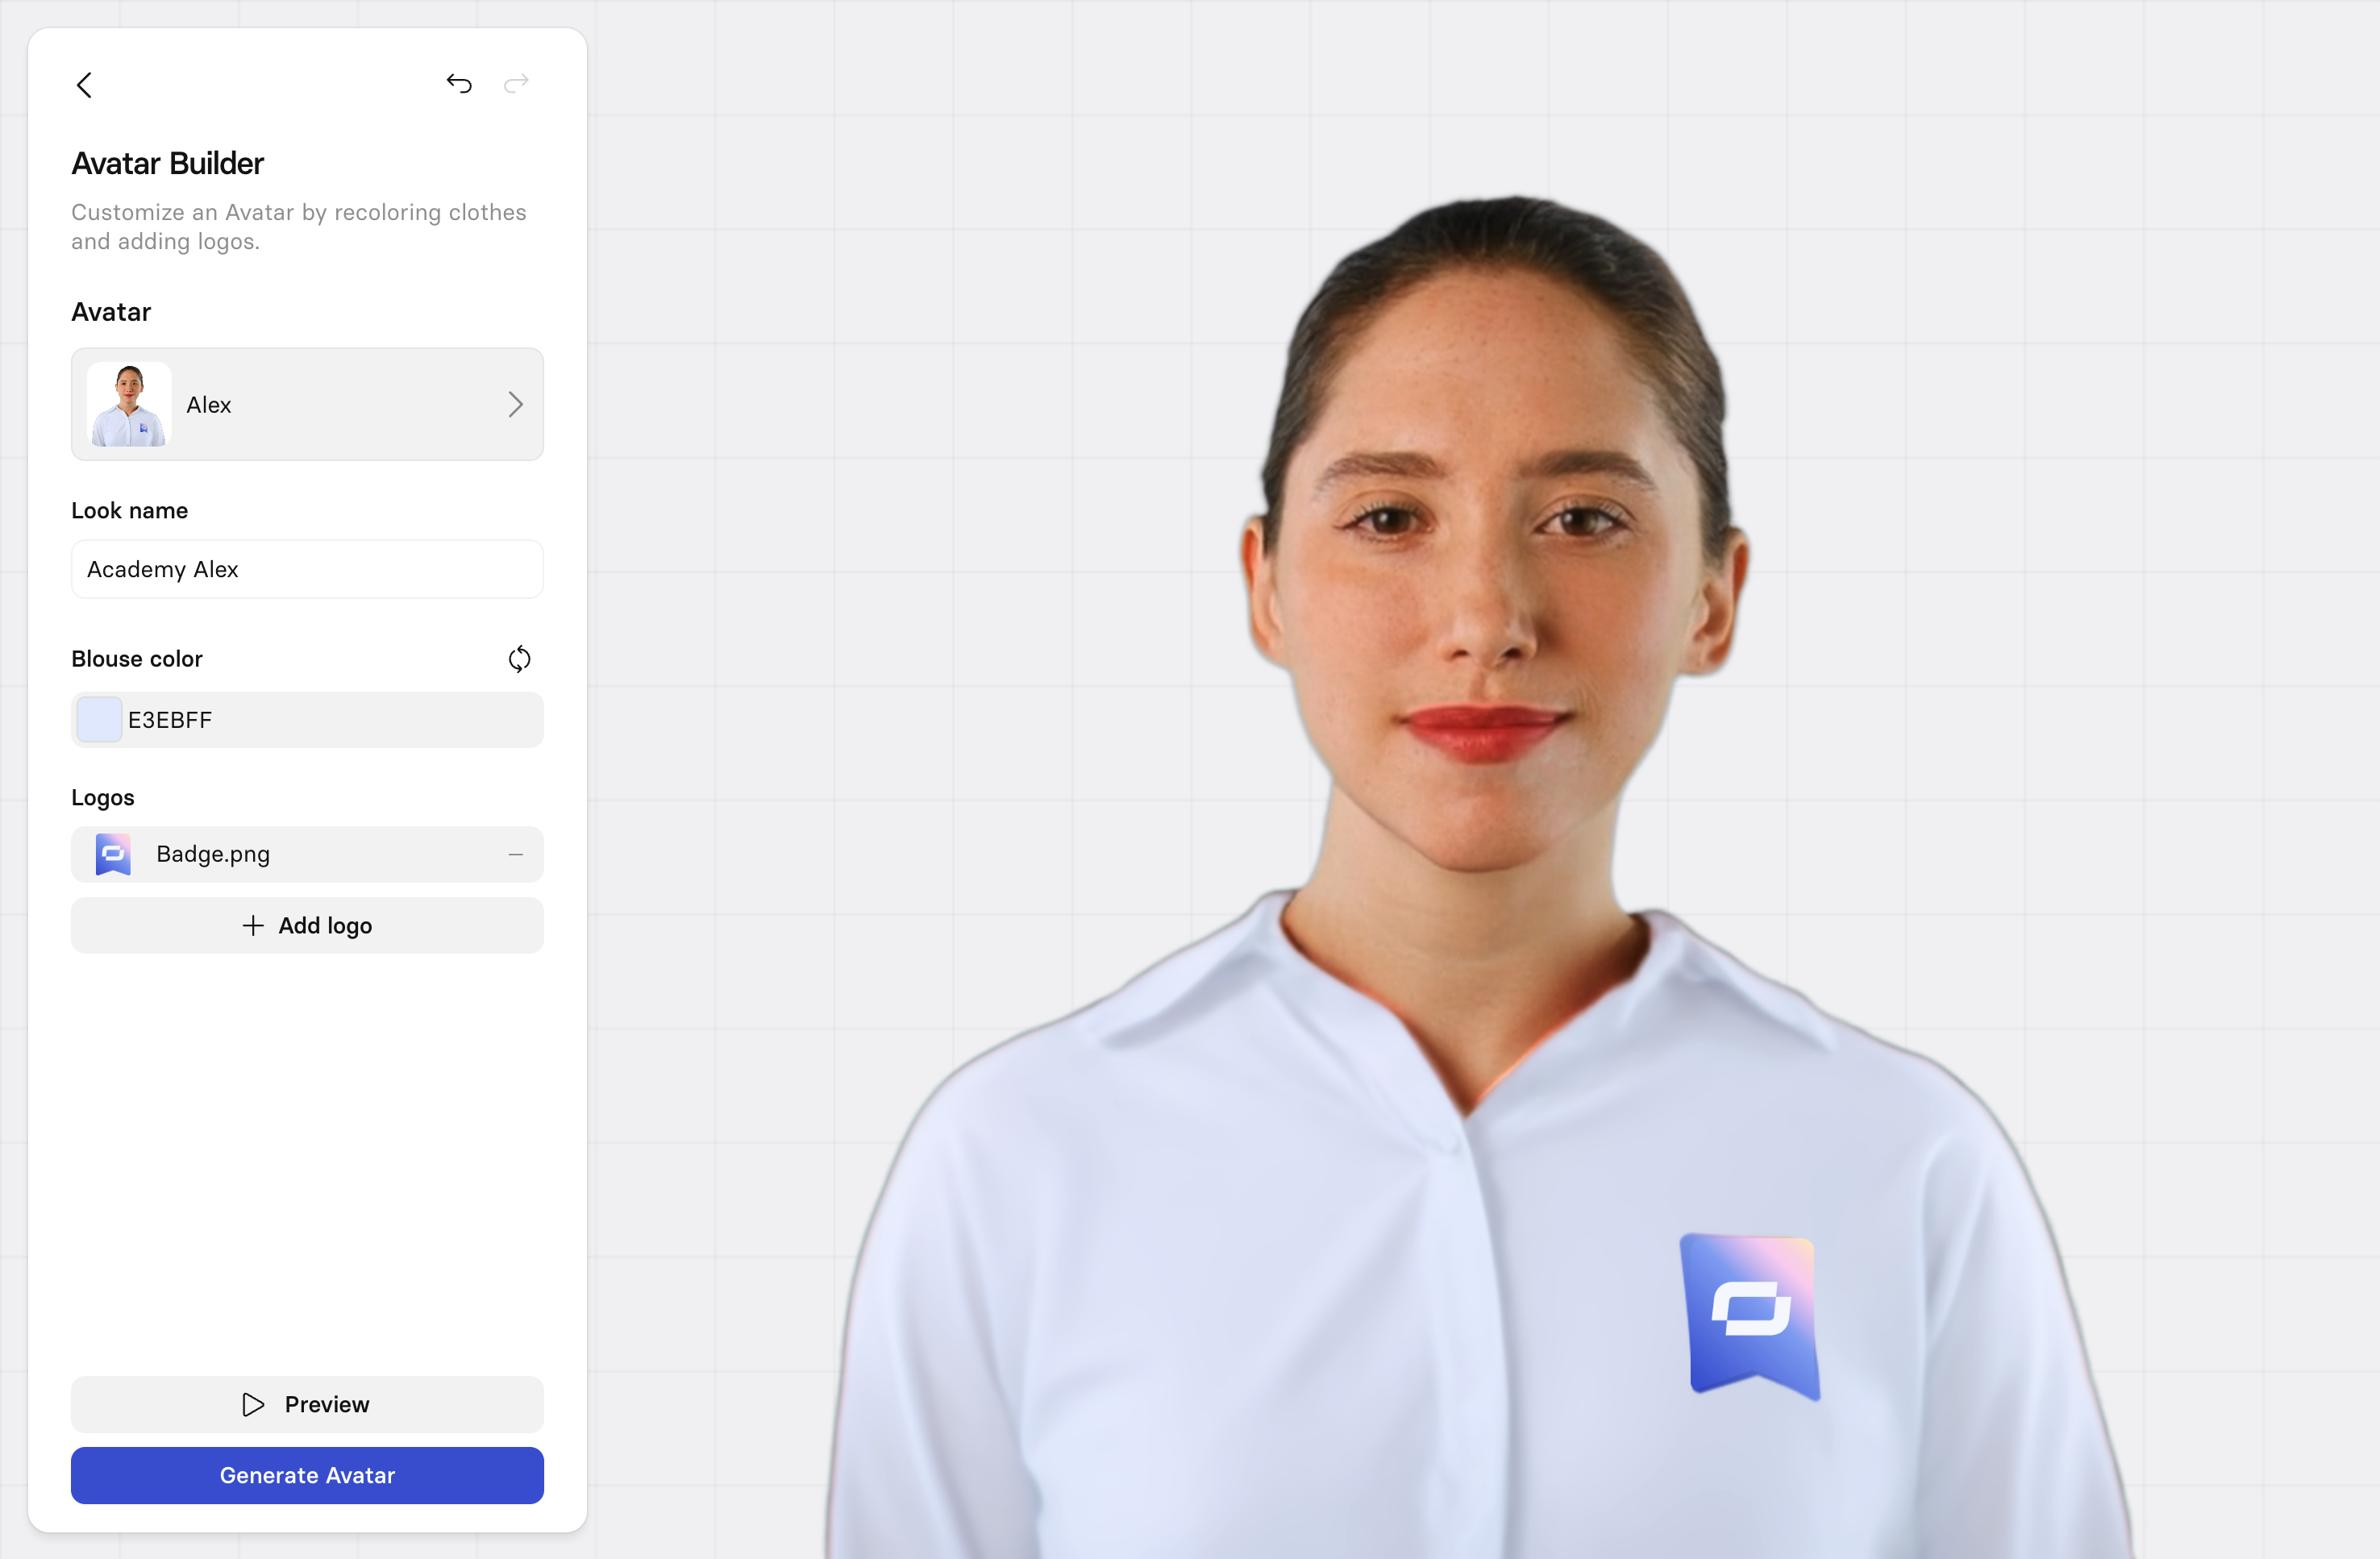
Please watch from 01:53 to 03:43. Notice how the user can change the avatar's shirt color to a specific brand hex code. This is a powerful feature for maintaining brand consistency.
This level of detail—matching clothing colors or even adding a company logo to the avatar's shirt—is what sets premium tools apart and is something to keep in mind for future projects.
Conclusion
In this lesson, you've learned how to leverage pre-made stock avatars to create professional videos quickly and efficiently.
Key Takeaways:
- Stock avatars provide speed, quality, and consistency, making them ideal for marketing, training, and presentation videos.
- Free-tier tools like HeyGen and your preferred editor CapCut offer robust libraries of stock avatars and customization options.
- Customization for a professional look involves selecting an appropriate avatar, choosing a clear and suitable voice, and adjusting the tone and pacing of the speech.
- Advanced (paid) platforms like Synthesia offer deeper branding capabilities, such as custom clothing colors and logos.
Next Lesson Preview:
You now have a complete set of skills for generating AI assets: scripts, images, voiceovers, and talking avatars (both custom and stock). In the next module, we'll move into the final stage of production: assembly. You'll learn how to organize all these assets and begin editing them together in CapCut to build your final video.