Hello! Welcome to the final lesson in our module on dialogue and lip-syncing.
In our last session, you mastered the technical process of making a character speak by using AI lip-sync tools. You can now take a silent video and a dialogue track and merge them into a synchronized clip. This is a huge step!
But a conversation is more than just synced lips. It's a dance of words, pauses, and reactions. Today, we focus on the art of making that dance feel real. Our learning outcome is to adjust the timing of dialogue and non-verbal reactions for a naturalistic performance. We will move from the technical task of syncing to the artistic craft of editing, ensuring your characters' interactions are compelling and believable.
Our approach will have two parts:
- Crafting the Audio Performance: We'll start by refining the dialogue at the source, using advanced features in text-to-speech tools to control pacing and emotion.
- Editing the Visual Performance: We'll then move into the video editor to learn how to cut between characters in a way that mimics the natural flow of a real conversation.
Part 1: Crafting the Audio Performance
Before you even think about video editing, you can dramatically improve the naturalism of your dialogue by fine-tuning the AI voice generation. A flat, robotic delivery will undermine your scene no matter how skillfully you edit it. The goal is to generate an audio file that already sounds like a performance.
Controlling Pace and Pauses
In real speech, pauses are just as important as words. They convey thought, hesitation, or emphasis. Simply adding a period or comma in your text-to-speech prompt doesn't always create a natural-sounding pause.
This first short video offers a powerful technique for inserting deliberate, timed pauses into your dialogue using ElevenLabs.
4 Elevenlabs Voice Tips in 3 Minutes (add pauses, emotions & dubbing)
The video '4 Elevenlabs Voice Tips in 3 Minutes' by Greg Preece provides some excellent, actionable advice. We'll start with his tip on creating clean, natural pauses.
Watch from the beginning to 00:53. Pay close attention to the specific code snippet he uses and the audible difference it makes compared to just using punctuation.
As you saw, adding <break time="1s" /> (or any duration) gives you precise control over pacing, which is a fundamental tool for making dialogue feel less rushed and more considered.
Injecting Emotion and Non-Verbal Cues
Beyond pauses, you need to guide the AI on how to deliver a line. Is the character happy, angry, or sarcastic? Are they sighing, laughing, or whispering? Modern text-to-speech models allow you to embed these performance directions directly into your script.
The next video from ElevenLabs introduces "audio tags," which are a game-changer for directing non-verbal reactions.
How to make AI Voiceovers that sound Human (2025 ElevenLabs Text to Speech Tutorial)
The video 'How to make AI Voiceovers that sound Human' explains how to use contextual tags to direct the AI's emotional delivery. This is where you can add those crucial non-verbal reactions.
Please watch from 03:12 to 04:45. Focus on how adding a simple description in square brackets, like [laughs], completely changes the performance of the line.
This technique of adding descriptive text is incredibly powerful. You can combine it with the "write it like a book" method, where you add a descriptor like "... he said sarcastically" to influence the tone, and then simply edit that part of the audio file out later.
By combining controlled pauses and descriptive audio tags, you can generate dialogue that is rich with personality and emotion before it ever touches your video timeline.
Test your understanding!
Imagine your character has to say the line: "You're finally here." How would you write three different prompts for an AI voice generator to convey the following emotions?
- Relief and happiness.
- Anger and impatience.
- Sarcasm.
Use the techniques of audio tags, descriptive text, and controlled pauses.
Show answer
Here are some possible solutions:
- Relief:
[sighs] You're finally here. I was so worried.(The AI will infer relief from the sigh and the following sentence). - Anger:
You're <break time="0.5s" /> finally here. I've been waiting for an hour. He said, angrily.(The pause adds emphasis, and the angry descriptor guides the tone). - Sarcasm:
[laughs dryly] Well, look who it is. You're finally here.(The dry laugh sets a sarcastic tone).
Part 2: Editing the Visual Performance
Now that you have well-performed audio clips, it's time to assemble them in your video editor. If you simply cut from Speaker A to Speaker B the instant they start talking, you create a "ping-pong" effect that feels unnatural and jarring. The solution lies in a professional editing technique called split edits.
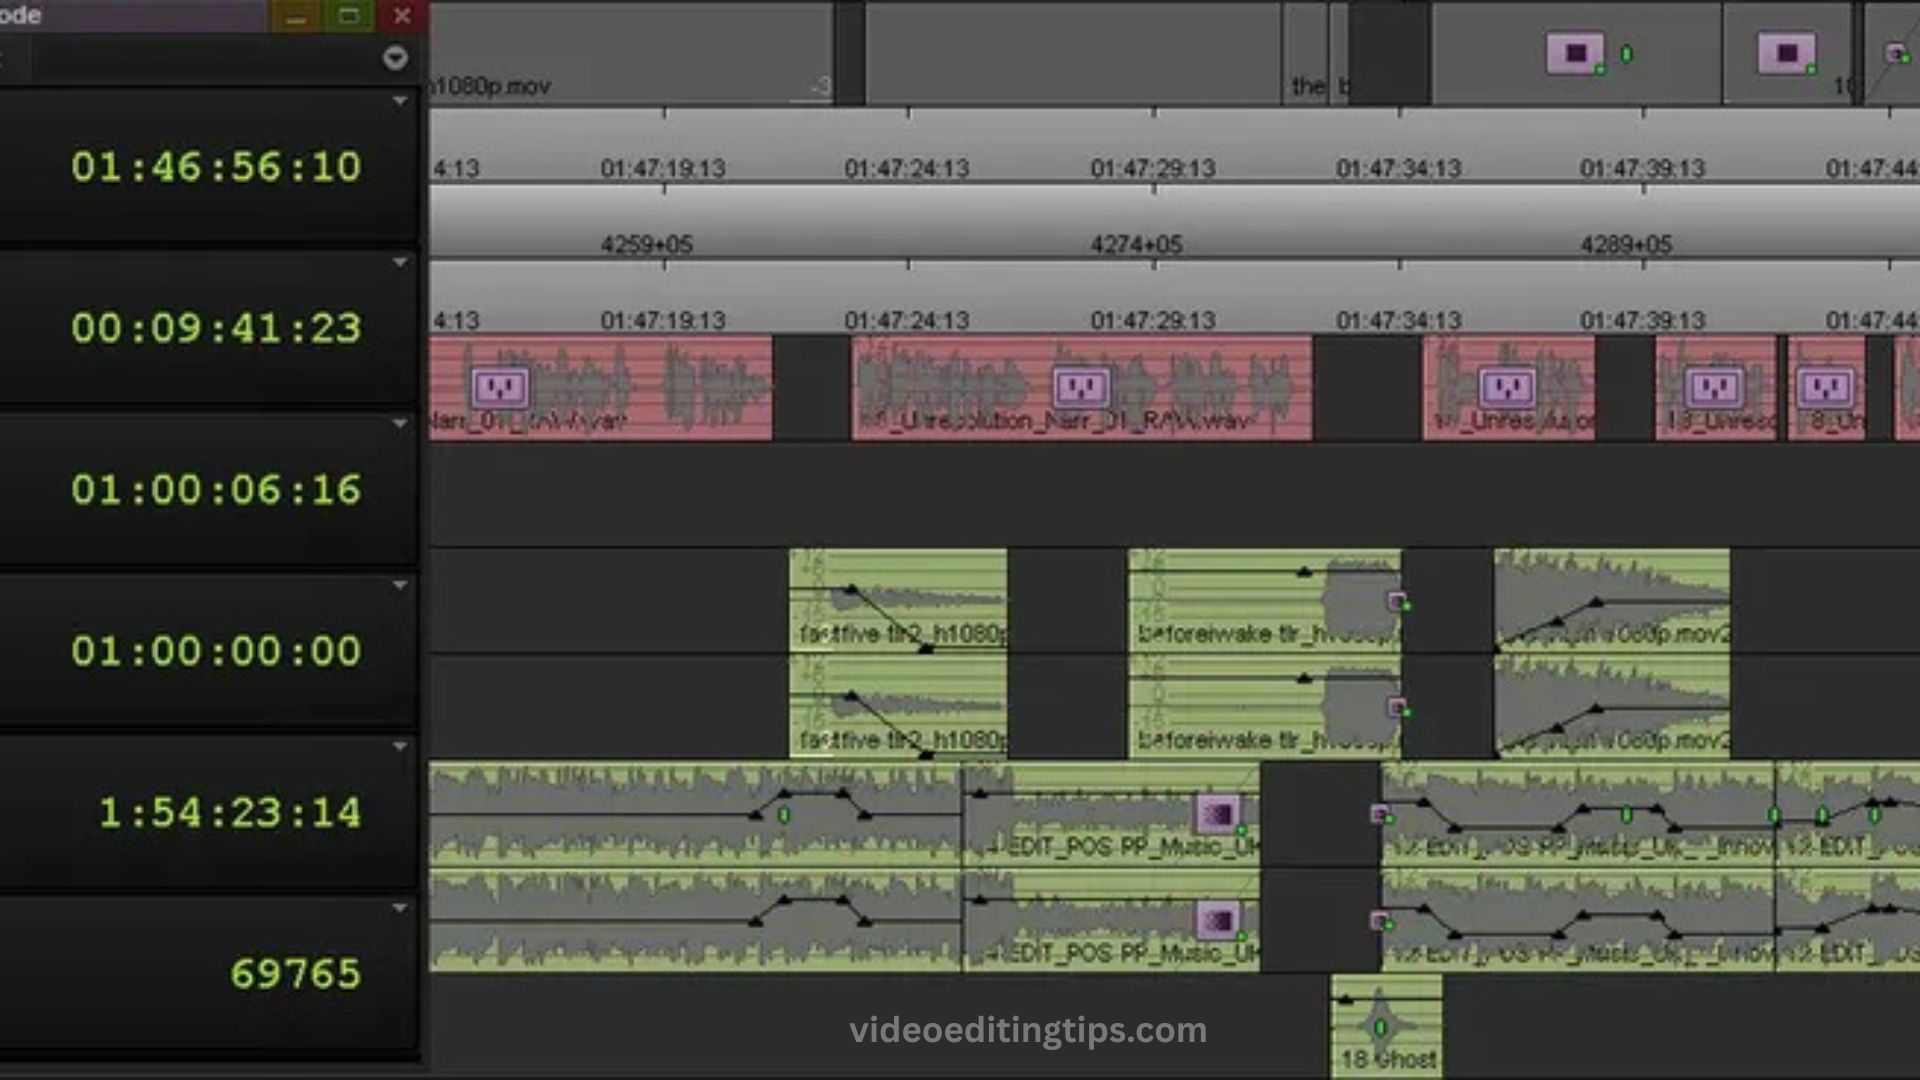
The two most common types of split edits are J-cuts and L-cuts. Mastering them is key to creating naturalistic dialogue scenes.
What are J-Cuts & L-Cuts? Editing Techniques Explained
We will now dive into the definitive guide on this topic. The article 'What are J-Cuts & L-Cuts? Editing Techniques Explained' from SpotlightFX is a fantastic, in-depth resource that we will use for the rest of this section.
First, please read three sections to get a solid foundation: 'Defining the Cuts': This explains what J-cuts and L-cuts are and where their names come from. 'The Mechanics': This gives a general, software-agnostic overview of how to create them. 'Why Use Split Edits in Dialogue?': This is the most important section. It explains the purpose behind these edits—naturalism, reaction shots, and anticipation.
The Power of the L-Cut for Reactions
As the article explains, the L-cut is your most important tool for showcasing non-verbal reactions.
- L-Cut: The audio from the current speaker (Clip A) continues to play after the video has cut to the listener (Clip B).
Imagine this:
- Clip A: Your first character says, "I have to tell you something serious."
- The Cut: As they are saying "...something serious," you cut the video to show the face of your second character (Clip B).
- Clip B: The audio "...something serious" finishes playing while we are looking at the listener's worried expression.
This L-cut focuses the audience's attention on the impact of the words, not just the words themselves. It makes the listener an active participant in the scene, which is crucial for a naturalistic performance.
The Role of the J-Cut for Flow
The J-cut is the inverse and is excellent for creating smooth transitions and building anticipation.
- J-Cut: The audio from the next speaker (Clip B) starts playing before the video cuts to them.
Imagine the continuation of our scene:
- Clip A: We are still holding on the listener's worried face.
- The Cut: We hear the beginning of their reply, "What is it?" before the video cuts.
- Clip B: The video cuts to the second character as they finish their line, "...is it?".
This J-cut pulls the audience into the next shot, creating a seamless flow and making the conversation feel more dynamic and less like a turn-based game.
Test your understanding!
A detective reveals a key piece of evidence to a suspect. The line is, "We found your fingerprints at the scene." To maximize the drama and focus on the suspect's shock, which type of split edit would you use, and at what point in the line would you make the video cut?
Show answer
You would use an L-cut. The ideal place to cut would be just before the most impactful words. You would let the detective start the line, "We found your fingerprints..." and then cut to the suspect's face just as the words "...at the scene" are spoken. This forces the audience to experience the damning evidence by watching the suspect's reaction.
Best Practices for Dialogue Editing
Using these techniques effectively is an art that requires practice. The goal is for the editing to be felt but not seen.
What are J-Cuts & L-Cuts? Editing Techniques Explained
To wrap up, let's review some expert advice. Please read the final section of the same article.
Read the section 'Mastering the Craft: Best Practices for Dialogue Editing'. Pay special attention to the tips 'Prioritize Sound and Rhythm' and 'Cut with Intention - Direct Attention'.
Conclusion
Today you've bridged the gap between a technically correct lip-sync and an emotionally resonant performance. You now have a complete workflow for creating compelling dialogue scenes, from directing the AI voice actor to orchestrating the final visual edit.
Key Takeaways:
- A naturalistic performance begins with the audio. Use tools like timed pauses and audio tags to create expressive, well-paced dialogue at the generation stage.
- Avoid robotic "ping-pong" editing by using split edits.
- Use L-cuts to keep the focus on a character's reaction, letting the speaker's audio play over the listener's face. This adds emotional depth.
- Use J-cuts to create anticipation and smooth the flow of a conversation, letting the next speaker's audio begin before we see them.
- Every edit is a choice that directs the audience's attention. Decide whether the words or the reaction to them is more important at any given moment.
Preview of the Next Lesson:
You are now equipped to create powerful, character-driven scenes. In our next module, "Scaling the Narrative," we're going to zoom out. You'll learn how to arrange these scenes into a longer, more complex story. Our first lesson will be: Expand the 3-act structure for a 3-5 minute narrative by adding a midpoint or subplots. We'll take the foundational story structure you learned and build upon it to support your goal of creating 3- and 5-minute videos.