Hello! Welcome back to your sketching course.
Introduction
In our last lesson, we focused on "drawing through"—visualizing and drawing objects as if they were transparent wireframes. You practiced constructing the hidden edges of cubes and the complete back-ellipses of cylinders. This skill is the absolute foundation for what we're doing today.
This lesson addresses the learning outcome: Construct simple composite objects by combining and intersecting basic primitives.
We're going to take the individual forms you've been practicing and start sticking them together. You'll learn how to draw two or more forms (like a cube and a cylinder) as they pass through each other, creating a single, more complex object. Understanding how to convincingly merge these primitives is how artists construct almost everything, from a simple object like a mug to the complexities of the human figure.
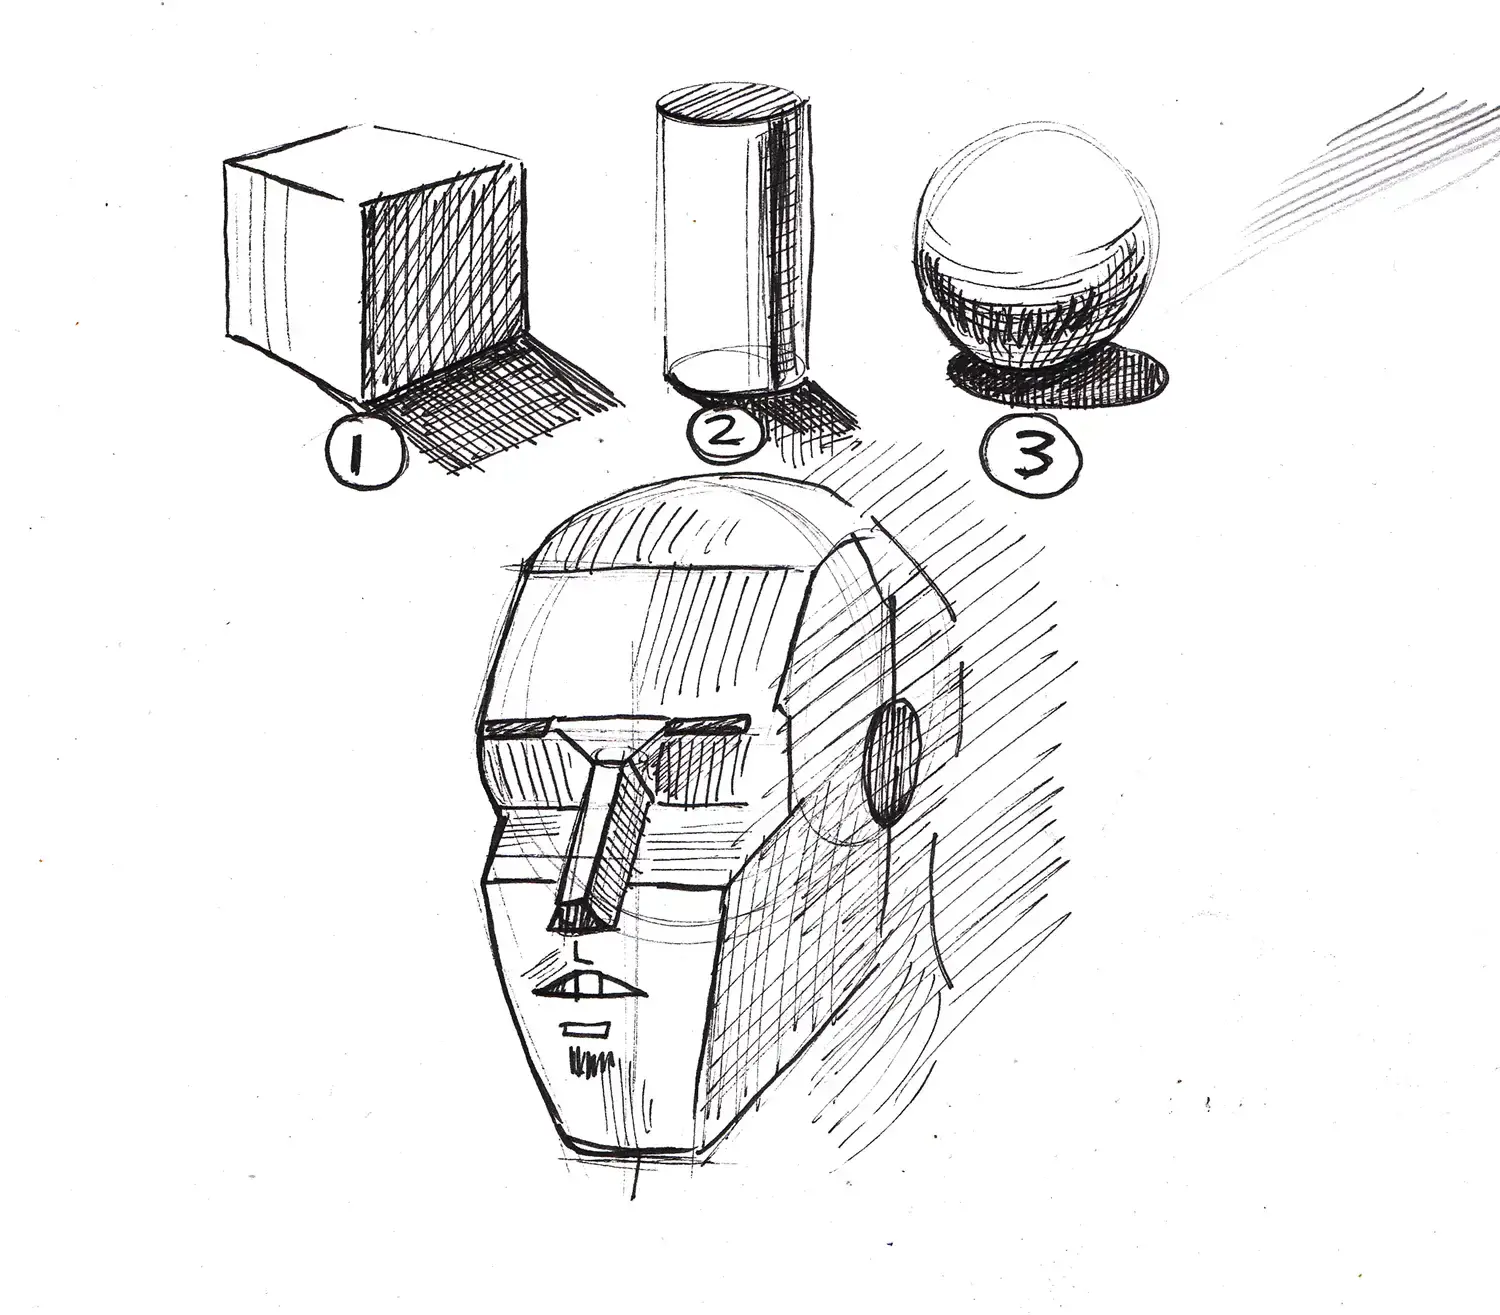
From your background in programming, you know that complex systems are built by combining simpler, well-defined components like functions or objects. Drawing works in a very similar way. Today, we learn the syntax for combining our "primitive" components.
1. The Theory of Intersection
Before we draw, let's establish a clear mental model. What exactly is an intersection line? It's the line that represents where the surfaces of two different forms meet and pass through one another.
The following text from Drawabox explains this concept with perfect clarity.
Contour Lines, Texture and Construction | Form Intersections
Let's read the section titled 'Understanding how forms intersect' from the Drawabox article, 'Contour Lines, Texture and Construction'. This provides the core theory you'll need.
Please read the section titled 'Understanding how forms intersect'. The key takeaway is the bolded sentence: 'Intersection lines sit exactly where they are able to run along the surfaces of both forms simultaneously'. Grasping this idea is the first step.
The article makes a critical point: until you draw the intersection, the relationship between the two forms is ambiguous. By drawing the intersection line, you are the one who defines and explains how these forms relate to each other in 3D space.

2. A Guided Demonstration: Form Intersections in Action
Now that we have the theory, let's watch how this is done in practice. The "Form Intersections" exercise from Drawabox is one of the best drills for developing this skill.
This video provides a complete walkthrough. It's important because it not only shows you how but also prepares you for the challenge. As the instructor notes, this is a difficult exercise, and the goal is progress, not perfection.
Drawabox Lesson 2, Exercise 5: Form Intersections
We'll watch a demonstration from the 'Drawabox Lesson 2, Exercise 5: Form Intersections' video by Uncomfortable. We'll watch it in two parts.
First, watch from the beginning to 05:35. Pay close attention to the setup advice: This exercise is meant to be difficult. The main goal is drawing forms that feel consistent in the same 3D space. Crucial tip: Use 'equilateral' forms (not stretched) and shallow foreshortening to keep the exercise manageable. After that, skip ahead and watch from 13:16 to 20:53. This is the core demonstration. Observe how the artist: Draws the forms 'through' each other first (as you learned in the last lesson). Makes a decision about which form is in front. Draws the intersection line by imagining how one form's surface cuts into the other. Uses line weight (darker lines) to clarify which parts are closer to the viewer.
3. Practice Drill: Constructing Composite Objects (25 minutes)
It's your turn to apply these concepts. This exercise will follow the exact structure of the Drawabox assignment.
Materials: Paper and your preferred drawing tool (pen or pencil).
Before you begin, let's quickly review the common mistakes to avoid, as outlined in the Drawabox lesson material (LINK).
- Don't use stretched forms: Stick to forms that are roughly cube-like, sphere-like, etc.
- Fill the page: Don't just draw a few small groups. Create a dense network of overlapping forms.
- No "clean-up" pass: Draw each line with confidence using the ghosting method. You can add line weight later, but don't go back over lines slowly to "correct" them. This undermines the confidence of your linework.
Step 1: The Underdrawing - A Field of Forms (10 minutes)
Your first task is to populate your page with basic primitives.
- Start by drawing a box in the middle of your page.
- Continue adding more forms—cubes, cylinders, spheres, cones, and pyramids—so that they overlap with each other. Remember to draw through every form, making them look like transparent glass objects.
- Keep adding forms until your page is reasonably full with a complex, overlapping cluster.
Step 2: The Main Event - Defining the Intersections (15 minutes)
Now, go back into your "field of forms" and define their relationships.
- Pick two overlapping forms to start, preferably two boxes, as their flat planes are the most straightforward.
- Decide which box is in front of the other.
- Draw the intersection lines where the faces of one box cut through the other. Remember the principle: the intersection line lies on the surface of both forms. For two boxes, these lines will be straight.
- Once you've done one or two box-box intersections, try a more complex one, like a box intersecting a cylinder. As you saw in the video, the intersection line on the box's flat face will follow the cylinder's curve.
- Use a heavier line weight on the parts of the forms that are in front to help clarify the spatial relationships in your complex drawing.
- Continue this process for several pairs of forms on your page.
Don't be discouraged if this feels difficult or your intersections look "wrong." This exercise is a workout for your spatial reasoning. The process of trying, failing, and analyzing is the learning.
Conclusion
Great job tackling a tough but essential exercise. You've moved from drawing isolated forms to creating composite objects by combining and intersecting them.
Key Takeaways:
- Complex objects can be constructed by combining simple primitives.
- An intersection is the line or shape formed where the surfaces of two forms meet.
- The "drawing through" technique is non-negotiable for this task; you must know where the hidden surfaces are to draw an intersection accurately.
- The process is: draw transparent forms -> decide their spatial relationship -> draw the intersection lines -> use line weight to clarify depth.
In our next lesson, "Sketch everyday objects from observation by first establishing their underlying forms," you'll put this skill to practical use. Instead of building up forms from imagination, you'll learn to look at a real-world object, deconstruct it into its primitive components, and then draw it. Today's practice was the perfect preparation for that.