Hello! In our last lesson, you learned the fundamentals of Docker and how to write a multi-stage Dockerfile to package a .NET application into a portable, lightweight image. This skill allows you to create consistent, self-contained application packages.
Today, we'll answer the next logical question: "Now that I've built an image, where do I store it in the cloud?" This lesson introduces Azure Container Registry (ACR), a private, managed registry service. You'll learn what ACR is for and, most importantly, how to create your own registry instance using the Azure CLI, which is a key skill for the AZ-204 exam. This sets the stage for deploying your containerized applications to Azure.
By the end of this 60-minute lesson, you will be able to create and configure an Azure Container Registry instance using Azure CLI commands, ready to store your Docker images.
1. What is Azure Container Registry?
Before we start creating resources, let's clarify what Azure Container Registry is and why you need it. In the previous lesson, you built a Docker image on your local machine. To use that image in the cloud (for example, with Azure App Service, Azure Kubernetes Service, or Azure Container Instances), you need to push it to a registry that your Azure services can access.
While Docker Hub is a popular public registry, enterprises require a private, secure, and geographically close location to store their container images. Azure Container Registry (ACR) is Azure's solution for this. It is a managed, private Docker registry service based on the open-source Docker Registry 2.0.
Watch this brief introductory video to get a clear overview of ACR's purpose.
What is Azure Container Registry - How to create Azure Container Registry Tutorial | Whizlabs
The video "What is Azure Container Registry" from Whizlabs provides a concise explanation of ACR and its role.
Watch the first part of the video from the beginning up to the overview. Focus on the distinction it makes between a public registry like Docker Hub and a private one like ACR.
In essence, you can think of ACR as your private, secure repository for container images, analogous to how you might use a private NuGet feed for your .NET libraries.
2. Creating a Registry with the Azure CLI
While you can create an ACR instance through the Azure portal, the AZ-204 exam and professional automation workflows heavily emphasize using the Azure CLI. Your experience with scripting and Azure DevOps will make this process feel familiar.
Prerequisites: Login and Resource Group
Before creating any Azure resource via the CLI, you need to do two things:
- Log in to your Azure account.
- Ensure you have a resource group to contain the new resource.
If you aren't already logged in, open your terminal and run:
az login
This will open a browser window for you to authenticate.

Next, create a resource group. An Azure resource group is a logical container for related Azure resources. All resources must belong to a resource group.
# Example command to create a resource group
az group create --name myContainerResources --location eastus
The az acr create Command
With the prerequisites in place, you are ready to create the registry itself. The primary command for this is az acr create. This command requires several parameters, the most important being:
--name: A globally unique name for your registry.--resource-group: The name of the resource group you just created.--sku: The service tier for the registry.
ACR offers several SKUs (service tiers), each providing different levels of performance, storage, and features like geo-replication. The common tiers are:
- Basic: A cost-effective starting point for development and learning.
- Standard: Offers increased storage and image throughput, suitable for many production scenarios.
- Premium: Provides the highest performance, the most storage, and advanced features like geo-replication and private endpoints.
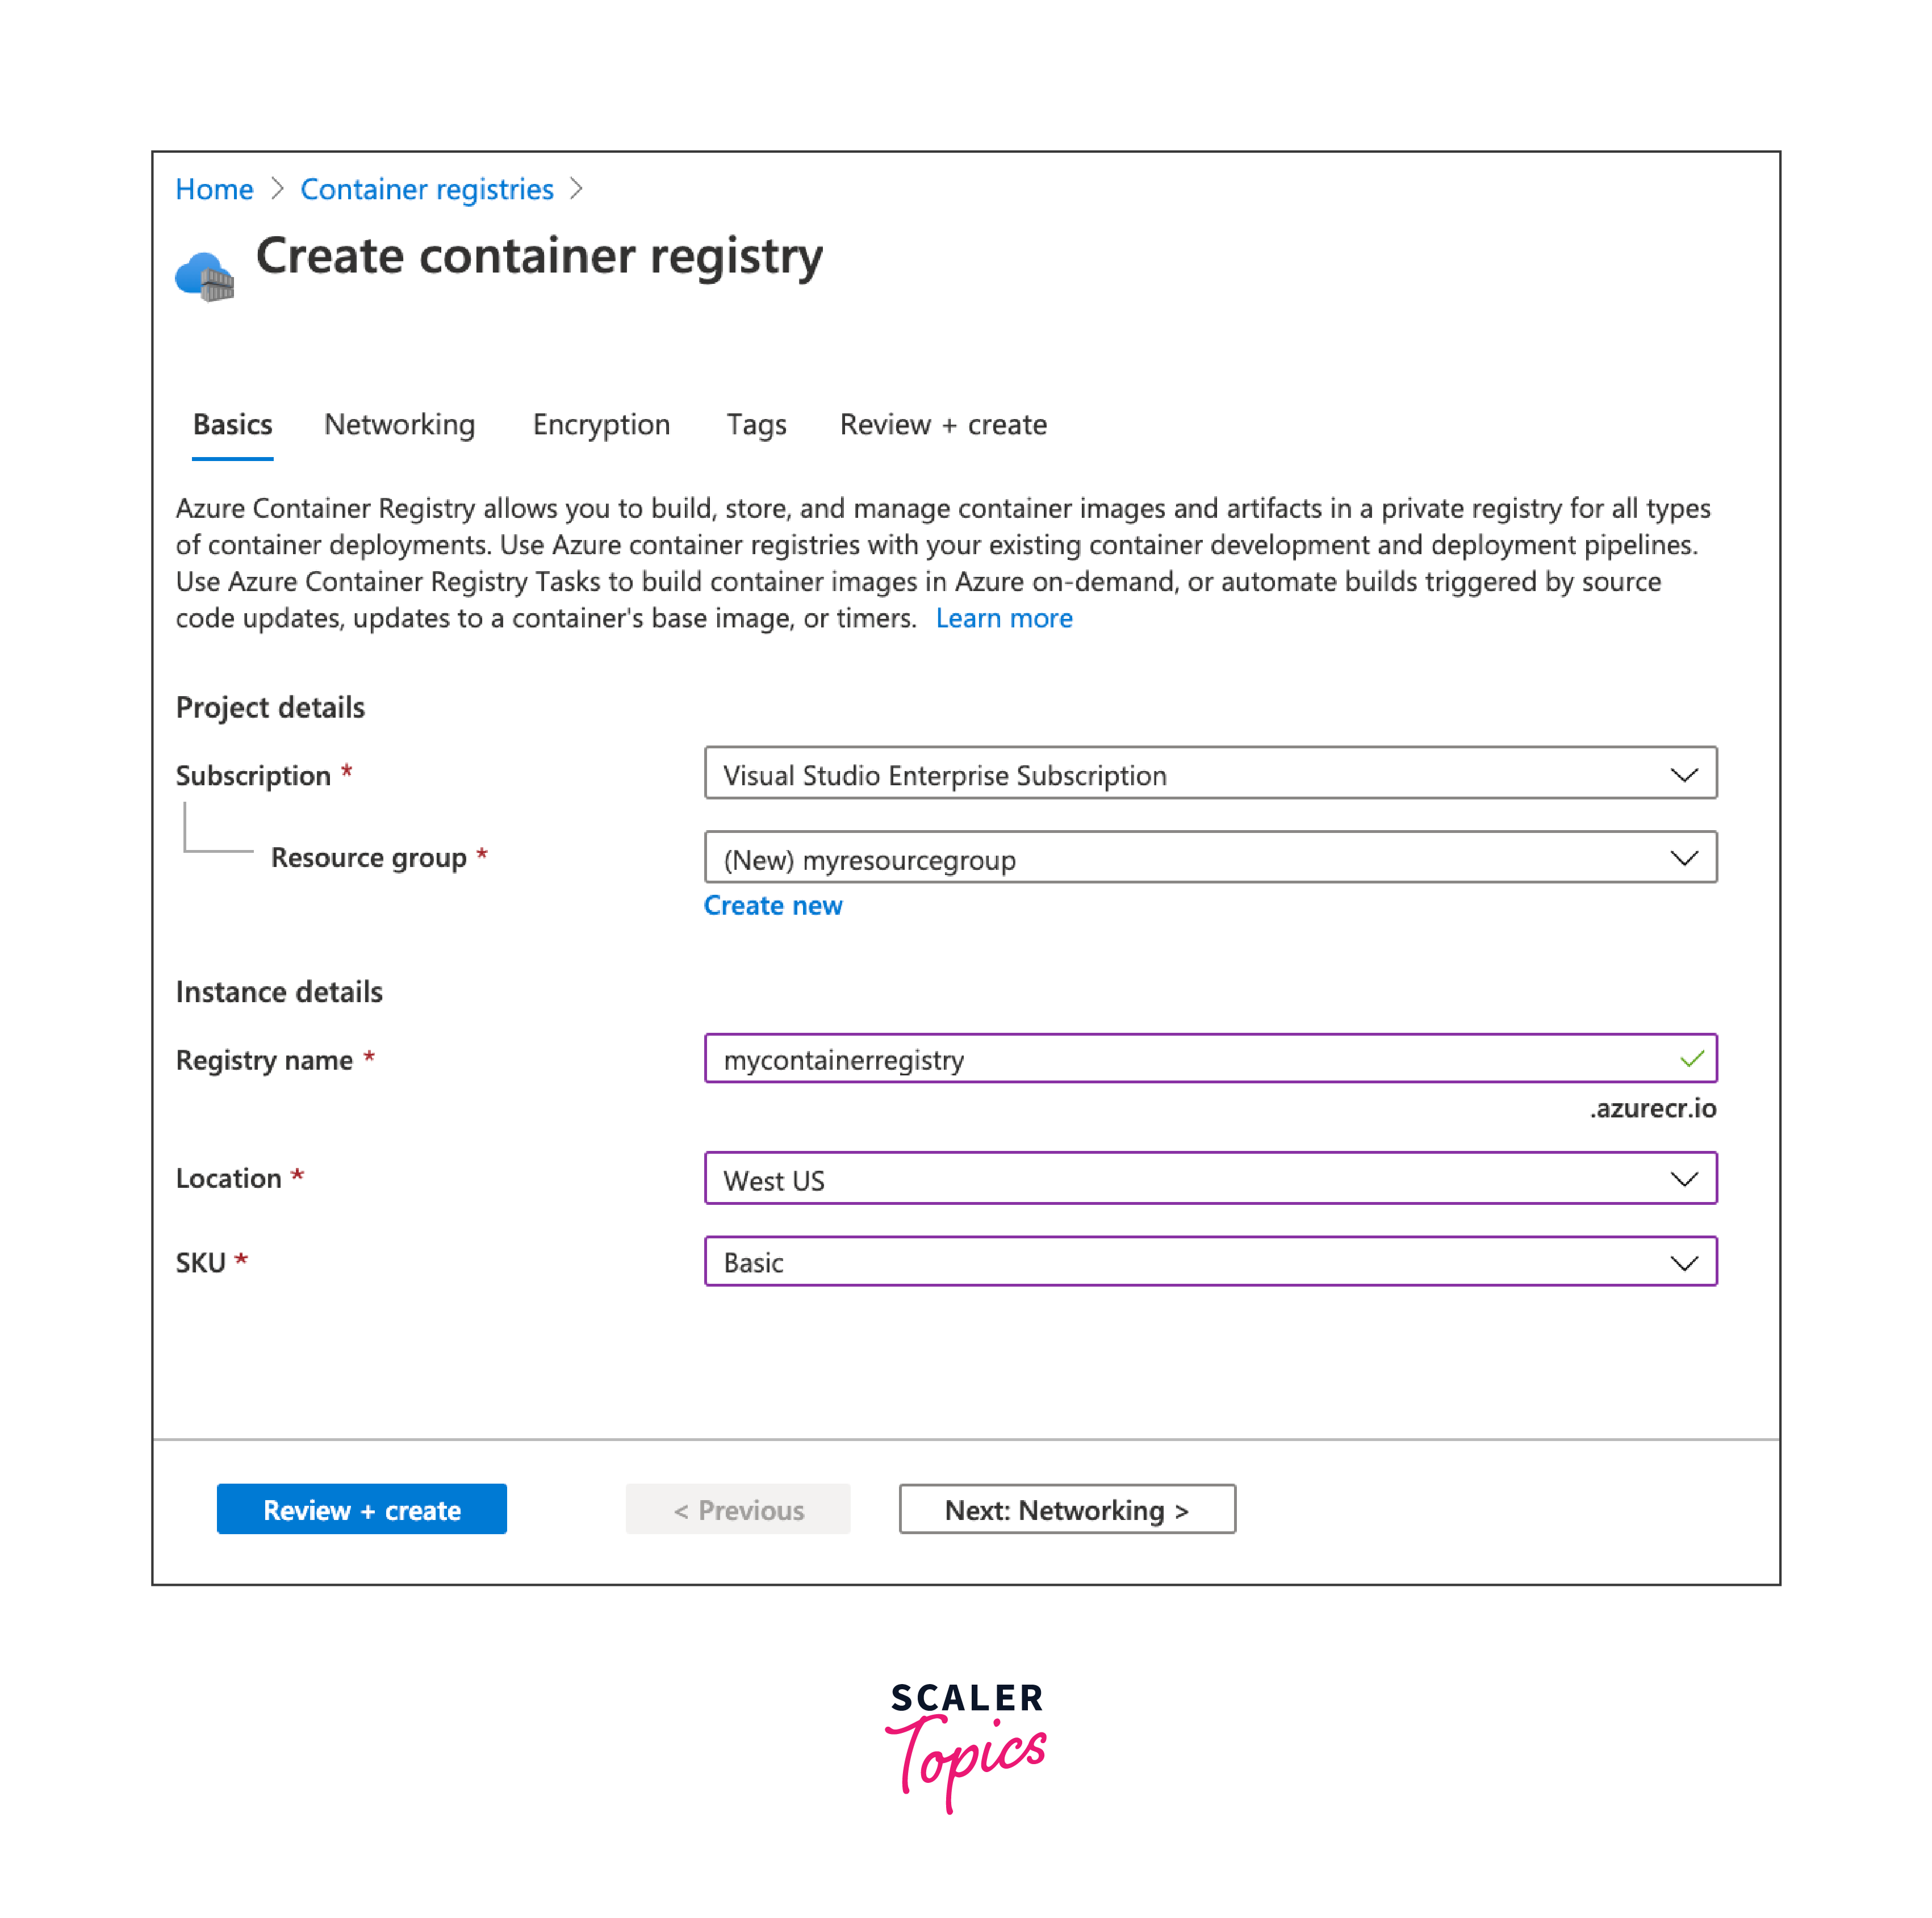
Now, let's dive into the official documentation to see the command in detail.
Quickstart: Create a private container registry using the Azure CLI
This Microsoft Learn quickstart provides the definitive guide to creating an ACR instance with the Azure CLI.
Please read the following sections: Start with Create a resource group to review the command we just discussed. Then, skip to the section titled Create a container registry. Read this section carefully to understand the az acr create command and its parameters. Pay attention to the example command and the JSON output it produces. The output contains a critical piece of information: the loginServer. Finally, read the short section Log in to registry to learn the command needed to authenticate your Docker client with your new ACR instance.
As you saw in the documentation, a typical command to create a standard registry looks like this:
az acr create --resource-group myContainerResources --name youruniqueregistryname --sku Standard
Remember to replace youruniqueregistryname with a name that is unique across all of Azure.
After running the command, Azure will provision the registry and return a JSON object describing it. Make a note of the loginServer value from the output (e.g., youruniqueregistryname.azurecr.io). You will need this in the next lesson.
3. Authenticating Your Docker Client
Creating the registry is the first step. To allow your local Docker client to push images to it, you must first authenticate. The Azure CLI provides a convenient helper command for this.
As you read in the Microsoft documentation, the command is az acr login:
az acr login --name youruniqueregistryname
This command uses the Azure CLI to retrieve an authentication token and then transparently logs your Docker client in. You only need to provide the short name of your registry, not the full login server URL. After running this, you'll see a "Login Succeeded" message, confirming that your machine is now authorized to interact with your private registry.
Conclusion
In this lesson, we established the role of Azure Container Registry as a private, secure repository for your Docker images. You've successfully walked through the process of creating and authenticating to an ACR instance using the Azure CLI, a core skill for automating container workflows in Azure.
Here are the key takeaways:
- Azure Container Registry (ACR) is a private, managed Docker registry service for storing and managing your container images in Azure.
- Creating a registry with the CLI requires you to first
az loginand create a resource group usingaz group create. - The primary command to create a registry is
az acr create, where you must specify a unique name, a resource group, and a service tier (--sku). - After creation, you must authenticate your local Docker client to the registry using
az acr login --name <registry-name>.
You now have a private registry in Azure waiting for your images. In our next lesson, we will put this to use. We'll take the .NET application image you learned to build previously and push it to your new Azure Container Registry instance, making it available for deployment in the cloud.