Welcome back. In our last lesson, you began the foundational work for your photo book by brainstorming and sketching out its central concept. You started to answer the critical questions of what you want to say and why it matters. Now, we will translate those abstract ideas into a tangible, sensory language.
This lesson is about creating a mood board. Given your background in graphic design and fine arts, you are likely familiar with mood boards as a tool for client projects or creative briefs. Here, we will adapt that process for a deeply personal artistic endeavor. Your mood board will become the visual and emotional North Star for your photo book, a curated collection that defines its aesthetic, captures its tone, and guides your creative decisions from shooting to sequencing. It is the bridge between your initial concept and the images you will create.
What is a Mood Board for an Artistic Project?
Before we begin, it's essential to clarify our terms. For an artistic project, a mood board is more than a casual collection of images you like. It is a focused, strategic document that serves as a visual mission statement.
To understand this distinction, let's start with a short reading that separates a strategic mood board from a more general inspiration board.
How to Create a Mood Board: A Guide to Visual Direction
This article from Visual Journal Craft clearly defines the purpose of a mood board in a professional creative context.
Please read the introduction and the section titled "What is a Mood Board?". Notice the emphasis on it being a "focused, strategic document."
The key takeaway is that while a Pinterest board might be a sprawling repository of ideas, the mood board we're building is a deliberate act of curation. It doesn't just contain things you find beautiful; it contains elements that specifically serve the central concept of your photo book. It can be a physical object—a collage of prints, textures, and material samples—or a digital canvas.

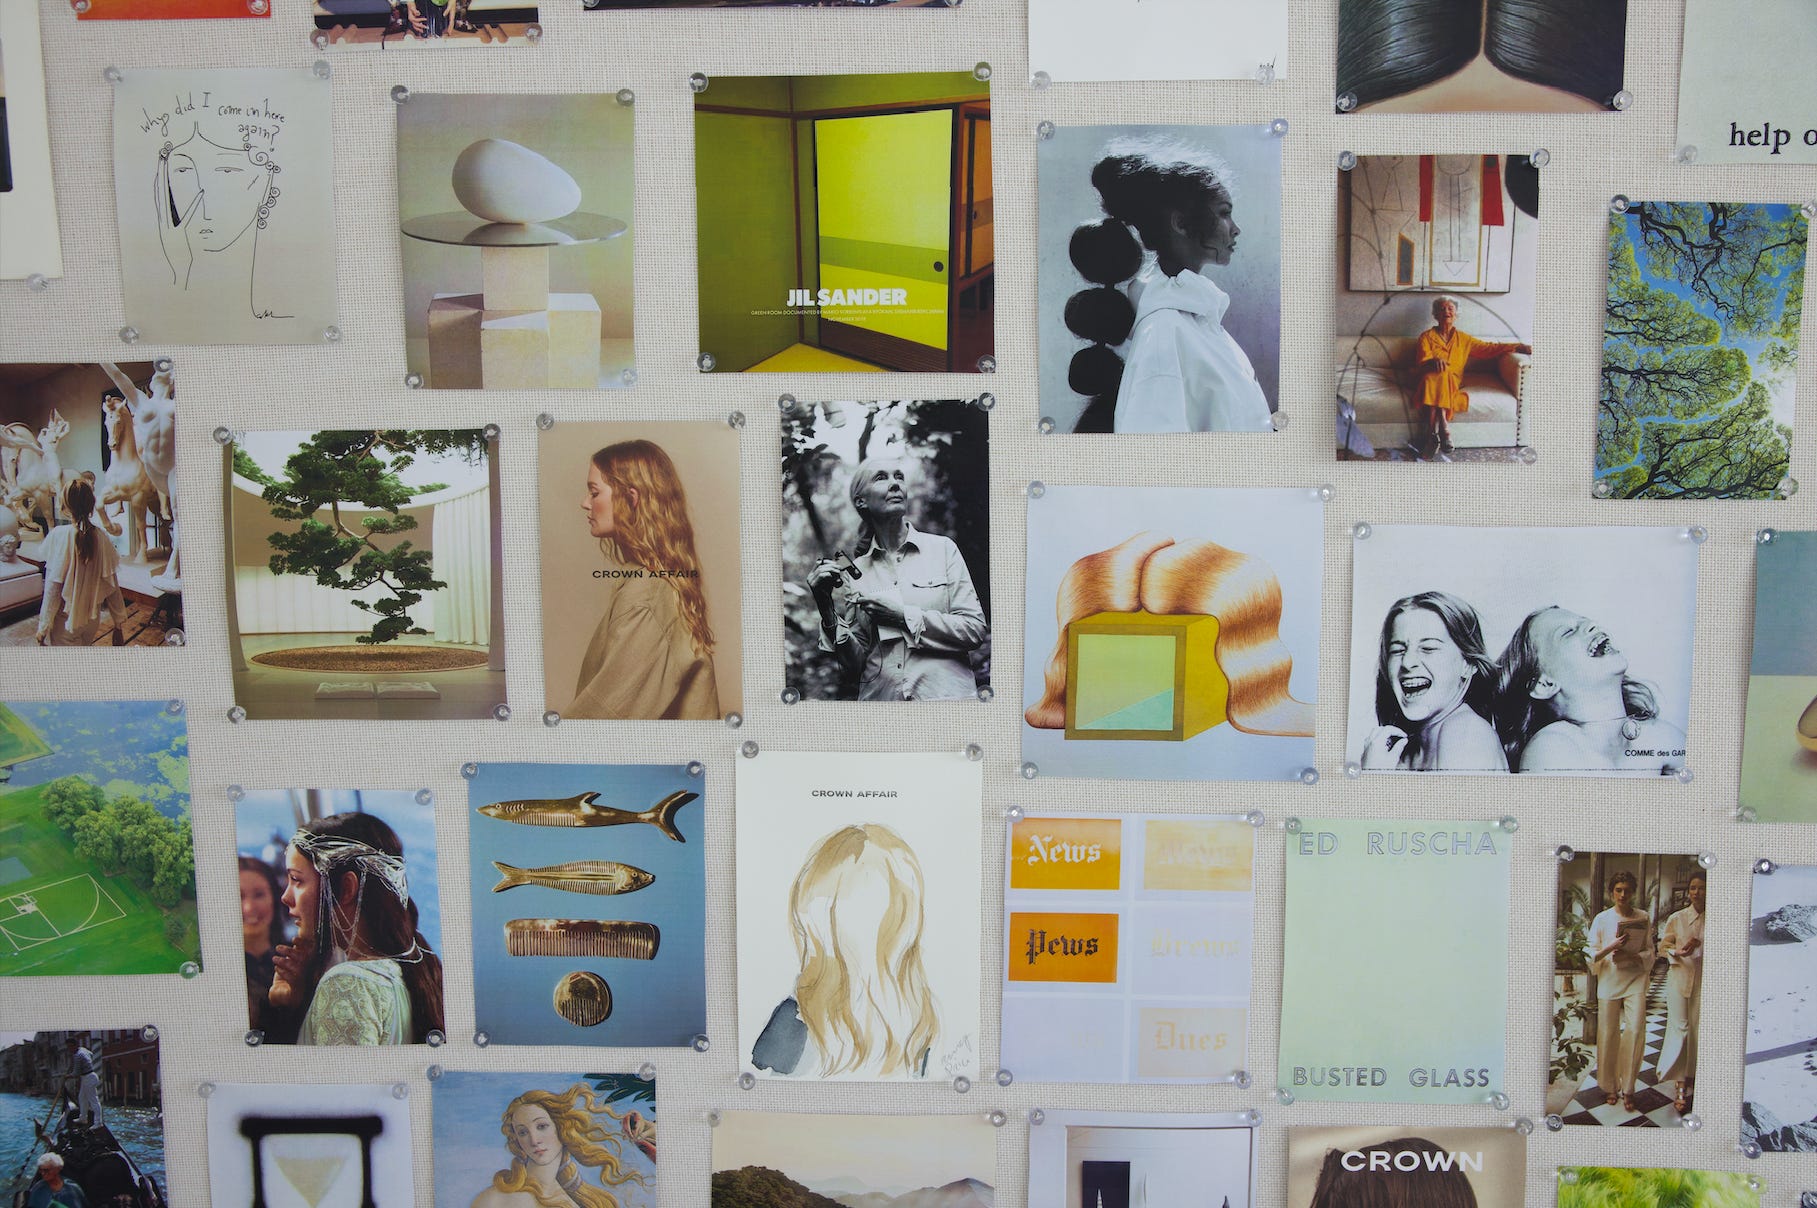
A Framework for Building Your Mood Board
Creating a mood board is a process of translation—from words and ideas to colors, shapes, and feelings. We can break this down into a structured workflow that moves from broad exploration to focused composition.
Step 1: From Concept to Keywords
Start with the project concepts you sketched out in the previous lesson. Choose one to focus on for this exercise. Now, distill that concept into its essence by identifying 3-5 core keywords. These words will be your compass.
For example, if your concept explores the tension between brutalist architecture and the human body, your keywords might be: Geometric, Somatic, Scale, Concrete, Vulnerability.
This first step is crucial for providing direction. The article from Visual Journal Craft offers a concise explanation of this process.
How to Create a Mood Board: A Guide to Visual Direction
This section explains how to establish a foundation for your mood board.
Read Step 1: Define Your "Why" with Core Keywords. Think about how you can apply this to the concepts you've already brainstormed.
Step 2: Gathering Inspiration (The Maximalist Phase)
With your keywords as a guide, begin gathering visual assets. At this stage, cast a wide net. Don't overthink; focus on your gut reaction. Collect anything that resonates with your keywords.
This is where you should push beyond the obvious. Your goal is to develop a unique point of view, and that often comes from synthesizing disparate sources of inspiration. In the following video, fashion designer Zoe Hong passionately advocates for looking beyond your immediate field.
Fashion Design Tutorial 2: Concept Dev & Mood Boards
This video by Zoe Hong offers a fantastic approach to finding and combining unique sources of inspiration.
First, watch her advice on finding inspiration in unexpected places like books, nature, and art. Then, see how she identifies a conceptual thread ("irregular repetition") from a diverse set of images and combines different ideas to form a unique look.
As you gather, consider these categories:
- Photography: Look at the work of other artists, but not just for subject matter. Pay attention to lighting, composition, color grading, and perspective.
- Art & Sculpture: How have painters or sculptors tackled your keywords? Look at form, texture, line, and material.
- Nature: Find examples of colors, patterns, and textures.
- Film: Screengrabs from films can be powerful sources for lighting and color palettes.
- Materials: Don't limit yourself to images. Collect physical textures: rough paper, smooth metal, fabrics, bits of wood or concrete.
Step 3: Curation and Refinement
Now, lay out all your collected assets. You will likely have hundreds of images and objects. This is where you transition from a collector to a curator. The goal is to move from a chaotic collection to a cohesive visual story.
This process is about subtraction. Be ruthless. Review your core keywords and eliminate anything that doesn't strongly support them. Look for patterns and recurring themes. Which images feel the most potent? Which colors or textures keep appearing?
Visualizing Ideas and Opportunities through Mood Boards
This article by Andrew Cornell Robinson discusses the important transition from gathering to editing.
Read the sections on Maximalism and the subsequent paragraphs on editing down your collection to tell a clear visual story.
Group similar items and begin to see a cohesive direction forming. Your initial maximalist pile should be edited down to the 20-40 most essential elements that will form your final board.
Step 4: Composition
The final step is to arrange your curated elements into a single, powerful composition. Your graphic design expertise is a major asset here. Think about hierarchy, balance, and flow.
- Establish Hierarchy: Select one or two "hero" images that best capture the overall mood and make them larger.
- Create Visual Flow: Arrange smaller images and textures to support and complement the hero images. Guide the viewer's eye through the board.
- Use Negative Space: Don't cram every inch. Breathing room helps each element stand on its own while contributing to the whole.
As you compose, you can manipulate the images themselves. This is where your fine arts background can come into play.
Fashion Design Tutorial 2: Concept Dev & Mood Boards
Let's return to Zoe Hong's video, where she demonstrates hands-on collage techniques.
Watch the section from where she demonstrates how to collage, scan, reprint, crop, pixelate, and use a "window tool" to isolate details. These techniques can be used to create a rich and dynamic physical or digital mood board.
The Photo Book Mood Board: Vibe and Tactics
Your mood board should capture the project's overall vibe, but it should also contain tactical information that will guide your photography. In the following video, the presenter makes a useful distinction between these two types of boards and then provides an invaluable framework specifically for photographers.
Mastering Moodboards: Great Creative Work | Beginner to Advanced
This video by orenmeetsworld provides a highly practical framework for mood boarding a photo shoot, which we can adapt for our photo book project.
First, watch the brief explanation of Vibe vs. Tactical mood boards. Your goal is to create a board that does both. Next, pay close attention to the crucial section on the five key elements for a photo shoot, from mood boarding photo shoots.
As you build your board, ensure it communicates your intentions for these five key photographic elements:
- Setting: Where will these photos be made? A studio? A specific cityscape? A type of natural environment? Include images of the location and images that show how you want that location to feel.
- Action/Subject: What are your subjects doing? Even in a still life or landscape, there is an implied action or state of being. Are subjects interacting? Are they still and posed? Is an object in a state of decay?
- Angle: Are you shooting from a low angle to create a sense of monumentality? A high angle to suggest vulnerability? A detached, objective straight-on view?
- Lighting: This is perhaps the most critical element for mood. Is the light hard and direct, creating deep shadows? Soft and diffused? Is it natural or artificial? What time of day is it?
- Edit/Post-Processing: What is the visual style? High-contrast black and white? Desaturated and cool-toned? Warm and nostalgic? Will you collage images or manipulate them in post?
Your Turn: Create Your Mood Board
Now it's time to build your own mood board. Choose one of the project concepts you've been developing.
Your task is to create a mood board that captures the visual and emotional tone of your chosen concept.
- Choose Your Format: Decide whether you want to work digitally (using a program like Canva, Milanote, or even Photoshop/Illustrator) or physically (with a foam board, prints, and materials).
- Define Your Keywords: Based on your concept, write down 3-5 core keywords.
- Gather: Spend 20-30 minutes gathering a wide array of visual information that relates to your keywords. Collect at least 50-100 images and assets.
- Curate & Refine: Edit your collection down to the 20-40 most essential elements that tell a cohesive story.
- Compose: Arrange your final selections into a single composition. Establish a clear hierarchy and ensure your board provides visual direction on Setting, Action, Angle, Lighting, and Edit.
- Evaluate: Step back. Does the board communicate a clear, cohesive feeling? As Zoe Hong suggests, imagine showing it to someone. Could they get a gut feeling for what your project is about without any explanation?
Conclusion
In this lesson, you've learned how to transform an abstract concept into a concrete visual plan. We've established that a mood board for an artistic project is a strategic tool for defining your visual and emotional direction. You now have a step-by-step process—Define, Gather, Curate, and Compose—and a specific framework for considering the key photographic elements of your project.
This mood board is not just an exercise; it is a vital reference document. It will keep your vision on track as you begin to shoot, and it will serve as the foundation for the next crucial step in defining your project.
In our next lesson, you will use both your written concept from the previous lesson and the visual language of your mood board to write a preliminary artist statement.