Welcome back to our exploration of your artistic photo book. In the last two lessons, you established the conceptual and visual foundations for your project. First, you articulated a central theme, and then you translated that theme into a rich visual language by creating a mood board. You now have the "what" and the "feel" of your project.
This lesson focuses on bringing those two elements together into a cohesive written document: a preliminary artist statement. This is a critical step in moving from a collection of ideas to a project with clear intent. We'll define the purpose of an artist statement at this stage, introduce a simple framework for writing one, and guide you through drafting a statement that clarifies your vision for yourself first, and for others later.
The Artist Statement as a Tool for Clarity
Before you write, it's important to understand the role of this particular document. At this early stage, the artist statement is not primarily for a gallery wall or a grant application. Its main audience is you. It's a tool to test the coherence of your ideas, to connect your concept to your visual strategy, and to create a concise "north star" that will guide your decisions as you shoot and edit.
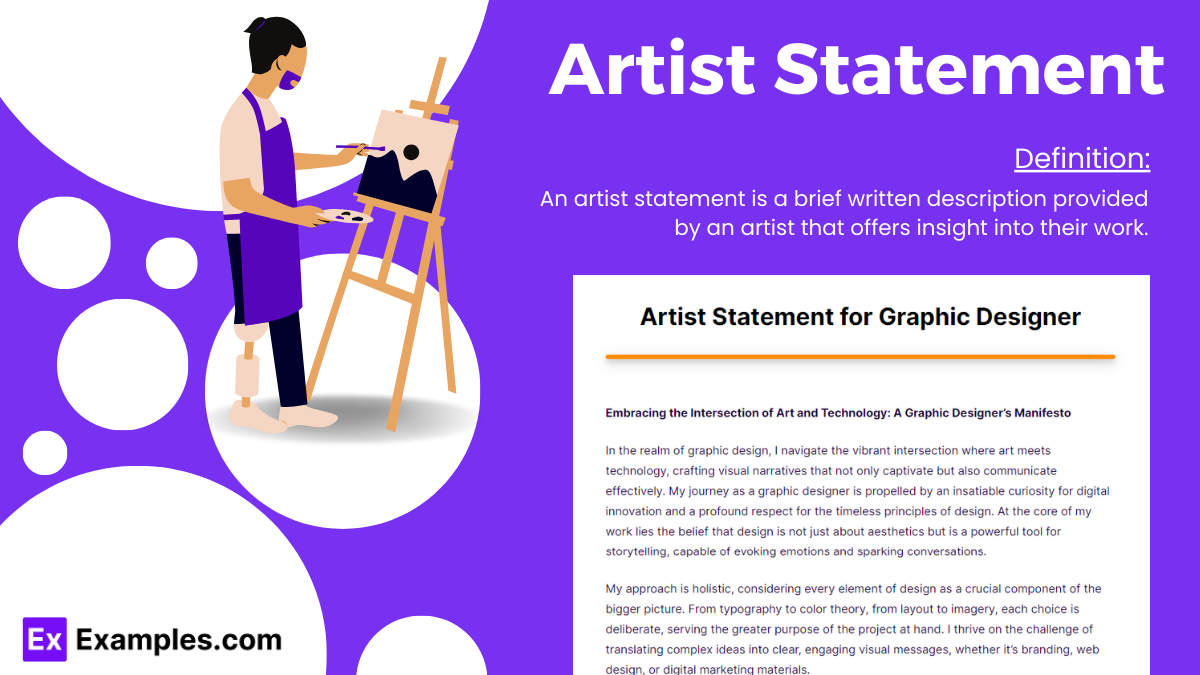
An artist statement is distinct from an artist's biography (which is written in the third person and outlines your career). The statement is about the work itself.
To understand its strategic purpose, let's watch a brief segment from a video by Contemporary Art Issue.
How To Write A Professional Artist Statement (Guide + Tool)
This video discusses the professional function of an artist statement, emphasizing its role as a foundational document for the artist.
Watch from the beginning to the explanation of why an artist statement is a crucial preparation tool. Pay attention to the idea that writing the statement helps you articulate your work with confidence and consistency because "the words are already there."
A Simple and Powerful Framework: What, How, Why
Writing about your own art can feel daunting. To demystify the process, we can use a straightforward three-part structure recommended by curator and writer Peter M. Krask. This framework focuses on answering three essential questions:
- What is the project?
- How did you make it?
- Why did you make it?
Organizing your statement around these questions ensures you cover the most vital information in a clear and logical way.
How to Write and Artist Statement for Critical Mass - Photolucida
This article from Photolucida breaks down the writing process into the three core questions.
Please read the section that starts with the three questions. This provides the essential structure we will use for your draft.
Let's break down each of these components.
1. What is the Project?
This is your thesis. It should be the opening of your statement. Be direct and clear.
- Start with the medium: State clearly what the work is. "This project is a series of photographs..." As the presenter in the video "How to Write an Artist Statement that Doesn't Suck" notes, it's surprising how often this is omitted.
- State the central concept: Immediately follow up with the core theme. What "big umbrella ideas" are you exploring? This should connect directly to the concept you defined two lessons ago.
For example: "My project, [Working Title], is a series of black-and-white photographs that explores the relationship between brutalist architecture and the human form, investigating themes of scale, permanence, and vulnerability."
2. How Did You Make It?
This section describes your process. It’s not about listing camera settings; it’s about the artistic and technical choices that shape the work's meaning. Your background in fine arts and sculpture gives you a rich vocabulary to draw from here.
- Visual Strategy: Refer to your mood board. What are the key "tactical" decisions you made? Is the lighting hard or soft? Are the compositions formal and static, or chaotic and dynamic? Is the color palette muted or saturated?
- Materiality and Process: How is the work produced? Is it purely digital, or does it involve alternative processes, collage, or physical manipulation? Your experience with materials can inform how you talk about prints, paper, or even the digital file itself.
Example: "Working with a large-format camera, I create stark, formal compositions that emphasize the geometric lines of the architecture. The choice to use high-contrast, fine-art paper accentuates the textural qualities of concrete and skin, treating both as sculptural surfaces."
3. Why Did You Make It?
This is the heart of your statement. It reveals your motivation and the personal or intellectual inquiry driving the project. It’s what connects the viewer to the work on a deeper level. Avoid grand, abstract claims and focus on the genuine spark of curiosity.
How to Write and Artist Statement for Critical Mass - Photolucida
This follow-up section delves into how to articulate the 'why' in a personal and engaging way.
Read the discussion about the "why" starting from this point. The prompt to think about "that initial moment when the switch flipped" is a powerful way to access authentic motivation.
To help you think through your "why," consider these questions:
- What questions does your work ask?
- What personal history or observation led you to this topic?
- Are there recurring themes or obsessions in your work that this project continues?
- What do you hope a viewer thinks or feels when they see the images?
Writing Style: The Do's and Don'ts
The most effective artist statements are direct, authentic, and free of jargon. The goal is to invite the reader in, not to obscure your meaning with overly academic or "artsy" language.
This next video offers a rapid-fire list of common pitfalls to avoid.
How to Write an Artist Statement that Doesn't Suck
This video by Painting Course with Jer provides blunt, practical advice on what to avoid when writing your statement.
Watch this video from start to finish. It's a quick, no-nonsense guide. Keep a mental checklist of the "don'ts" as he goes through them: Forgetting to state what the artwork is. Lacking a clear thesis. Using qualifying, vague, or self-deprecating language. Repeating yourself. Using overly abstract or experimental language. Using passive verbs.
To summarize the key principles for your writing style:
- Be Direct: Use active voice ("I explore" vs. "is explored").
- Be Concise: Every sentence should serve a purpose.
- Be Authentic: Write in your own voice. Avoid clichés ("inspired by nature," "expressing my emotions") and don't try to make the work sound more complex than it is.
- Be Concrete: Connect your ideas to specific visual elements in the work.
Your Turn: Write Your Preliminary Artist Statement
Now it's time to synthesize your concept and mood board into your first draft. Remember, this is a working document. Its purpose is to achieve clarity. We'll use a simple, structured process adapted from a guide by the School of the Art Institute of Chicago (SAIC).
This guide from SAIC provides a "recipe" for writing a first draft, which we will use as the basis for this exercise.
Familiarize yourself with the overall process described in "Writing Your Artist Statement Practice Guide." We will follow a similar structure.
Task: Draft a ~250-word (approx. 3 paragraphs) artist statement for your project.
Step 1: Brainstorming (10 minutes)
Review your project concept from Lesson 2.1 and your mood board from Lesson 2.2. Then, start a "free write." Don't worry about grammar or full sentences. Just get ideas on the page by responding to these prompts:
- In one sentence, what is this project about?
- What five keywords describe the work's look and feel?
- What visual choices are most important (lighting, angle, color, composition)?
- Why this subject? What's your personal connection?
- What questions are you trying to answer for yourself with this work?
- What do you want the final photo book to feel like in someone's hands?
Step 2: Structure Your Draft with the "What, How, Why" Framework (20 minutes)
Using the raw material from your free write, build your statement paragraph by paragraph.
-
Paragraph 1: What?
- Start with your one-sentence thesis statement that names the project, the medium, and the core concept.
- Expand with 2-3 more sentences on the key ideas and themes you are investigating.
-
Paragraph 2: How?
- Describe your artistic process.
- Explain the key visual strategies you are using (e.g., lighting, perspective) and why you chose them. Connect these choices back to the ideas in Paragraph 1.
-
Paragraph 3: Why?
- Explain your motivation. What is the origin of your interest in this subject?
- Conclude by stating the central question or intention of the project. What are you seeking to understand or convey?
Step 3: Review and Refine (10 minutes)
- Read your draft out loud. This is the best way to catch awkward phrasing.
- Check it against the list of "don'ts." Have you used passive voice, jargon, or clichés?
- Trim unnecessary words. Is every sentence pulling its weight?
- Crucially: Does the statement align with your mood board? If you gave both to a stranger, would they see a clear connection?
Conclusion
Congratulations on drafting your preliminary artist statement. You have taken a significant step in defining your project's intent by bridging your conceptual ideas with your visual language. This statement provides you with a clear, concise guide that will prove invaluable as you move into the production phase. It is a living document that will likely evolve as your project deepens, but you now have a solid foundation to build upon.
In our next lesson, we will use this statement to define the scope and boundaries of your project. Having a clear articulation of your intent makes it much easier to decide what belongs in your project and, just as importantly, what does not.