Welcome to the second module of our course. In the previous lessons, we built a shared vocabulary for analyzing photo books, exploring different genres like documentary, lyrical, and narrative. You learned to see how artists use the book form not just to show pictures, but to build arguments, evoke moods, and tell complex stories. Now, we shift our focus from analysis to creation. This lesson marks the first, and perhaps most crucial, step in developing your own photo book: articulating its central theme or concept.
A strong concept is the foundation upon which your entire project will be built. It is the "why" that drives your photography, the core idea that transforms a series of individual images into a cohesive, meaningful body of work. Your background in sculpture and design has already trained you to think conceptually—to consider how form, material, and process combine to express an idea. We will now apply that same rigorous thinking to the medium of the photo book.
What Makes a Project?
Before you can develop a concept, it's essential to understand what separates a project from a simple collection of photographs. Many photographers have collections: "my best landscapes," "my favorite street photos." A project, however, is driven by an idea that is too large or complex to be captured in a single frame.
Let's begin with a short video where photographer Adam Marelli offers a clear and practical definition of a photographic project.
Developing Your Photo Projects | Adam Marelli
This video, "Developing Your Photo Projects" by Adam Marelli, provides a foundational understanding of what constitutes a project.
Watch these two short clips: First, watch from the initial definition of a project. Then, skip to the end of the lecture and watch from the distinction he makes between a collection and a project.
Marelli's key insight is that a project begins when you have "an idea that is too big to fit into a single photograph." A collection is often grouped by a pre-existing genre (landscapes, portraits), but a project is distinguished by an idea that comes specifically from you, the photographer. Your unique point of view is the essential ingredient.
Frameworks for Developing Your Concept
Articulating this central idea can feel daunting. Fortunately, there are structured ways to approach this process. Think of these frameworks not as rigid rules, but as sets of guiding questions to help you excavate and refine your intentions.
One excellent approach, also from Adam Marelli, is a three-column method that traces the evolution of a project.
Developing Your Photo Projects | Adam Marelli
Let's return to Adam Marelli's lecture, where he outlines his process for developing a project's core idea.
Please watch the segment from where he explains his framework of Inspiration, Observation, and Conclusion. Pay close attention to the final column, "Conclusion," which he describes as the "so what?" of a project.
Marelli’s framework provides a narrative structure for your thinking:
- Inspiration: Why this subject? What is your personal connection, your curiosity, your motivation? This is the starting point.
- Observation: What do you discover while shooting? Photography is a process of inquiry. The experiences you have in the field will inevitably shape and change your initial idea.
- Conclusion: So what? Why should anyone else care about this? This is the most critical question. It forces you to move beyond personal interest and articulate the project's larger relevance or insight.
Another useful framework comes from photographer Joshua Cleopas, who approaches concept development with a set of four direct questions, similar to a design brief.
How to DEVELOP CONCEPTS in PHOTOGRAPHY
In his video "How to DEVELOP CONCEPTS in PHOTOGRAPHY," Joshua Cleopas offers a clear, question-based method and some crucial context.
Please watch the following segments: First, watch his definitions of concept and concept development. Next, listen to his important distinction between concepts in advertising vs. art. Your goal is an artistic photo book, so your concept can be more open to interpretation. Then, watch his explanation of the core framework: Who, What, Why, and How. Finally, pay attention to his closing advice from where he warns against confusing a strong visual style with a strong concept.
Cleopas's framework provides a practical checklist:
- Who? (Your audience)
- What? (Your message or story)
- Why? (Your purpose or goal)
- How? (Your visual style and delivery)
As Cleopas points out, a strong visual style is important, but it is not a substitute for a concept. The "how" should serve the "what" and "why."
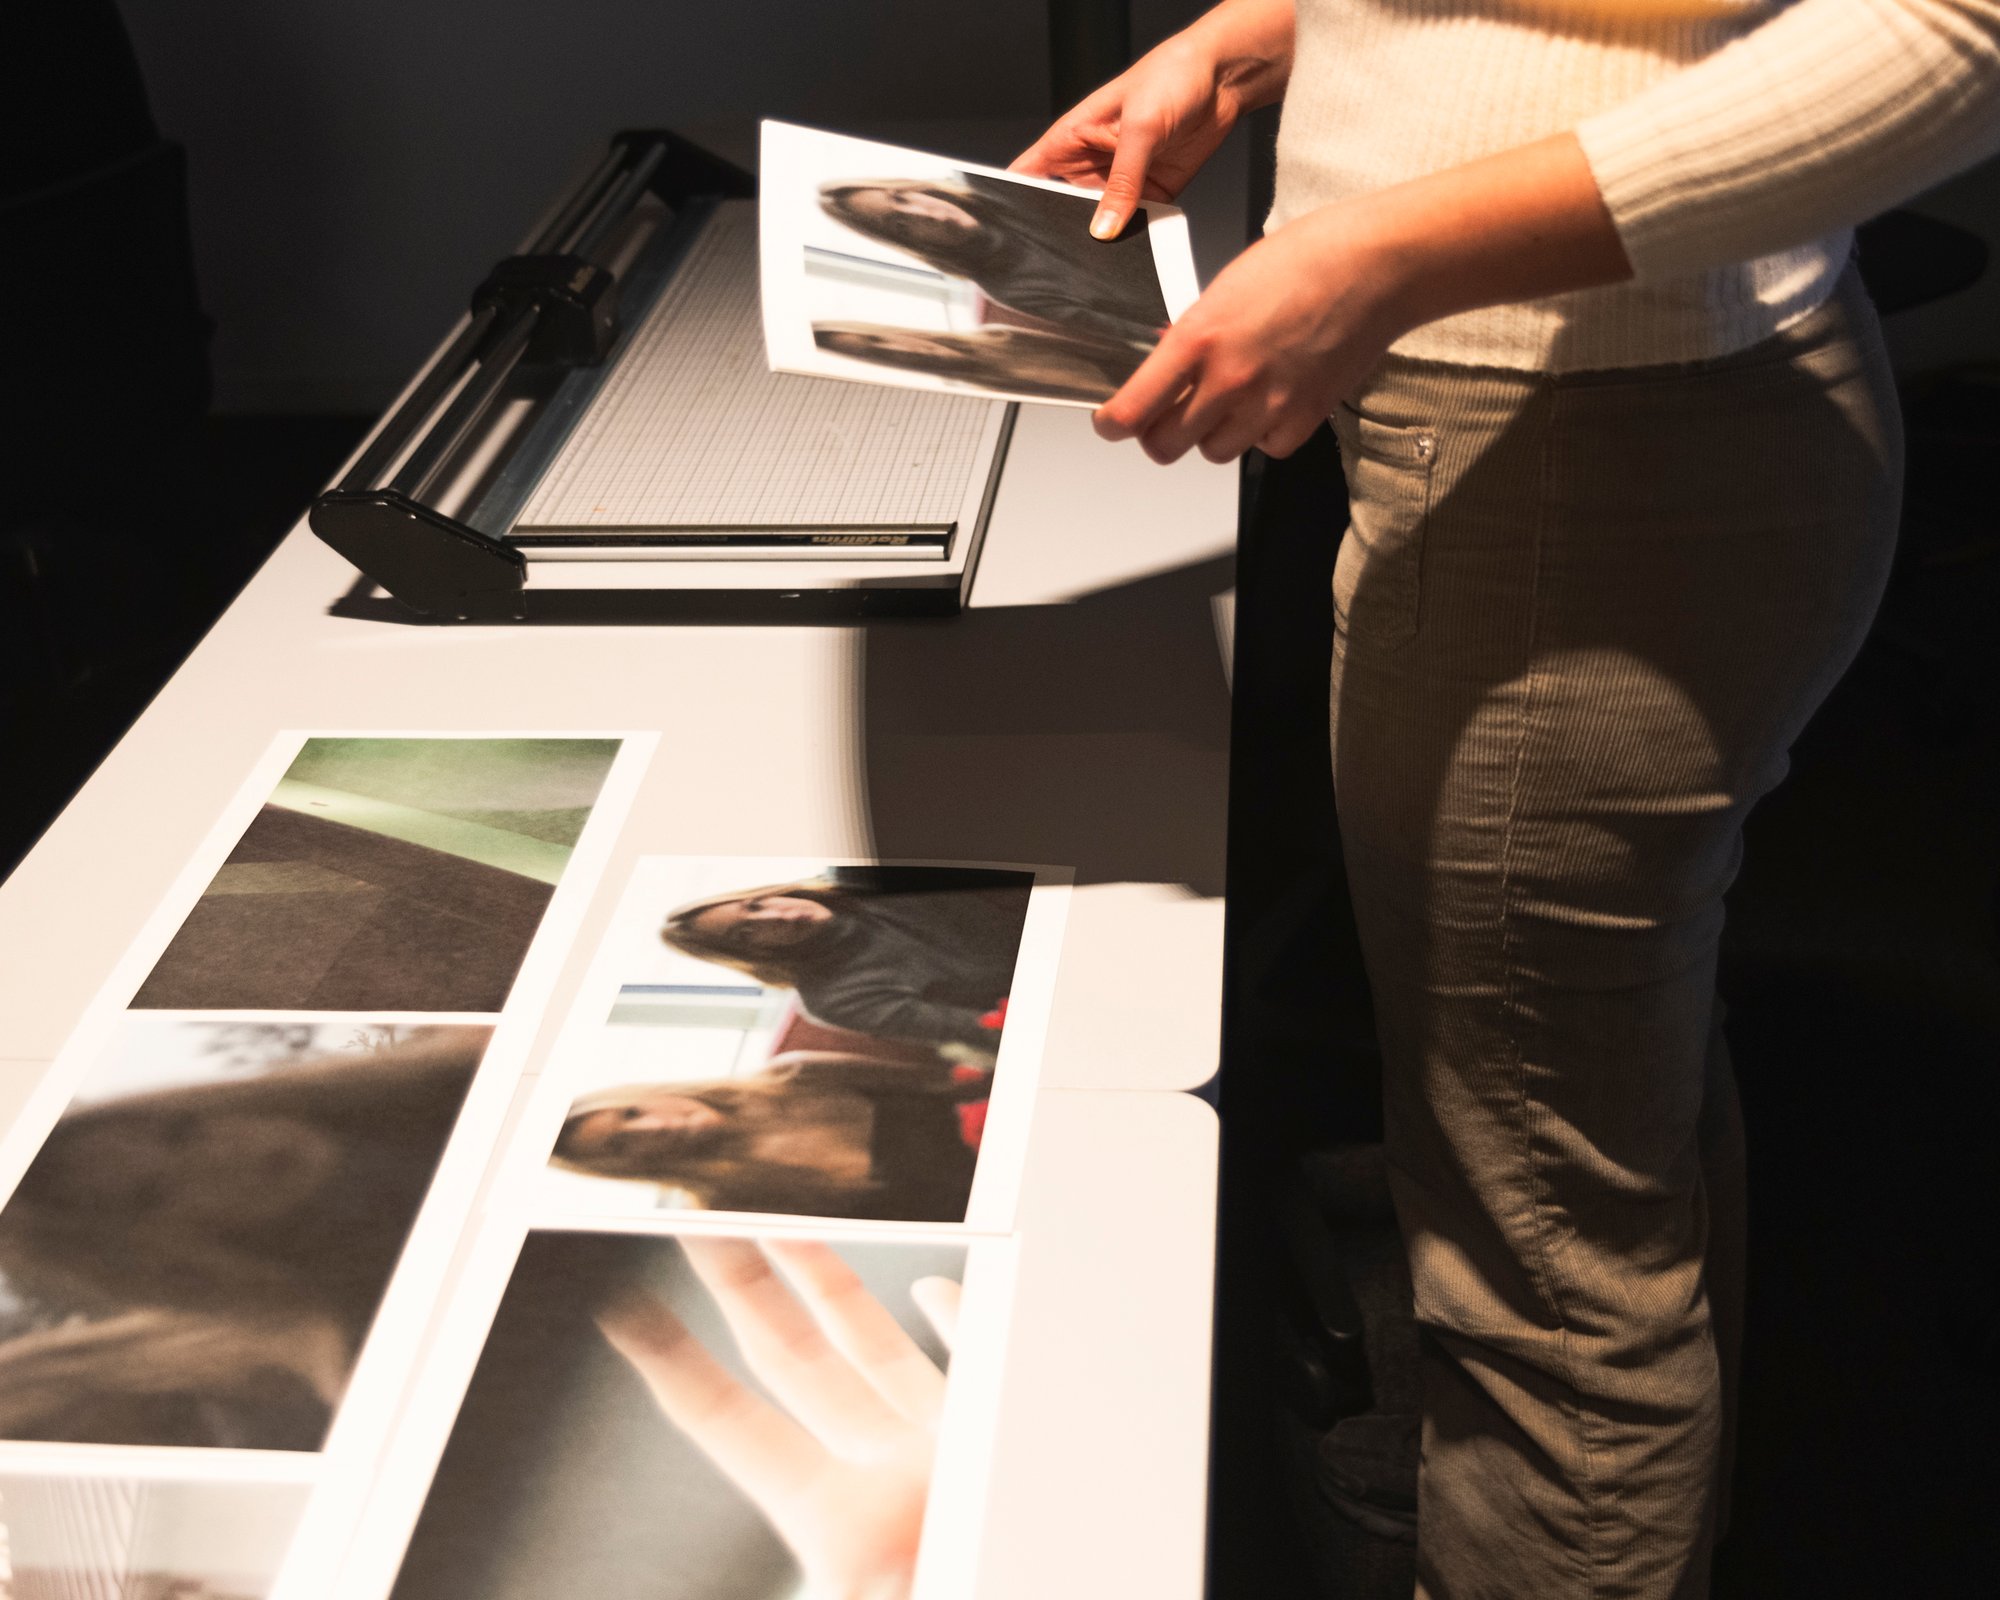
The Anatomy of a Concept
To help structure your thinking, it's useful to break a concept down into its core components. A great resource from Harding University's photography program defines three distinct, yet often overlapping, types of concepts.
Photog Project 030 — Photobook
This project guide provides a concise and effective breakdown of what a concept statement can entail.
Please read the sections titled "Concept Development" and "Concept Statements." Start at the top and read down to the definition of an Artist's Statement. Focus on the three bolded types of concepts.
As this resource explains, your project concept can be driven by one or more of these areas:
- Expressive or Content Concept: This is the what—the message, story, or point of view you wish to express. It's the most common starting point for a project.
- Formal or Graphic Concept: This is the how—the visual language of your images. Will they be high-contrast and graphic? Soft and desaturated? Will you focus on specific shapes, colors, or kinds of light? Your graphic design expertise gives you a strong foundation for this aspect.
- Process or Methodology Concept: This is also part of the how, but it focuses on your method of working. Perhaps your project involves returning to the same location every day for a year, or using a specific, unconventional camera. For many artists, the process itself is a central part of the concept.
A powerful photo book project often integrates all three. An expressive idea (the what) is communicated through a deliberate formal approach and a thoughtful process (the how).
Your Turn: Sketching Your Concept
Now it's time for you to begin articulating a concept for your own photo book. This is not about producing a final, polished statement. It's about starting the process of inquiry. Use the frameworks we've discussed as prompts for brainstorming.
Take some time to write down your initial thoughts in response to these questions:
-
Inspiration (What do I care about?):
- What subjects, places, people, or ideas do you find yourself returning to in your life and art?
- What are you curious about? What questions do you want to explore?
- What personal experiences or perspectives might inform your project?
-
Concept (What do I want to say? How?):
- Expressive: What is the core message, feeling, or story you want to convey about your subject? What is your unique point of view?
- Formal: What might this project look like? What kind of light, color, and composition feels appropriate for the idea?
- Process: Is there a particular method of shooting, interacting with subjects, or post-processing that could be integral to the project?
-
Conclusion (Why should it matter?):
- What insight might your project offer a viewer?
- Why is this story worth telling now? What makes it relevant beyond your personal interest?
Don't censor yourself. Write freely and generate a few different possibilities. The goal is to get the raw material down on paper.
Conclusion
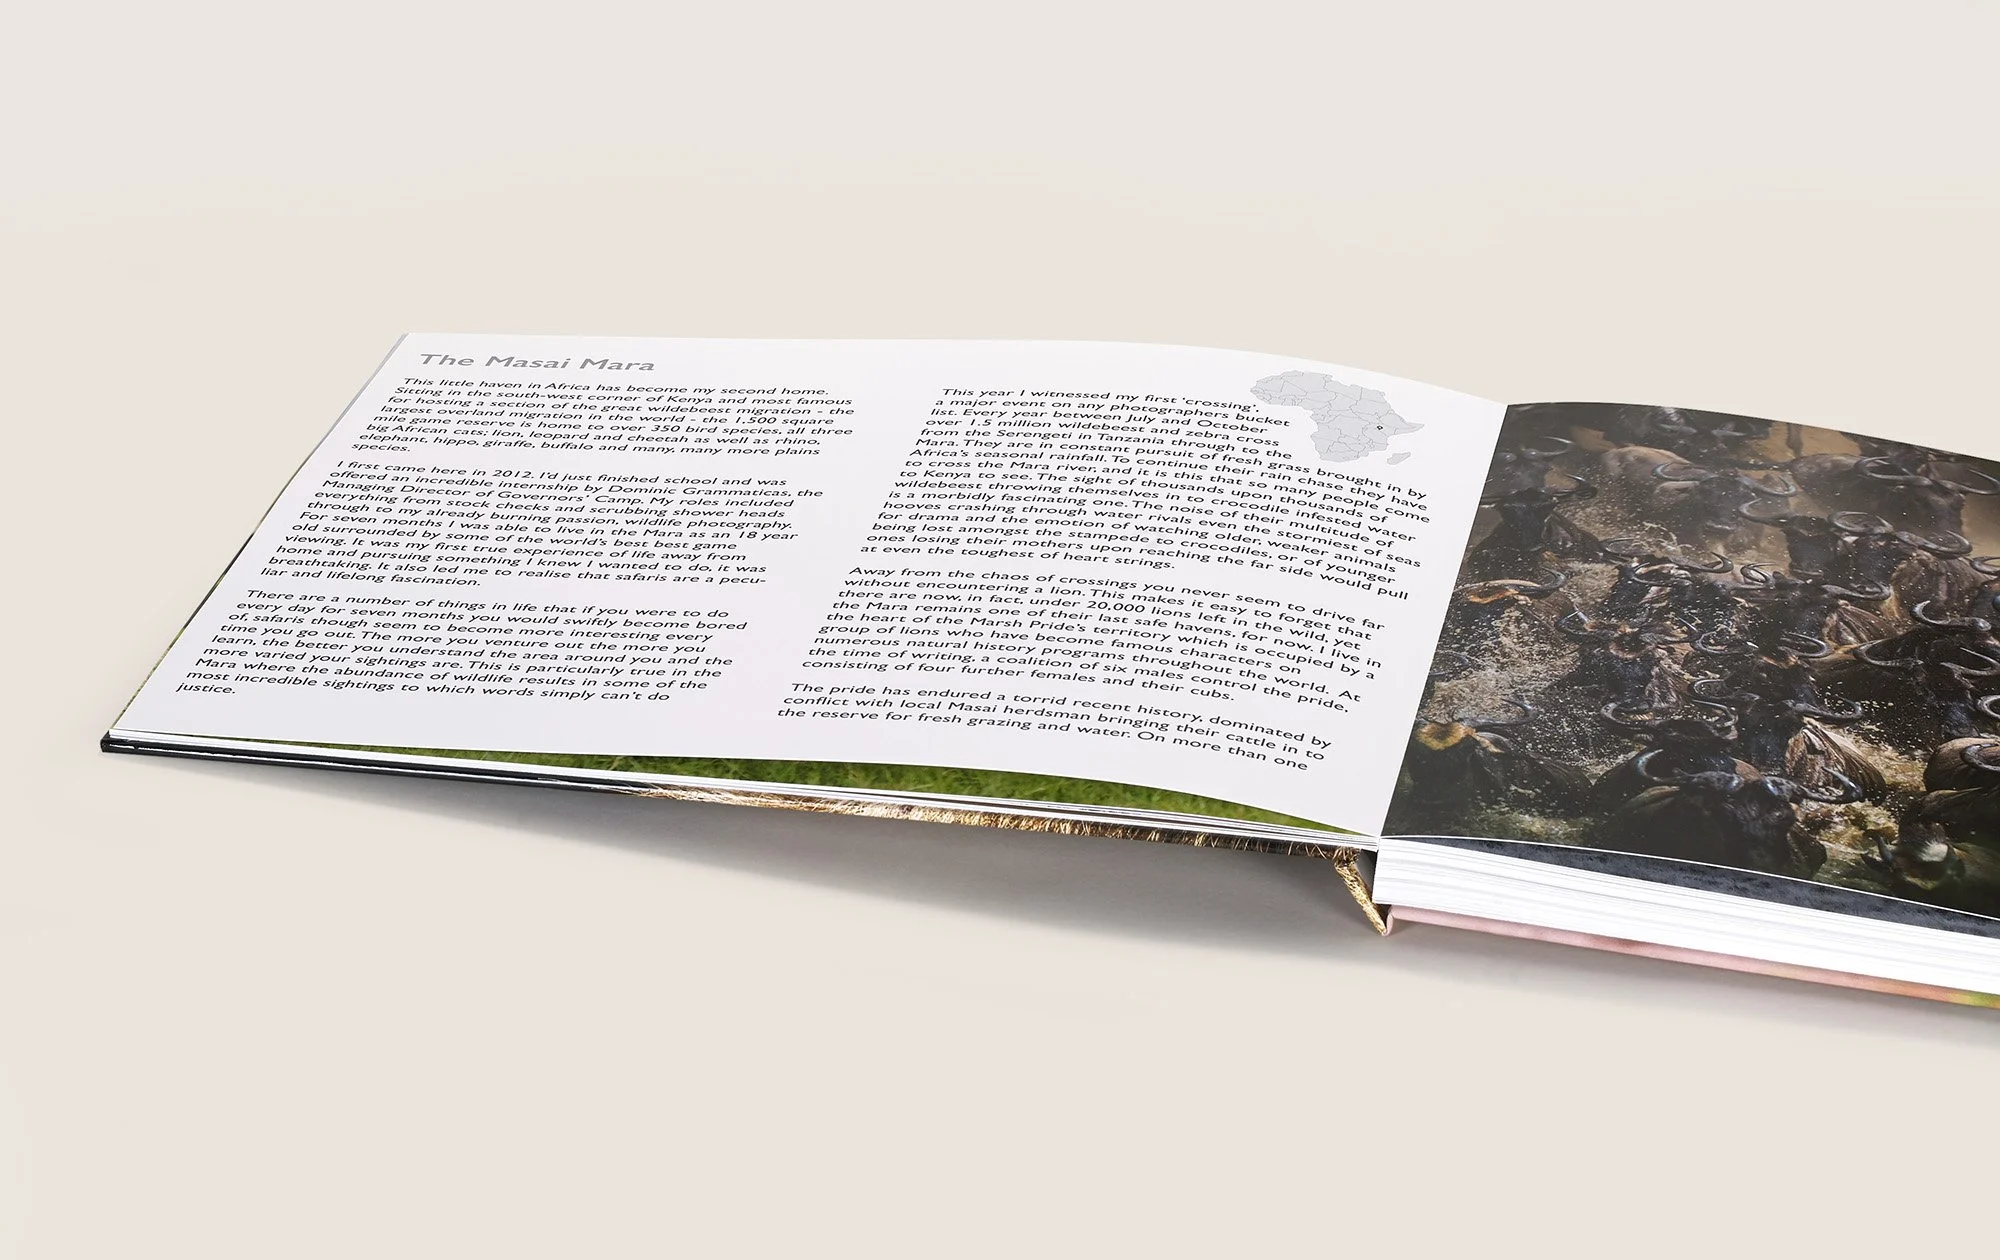
In this lesson, we have moved from analyzing existing works to laying the conceptual groundwork for your own. We've established that a strong photo book is built on a central idea that is too rich to be contained in a single image. You've been introduced to several frameworks—Marelli's Inspiration, Observation, Conclusion; Cleopas's Who, What, Why, How; and the breakdown of Expressive, Formal, and Process concepts—to help you define and articulate your project's intent.
The central theme you develop will be your project's North Star, guiding your decisions through shooting, editing, sequencing, and design.
In our next lesson, we will take these initial abstract ideas and begin to translate them into a concrete visual language. You will learn how to create a mood board to define the aesthetic and emotional atmosphere of your project, taking the next step in bringing your photo book to life.