Introduction
Welcome to the first lesson of our final module, "Creating a Final Showcase." In the last module, we successfully rendered a still image of your sculpture, turning your 3D model into a shareable piece of art. Now, we'll focus on elevating the presentation of your work to a professional level.
This lesson addresses the learning outcome: Create a seamless infinity cove backdrop for a professional studio render. Think of this as building the virtual equivalent of a photography studio's background. In traditional art and photography, the environment is crucial for controlling how a subject is perceived, and the same is true in 3D. By creating a clean, seamless backdrop, you eliminate distractions and focus the viewer's eye entirely on the form and detail of your sculpture.
1. What is an Infinity Cove?
Before we start building, let's clarify what we're making and why it's so effective. In photography and film, this setup is often called a "cyclorama" or "cyc wall." You may have seen them in real-world photo studios. It's a curved surface that creates a seamless transition between the floor and the wall, eliminating the hard line or corner where they meet. This lack of a horizon line creates the illusion of infinite space behind the subject.
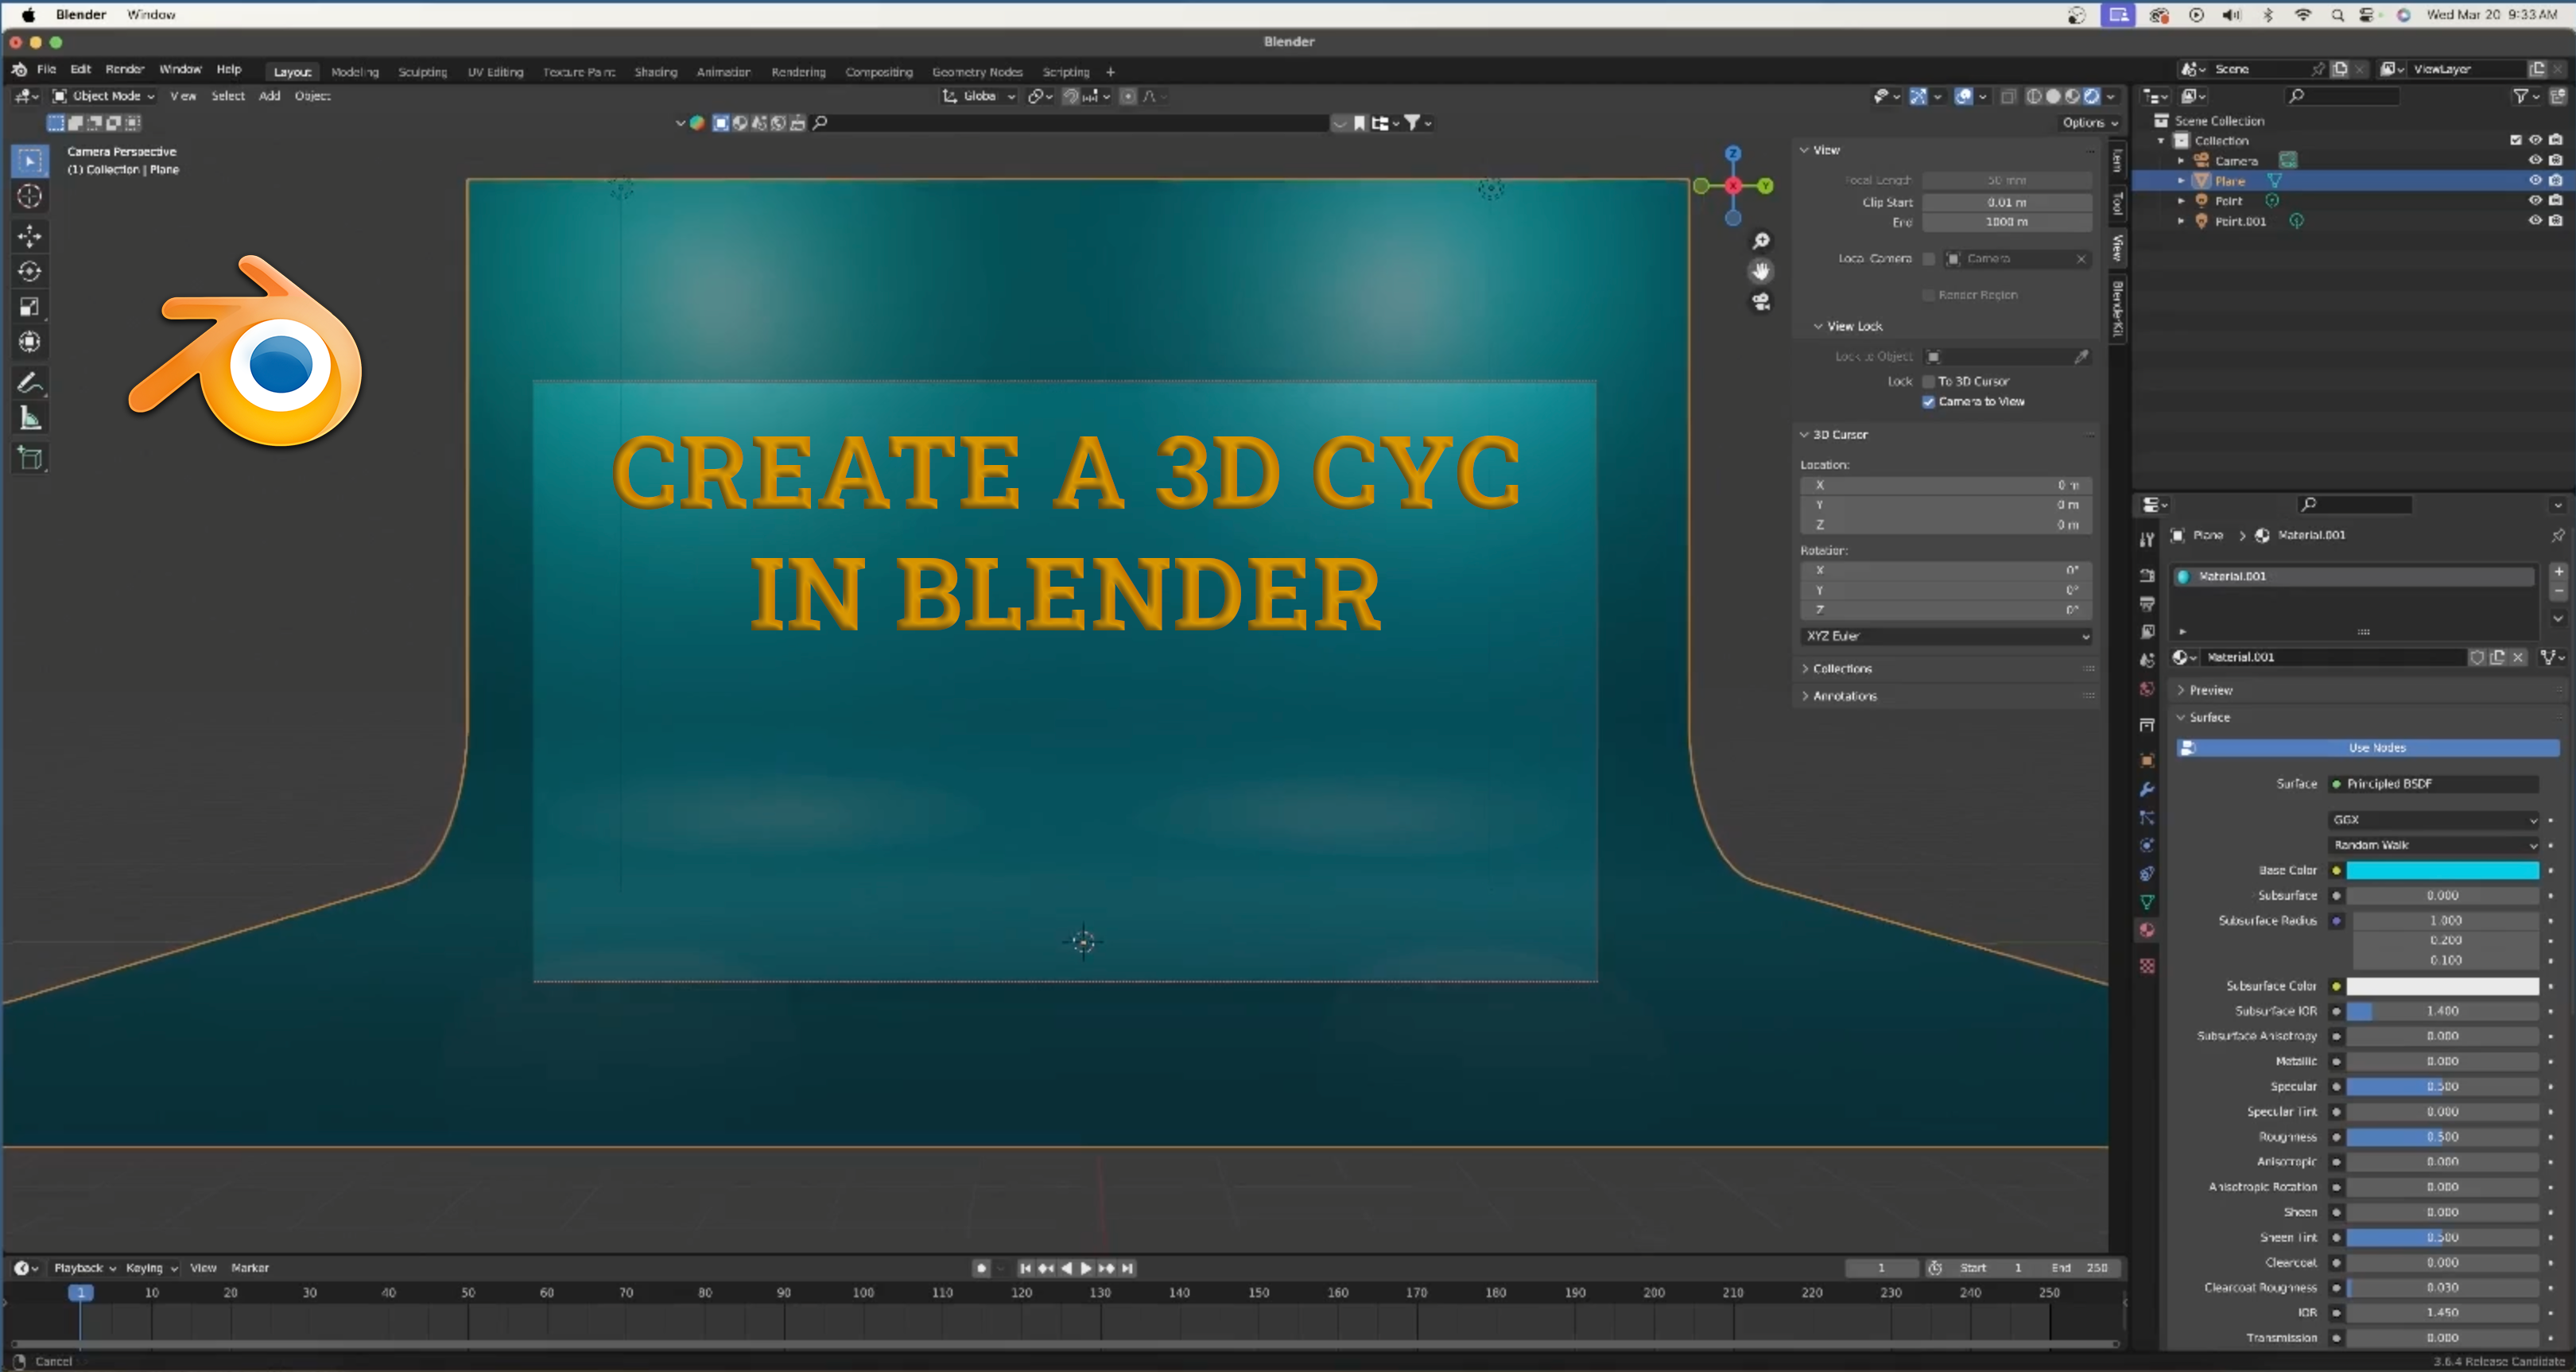
Let's read a quick definition to solidify this concept.
How to Build a Seamless Cyc Wall in Blender
The article "How to Build a Seamless Cyc Wall in Blender" provides an excellent, concise explanation of what a cyc wall is and why it's used.
Please read the short section titled 'What is a Cyc Wall?'. It clearly explains the purpose of this professional background.
As the article notes, this technique gives your renders a polished, professional look with very little effort. It's a standard practice for product shots, character showcases, and, most importantly for us, highlighting the form of a sculpture.
2. Building the Backdrop: The Bevel Modifier Method
There are a few ways to build an infinity cove in Blender, but we'll focus on a popular and flexible technique that uses a Bevel modifier. This approach is "non-destructive," meaning you can easily adjust the curve at any time. This method involves three main steps:
- Creating a simple floor and wall from a plane.
- Adding a Bevel modifier to create the curve.
- Smoothing the surface for a seamless look.
Let's watch a clear demonstration of this process.
How to Make Studio Lighting in Blender
The video "How to Make Studio Lighting in Blender" from Blender Guru includes a fantastic segment that demonstrates exactly how to create this backdrop. We will focus only on the part where the backdrop is constructed.
Watch the clip from 04:00 to 05:41. Pay close attention to how a single edge is extruded to form the wall, and then how the Bevel modifier is used to create the seamless curve by increasing the 'Segments'.
To reinforce what you just saw, here are the steps written out:
- Add a Plane: In a new Blender scene, delete the default cube. Press
Shift + Aand add aMesh > Plane. This will serve as your floor. - Enter Edit Mode: With the plane selected, press
Tabto enter Edit Mode. - Select the Back Edge: Switch to Edge Select mode (press
2on the top row of your keyboard, or use the icon in the top-left of the viewport). Select the edge at the back. - Extrude the Wall: Press
Eto extrude, thenZto constrain the movement to the Z-axis (upwards). Move your mouse up to create the back wall and left-click to confirm. - Return to Object Mode: Press
Tabto go back to Object Mode. You should now have a floor and a wall meeting at a sharp 90-degree angle. - Add the Bevel Modifier: Go to the Modifier Properties (the blue wrench icon) on the right-hand Properties panel. Click
Add Modifierand chooseBevel. - Adjust the Bevel: In the modifier settings:
- Increase the Segments. A value of 8-16 is usually enough to create a very smooth curve.
- Adjust the Amount to control the size of the curve.
- Smooth the Shading: Right-click on the object in the viewport and select Shade Smooth.
You should now see a perfectly smooth, seamless transition from the floor to the wall.
3. An Alternative: The Subdivision Surface Method
In Blender, there are often multiple ways to achieve the same result. Another common method for creating an infinity cove uses the Subdivision Surface modifier. This modifier is a cornerstone of digital sculpting for creating smooth, organic forms, so it's useful to see it in this context as well.
This method also involves extruding edges but uses the "Subdiv" modifier to create the smoothness, which is then controlled by adding extra edge loops.
Blender Beginner Tutorial: Infinity Backdrop
The "Blender Beginner Tutorial: Infinity Backdrop" from CG Viking demonstrates this alternative workflow.
Watch this short video from 00:32 to 02:13. Notice how the Subdivision Surface modifier makes the entire shape very rounded, and an extra edge loop (Ctrl + R) is added to tighten the floor and make it flat again.
While both methods work well, the Bevel modifier approach is often more direct and efficient for this specific task. The Subdivision Surface method is extremely powerful but is more commonly used for general-purpose smoothing of complex models. For now, I recommend you stick with the Bevel modifier technique for your studio backdrops.
4. Your Turn: Create and Save a Studio Template
Now it's time to build your own infinity cove. This is an asset you will use repeatedly to showcase your different sculptures. A great practice is to create a template file that you can reuse for future projects.
Your Task:
- Open a new Blender file.
- Follow the steps from section 2 (the Bevel Modifier Method) to create your own seamless backdrop.
- Feel free to scale the plane (
Skey) to make the backdrop larger, ensuring it's big enough to comfortably fit one of your sculptures. - Once you are happy with the result, save the file with a descriptive name like
studio_template.blend. In the future, you can simply open this file, useFile > Save As...to create a new version, and then import your sculpture to be rendered.
This simple act of creating a template will save you time and ensure a consistent, professional look across all your portfolio pieces.
Conclusion
In this lesson, you've learned how to create a fundamental component of professional 3D presentation: the seamless infinity cove. This simple but effective backdrop elevates your renders by removing distracting background elements and focusing all attention on your artwork.
Key Takeaways:
- An infinity cove (or cyclorama) is a curved backdrop that creates a seamless transition between the floor and wall, giving the impression of infinite space.
- The most direct way to build one is to extrude an edge from a plane and use a Bevel modifier with increased Segments to create the curve.
- Always apply Shade Smooth to the backdrop object to ensure the transition appears perfectly seamless in the final render.
- Saving your setup as a template file is an efficient workflow for future projects.
Next Steps
You now have a professional studio stage. In the next lesson, "Compose a final scene featuring a finished sculpture in the studio setup," we will take this backdrop and learn how to import one of your finished sculptures, position it effectively within the scene, and prepare it for the final lighting and rendering you learned in the previous module.