Introduction
Welcome back! In our previous lesson, you built a professional-grade infinity cove, creating the perfect "stage" for your sculptures. Now it's time to bring in the main attraction and set up the audience's view.
Today's lesson focuses on the learning outcome: Compose a final scene featuring a finished sculpture in the studio setup. We'll go through the process of importing one of your completed sculptures, placing it within your studio scene, and then carefully positioning the camera to create a compelling and well-balanced composition.
Your background in fine arts and photography gives you a significant advantage here. Principles like the rule of thirds, balance, and leading lines are just as relevant in a 3D environment as they are on a canvas or in a photograph. We'll be translating those artistic instincts into the technical tools available in Blender. By the end of this lesson, you'll have a fully composed scene, ready for lighting and rendering.

1. Preparing Your Studio Scene
First, we need to bring your sculpture into the studio environment you created. The most efficient way to do this is by "appending" the model from its original file. This copies the object data into your current scene without overwriting your studio setup.
Let's get started:
- Open your template: Open the
studio_template.blendfile you saved in the last lesson. - Append your sculpture:
- Go to
File > Append. - Navigate to the
.blendfile of a sculpture you've already made (for instance, the abstract form from Module 4). - Once you open the file, you'll see a folder structure. Click on the Object folder.
- Select the object(s) corresponding to your sculpture and click the "Append" button.
- Go to
- Position your sculpture:
- The sculpture will now appear in your scene, likely at the world origin.
- Use the Move tool (
G) to position it on the floor of your infinity cove. You can useGthenZto move it vertically until it rests on the floor plane.
A good starting point, as used in professional photography, is to place your model about one-third of the way forward from the back of the curved wall. This helps create a sense of depth and separates the subject from the background.
2. The Camera and Compositional Tools
With your sculpture in place, the next step is to frame it using Blender's camera. This involves not just pointing the camera, but also making artistic choices about the lens and composition, much like in traditional photography.
The following reading from Blender's official documentation provides a great overview of the essential camera tools we'll be using.
Camera Settings - Blender Fundamentals
This guide covers the fundamental camera settings that allow you to frame and compose your scene. Pay special attention to the sections on camera movement and the composition guides, which will directly help you apply your artistic knowledge.
Please read the following sections: 'Camera Basics', 'Camera Lens', 'Viewport Display & Guides', and 'Depth of Field'. Focus on understanding: The shortcuts for navigating the camera, especially Walk/Fly Navigation (Shift + ~). How to enable and use Composition Guides like 'Thirds' to structure your shot. The purpose of Passepartout to help you focus on the camera's view. The concept of Depth of Field (DoF) for controlling what's in focus.
3. Choosing Your Lens: The Power of Focal Length
As you saw in the reading, the camera's Focal Length is a critical setting. It determines the field of view and the amount of perspective distortion.
- A low focal length (e.g., 24mm) is a wide-angle lens. It captures a lot of the environment but can distort objects, making them appear stretched, especially near the edges of the frame.
- A high focal length (e.g., 85mm, 100mm) is a telephoto lens. It flattens the perspective, reduces distortion, and creates a more compressed, intimate view of the subject. For showcasing sculptures, a higher focal length often produces a more pleasing and 'true-to-form' result.
This next video provides an excellent visual demonstration of this effect.
How to Make Studio Lighting in Blender
In this short clip, Andrew Price from Blender Guru clearly demonstrates how focal length choice affects the perception of an object. This will help you decide on the right 'lens' for your sculpture.
Watch from the start of the video until 01:10. Notice the distinct difference between the look of the low focal length and the high focal length. He settles on 100mm, a common choice for this kind of work.
4. Your Turn: Composing the Final Scene
Now, let's bring all these concepts together and compose a scene with your sculpture. The goal is to create a thoughtful and balanced image.
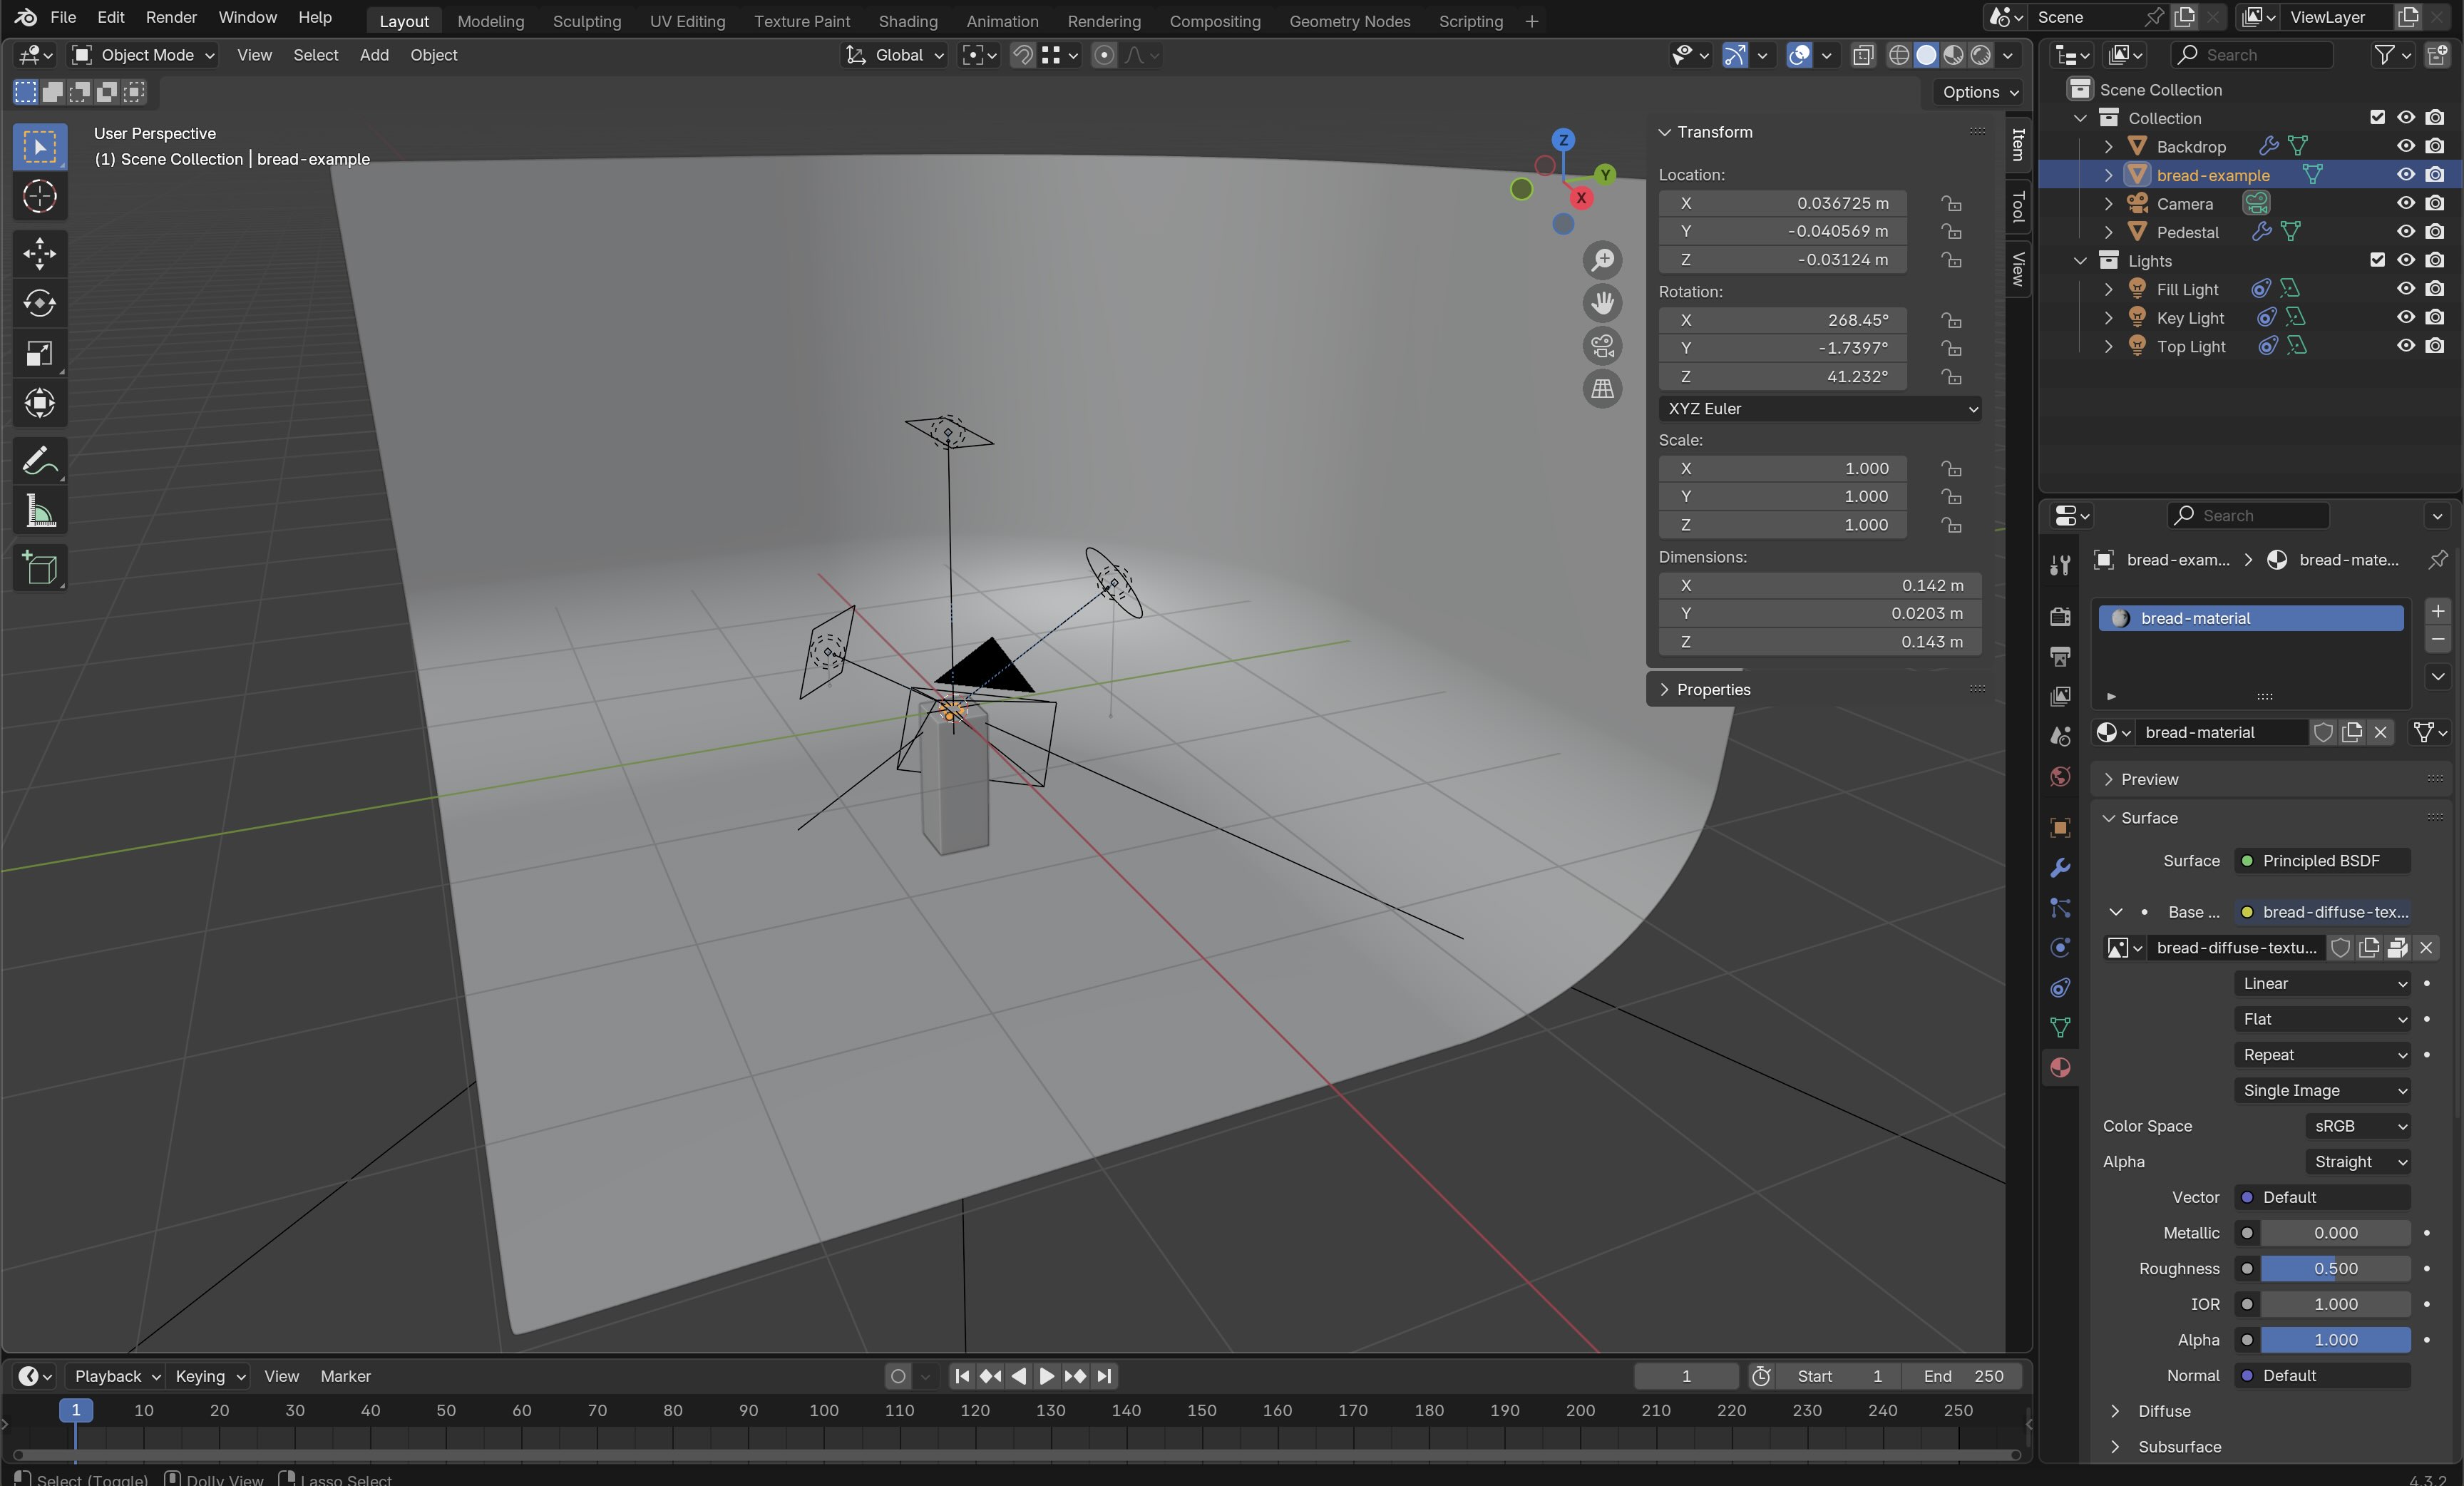
Follow these steps:
-
Add and Position the Camera:
- If there isn't one already, add a camera (
Shift + A>Camera). - Position your 3D viewport to an angle you find interesting. A three-quarter view is often more dynamic than a straight-on shot.
- Press
Ctrl + Alt + Numpad 0to snap the active camera to your current view. - Press
Numpad 0to look through your camera. UseShift+~(the tilde key) to enter Walk/Fly Navigation and fine-tune the camera's position and angle. Left-click to confirm the new position.
- If there isn't one already, add a camera (
-
Set the Lens and Composition Guides:
- With the camera selected, go to the Object Data Properties (the green camera icon in the Properties panel).
- Set the Focal Length to a value between 85mm and 120mm. See how this creates a more focused, less distorted view of your sculpture.
- In the same panel, expand the Viewport Display section. Enable Passepartout and set it to 1.0 to black out everything outside the camera's view.
- Expand the Composition Guides and enable Thirds.
-
Refine the Composition:
- Adjust your camera's position so that the main point of interest on your sculpture falls on or near one of the intersecting lines of the "Thirds" grid.
- You can also select your sculpture and rotate it slightly on the Z-axis (
RthenZ) to present a more dynamic angle to the camera.
-
Add Depth of Field (DoF):
- This is a key photographic technique for drawing attention to your subject.
- In the Camera Properties, check the box for Depth of Field.
- Use the eyedropper tool next to Focus Object and click on your sculpture. This tells the camera to keep the sculpture sharp.
- Slightly lower the F-Stop value (e.g., to 2.8 or 4.0). This will introduce a subtle blur to the background, making your sculpture stand out even more. You will see this effect most clearly in Rendered Viewport Shading.
Take your time with this process. Experiment with different camera angles and compositions until you find one that you feel best represents your artwork.
Conclusion
Excellent work! You have successfully composed a complete scene, moving from an empty studio to a thoughtfully arranged showcase for your sculpture. You've learned how to integrate existing models, manipulate the virtual camera with an artist's eye, and use compositional tools to create a balanced and professional-looking shot.
Key Takeaways:
- Use File > Append to bring objects from other
.blendfiles into your current scene. - The camera's Focal Length is a powerful artistic tool: higher values (85mm+) reduce distortion and are often ideal for showcasing objects.
- Blender's Composition Guides (like the Rule of Thirds) and Passepartout feature are practical tools for applying traditional art principles.
- Depth of Field (DoF) helps separate your subject from the background, directing the viewer's focus precisely where you want it.
Next Steps
Your scene is now perfectly staged for a still image. But what about showcasing your sculpture from all angles? In the next lesson, we will build upon this setup to create a basic animation. You'll learn how to set keyframes on your object's rotation, the first step towards creating the 360-degree turntable video you wanted to produce.