Hello and welcome to the next lesson in your digital sculpting course!
In our previous session, we focused on how to see your sculpture clearly using MatCaps and Studio Lighting. This is like setting up the perfect lighting in your physical studio. Now that you can see your form, it's time to gain more precise control over how you shape it.
Today, we'll explore one of the most fundamental and powerful tools in a digital sculptor's arsenal: masking. This technique is the digital equivalent of using masking tape, stencils, or even your own hand to protect parts of a physical sculpture while you work on another area.
By the end of this lesson, you will be able to apply masks to protect parts of a mesh from being affected by brushes, opening up a world of possibilities for creating detailed and complex forms.
1. The Concept of Masking: Your Digital "Masking Tape"
In physical art, you might use masking tape to get a clean edge when painting, or use a stencil to apply a specific pattern. Masking in Blender serves the exact same purpose. It allows you to create a "protective film" over parts of your model, making them immune to your sculpting brushes.
How to Cut a Model in Blender Sculpt Mode
The article 'How to Cut a Model in Blender Sculpt Mode' from 3DSkillUp offers a great introduction to the idea of masking. We won't be cutting the model today, but its explanation of what a mask is is perfect for our needs.
Please read the Introduction and the section titled '2. Preparing the Mask' down to the subheading 'Main Masking Tools'. Focus on the analogy of the mask as a 'protective film' where dark areas are protected.
As the article explains, the masked area (which appears dark gray/black) is protected, while the unmasked area (the original color of the model) remains editable. This gives you surgical precision.
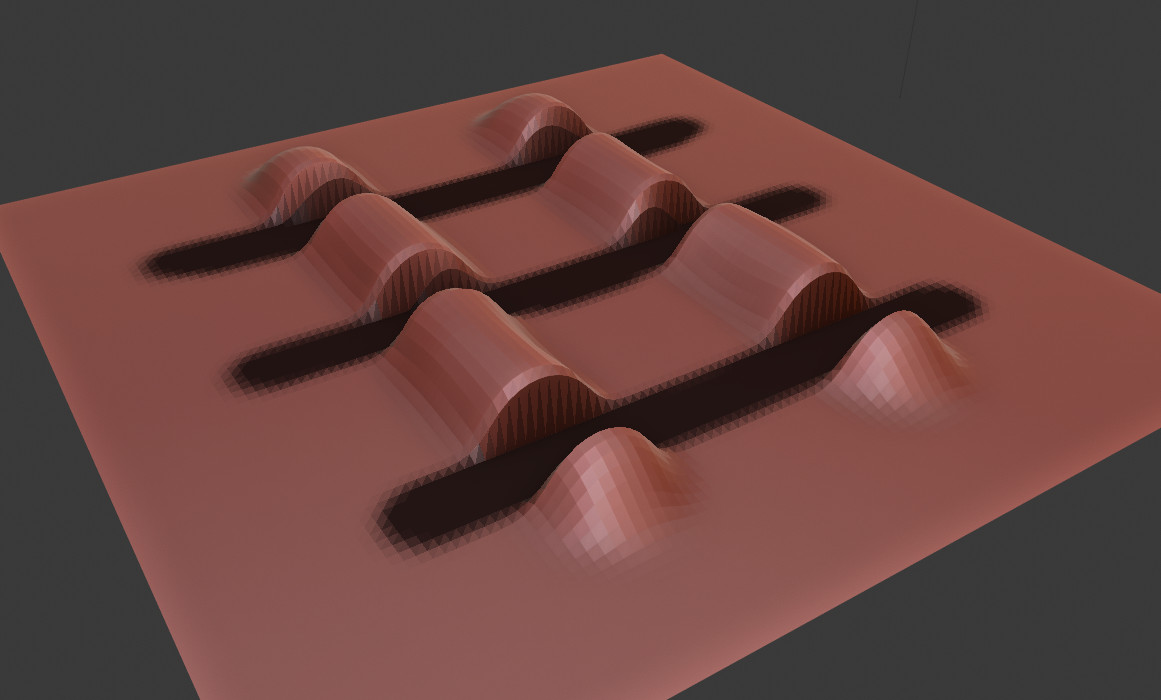
2. Applying and Using the Mask Brush
The most common way to create a mask is by using the Mask Brush. Let's see how to use it and understand a crucial prerequisite for getting clean masks.
How to Use Blender's Sculpting Mask Brush (Tutorial)
The video 'How to Use Blender's Sculpting Mask Brush' by Ryan King Art provides a clear, step-by-step demonstration. We'll start with the basics of applying the mask.
Watch from 00:47 to 02:43. Pay close attention to: Where to find the Mask brush and its settings (Size F and Strength Shift+F). The key concept that masks depend on mesh density (vertices), not faces. You need enough geometry for a detailed mask. The primary function: how the mask prevents other brushes from affecting the surface.
The key takeaway here is that for a mask to have a sharp, detailed edge, your mesh must also have a high level of detail. This is why we often use the Remesh tool (which we'll cover in detail later) or Dyntopo before doing intricate mask work. For now, just remember: if your mask looks blocky, you need more geometry.
3. Essential Mask Operations
Applying a mask is only the first step. To use it effectively, you need to know how to erase parts of it, invert it, and clear it completely. These operations are so fundamental that they are part of the core masking workflow.
How to Use Blender's Sculpting Mask Brush (Tutorial)
Let's return to the same video to learn the essential shortcuts for managing your masks.
Watch from 02:43 to 03:40. This short clip covers three critical actions: Erasing the mask: Hold Ctrl while painting with the Mask brush. Inverting the mask: Press Ctrl + I to flip the masked and unmasked areas. Clearing the mask: Press Alt + M to remove the mask entirely.
These three commands are your bread and butter for masking:
- Paint to add the mask.
- Ctrl + Paint to subtract or erase.
- Ctrl + I to invert the selection.
- Alt + M to clear everything and start fresh.
The ability to invert a mask is especially powerful. It allows you to define the shape you want to sculpt, and then protect everything else. Let's see a practical example of this.
How to Use Blender's Sculpting Mask Brush (Tutorial)
This next segment demonstrates a classic sculpting technique: masking an area, inverting the mask, and then pulling out a new form. This is analogous to how you might build up a form with clay on a specific part of a sculpture.
Watch from 04:18 to 05:43. Notice the workflow: Paint the shape of the new form (like an ear or neck). Invert the mask (Ctrl + I) to protect the rest of the body. Use a brush like Grab or Snake Hook to pull the unmasked geometry out.
4. Alternative Masking Tools
While the Mask Brush is perfect for painting organic shapes, sometimes you need to create a mask with a more geometric or precise boundary. Your background in graphic design will make these tools feel very familiar. They work much like the marquee and lasso tools in software like Photoshop or Illustrator.

You can access these tools by clicking and holding on the Mask brush icon in the toolbar.
- Box Mask: Press
Band drag a rectangle. Great for creating clean, straight-edged masks. - Lasso Mask: Press
Ctrl + Shift + Right-Clickand draw a freeform shape. Perfect for quickly selecting irregular areas.
While painting a mask or using these tools, you can use these shortcuts:
- Hold
Shiftto add to the current mask. - Hold
Ctrlto subtract from the current mask.
Hands-On Practice (25 minutes)
Time to put this into practice. Open Blender and go to the Sculpting workspace.
Part 1: Creating a Pattern (10 mins)
- You'll start with a default sphere. Select it and go to the top of the viewport. Find the Remesh settings (it's near Dyntopo). Set the Voxel Size to around
0.02and click the Remesh button. Your sphere should now be dense enough for detailed masking. - Select the Mask Brush from the toolbar (or press
M). - Paint a pattern on the surface. It can be anything you like—stripes, dots, or an abstract squiggle.
- Now, select a different brush, like the Inflate brush. Make the brush size large (
Fkey) and gently paint over your entire sphere. Notice how only the unmasked areas are affected, creating a raised pattern. - Press
Alt + Mto clear the mask.
Part 2: Extracting a Form (15 mins)
- Continuing with your sphere, go back to the Mask Brush.
- Paint a solid circular shape on the side of the sphere, as if you were defining the base of a limb or horn.
- Press
Ctrl + Ito invert the mask. Now everything except your circle is protected. - Switch to the Grab brush (
Gkey). - Make your brush large enough to cover the entire unmasked circle.
- Click and pull the circle outwards to create a new, distinct form extending from the sphere. Because the rest of the model is masked, only the part you want to move is affected.
- Feel free to use the Grab brush to continue shaping this new extrusion.
- Once you're happy, press
Alt + Mto clear the mask. Now you can use the Smooth brush (Shift + Click) to soften the transition between the new form and the main body.
Conclusion
You've now learned the fundamentals of one of the most essential techniques in digital sculpting. Masking is the key to control, precision, and creating complex interactions between forms.
Key Takeaways:
- Masking protects parts of your mesh from being affected by sculpting brushes, just like using a stencil or masking tape.
- The Mask Brush is used to paint masks directly onto your model's surface. The detail of the mask is limited by the density of your mesh.
- The essential shortcuts are:
Ctrl + Ito invert a mask, andAlt + Mto clear it completely. - Inverting a mask is a powerful workflow for extracting new forms (like limbs or horns) from a base mesh.
Next Steps
We've covered how to apply, invert, and clear a mask. But what about the quality of the mask itself? In our next lesson, we will focus on inverting, clearing, and sharpening masks for precise control. We'll expand on the operations we learned today and add new tools that allow you to refine the edges of your masks for incredibly clean and professional results.