Hello! Welcome back.
In our last session, we established the core concept of digital sculpting—treating a high-density mesh as "digital clay." You've set up your workspace and are ready to move from theory to practice. Today is the day you get your hands on that digital clay and make your first marks.
This lesson focuses on the three most fundamental brushes in your digital toolkit. Just as a traditional sculptor has a few favorite tools for blocking out and shaping, you will come to rely on these constantly. Our goal is to use the basic additive and subtractive brushes: Draw, Clay Strips, and Smooth. By the end of this lesson, you'll be comfortable adding, removing, and blending material on your sculpt.
Getting Started: Your Block of Clay
First, let's prepare our digital clay. Open Blender, and if you don't have it from last time, create a new high-density sphere to work on.
- Press
Shift + A> Mesh > Icosphere. - In the "Add Icosphere" panel that appears at the bottom-left, increase the Subdivisions to
6or7. This gives us enough geometry to work with. - Click on the Sculpting tab at the top of the screen to enter the Sculpting workspace.
- With your pen tablet, you can now start sculpting.
The Two Fundamental Actions: Adding and Subtracting
In physical sculpture, you add clay and you carve it away. Digital sculpting is the same. Most brushes in Blender have two primary modes:
- Additive (Default): Pulls the surface of the mesh outwards, building up form.
- Subtractive (Invert): Pushes the surface inwards, carving into the form.
The key to switching between these is the Ctrl key. Let's see this in action.
Sculpting for Complete Beginners! (Blender Tutorial)
The video 'Sculpting for Complete Beginners!' by Ryan King Art gives a great demonstration of the fundamental sculpting action. This short clip will show you how to add material by simply drawing on the surface and how to subtract material by holding the Control key.
Watch from 07:00 to 07:32. Notice how simply pressing down with the pen adds clay, while holding the Ctrl key pushes the clay in.
This Ctrl key modifier is universal and will become second nature, just like changing the angle of a physical tool to either add or scrape away clay.
Meet Your Core Brushes
Now, let's get to know our three essential tools. You can find them in the brush panel on the left side of your screen.
1. The Draw Brush
The Draw brush is your default, all-purpose tool. Think of it as adding a smooth, round coil of clay to your surface. It's excellent for building up basic volumes and sketching out ideas. When used subtractively (Ctrl), it carves a smooth, rounded channel.
2. The Clay Strips Brush
The Clay Strips brush behaves more like smearing flattened strips of clay onto your model. The strokes have a more rectangular, blocky feel, which is fantastic for building up forms with a bit of texture and planar definition. Your experience with building up forms in physical clay will make the feel of this brush very familiar.
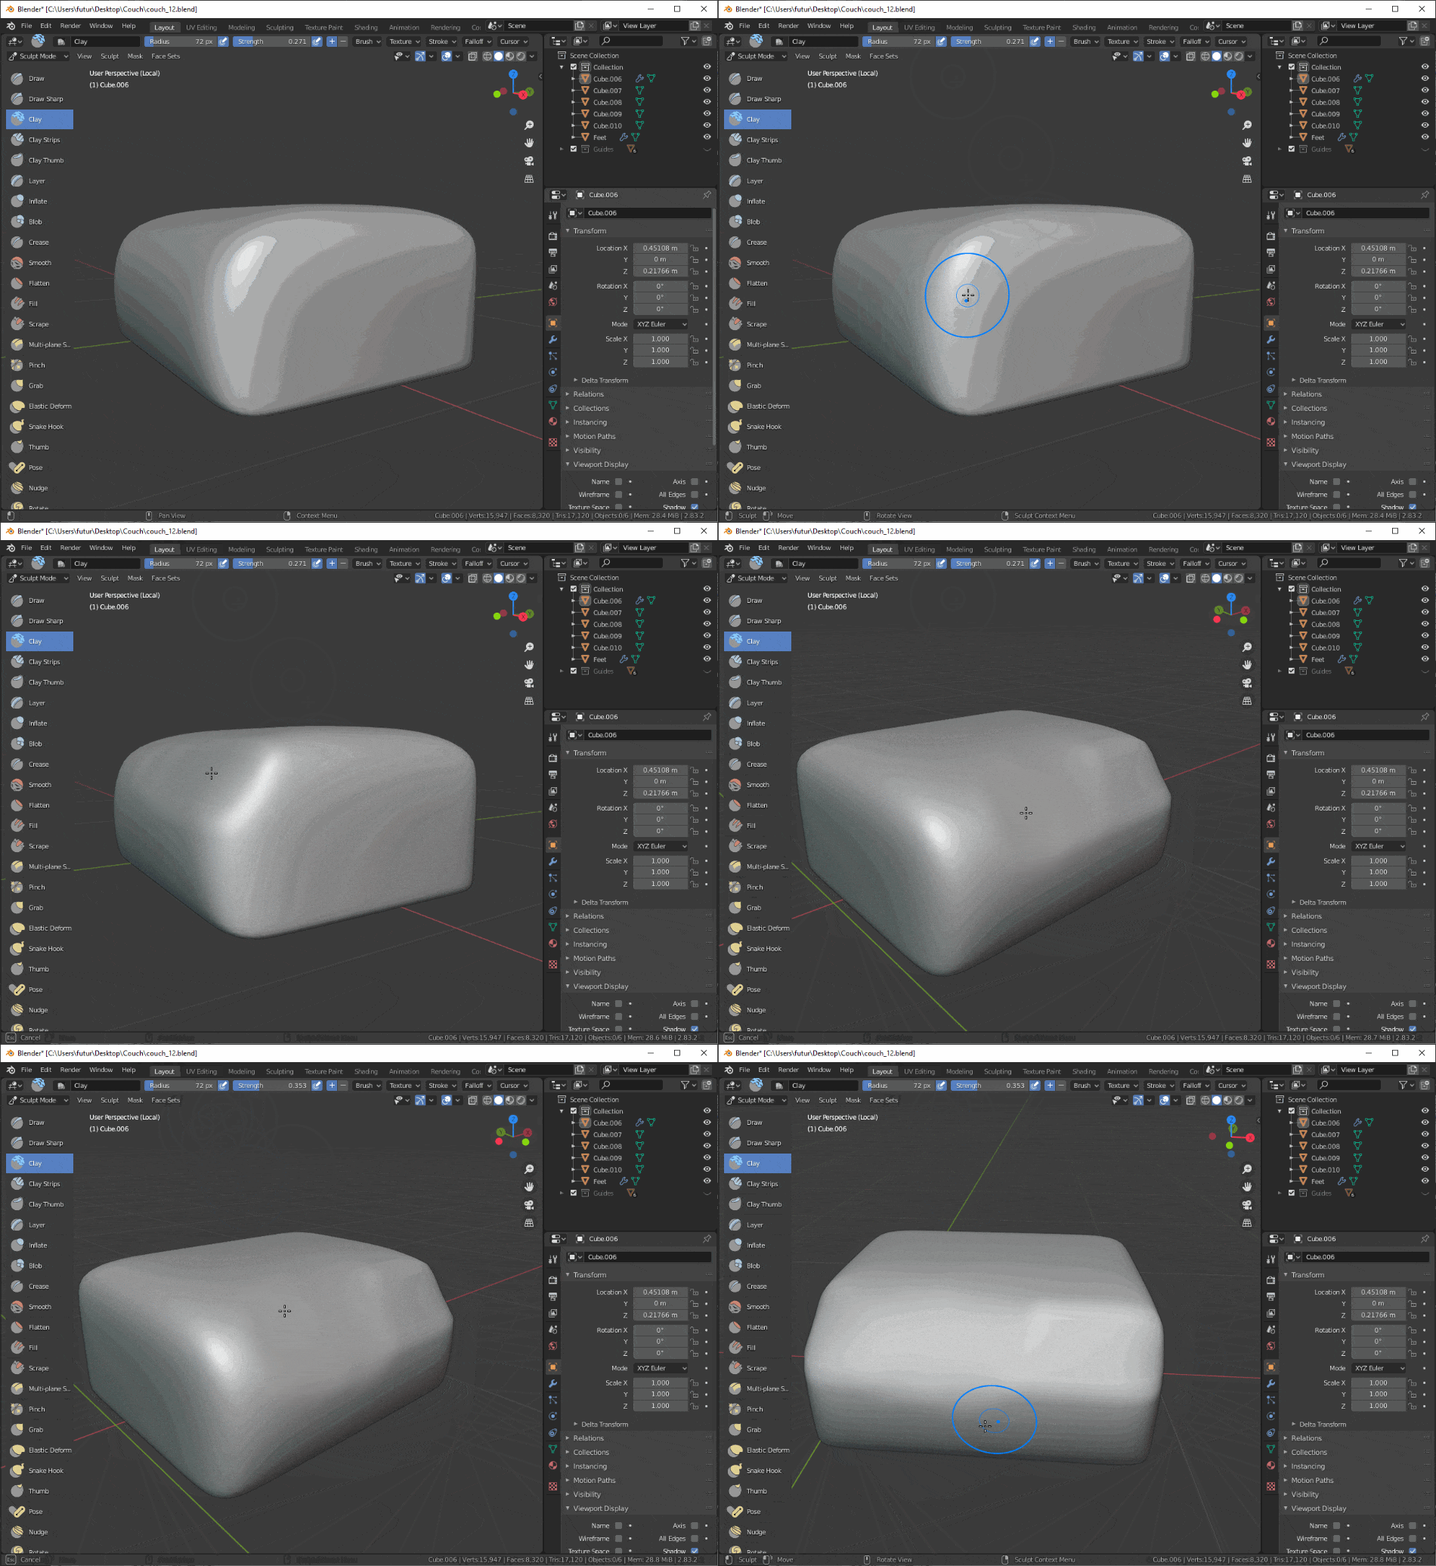
3. The Smooth Brush
The Smooth brush is your refining tool. Its job is to average the positions of the vertices under your brush, softening details and blending strokes together. This is the digital equivalent of using a wet sponge, a soft cloth, or your thumb to smooth the surface of your sculpture.
This brush is so vital that it has a dedicated shortcut: holding the Shift key will temporarily activate the Smooth brush, no matter what other brush you have selected.
Let's watch a video that introduces these brushes and the all-important Shift key workflow.
Master Blender Sculpting: Every Brush Explained
In 'Master Blender Sculpting: Every Brush Explained,' Grant Abbitt provides a clear and concise look at these first brushes. Pay close attention to the visual difference between the Draw and Clay Strips brushes.
First, watch from 01:44 to 02:07 to see the additive and subtractive action of the Draw brush. Then, skip ahead and watch from 06:05 to 07:02. This part introduces the Clay and Clay Strips brushes and reiterates how to use Ctrl to subtract and Shift to smooth.
For a quick written reference on these and other basic tools, you can refer to the following guide.
Introduction to Sculpting in Blender
The article 'Introduction to Sculpting in Blender' provides excellent text descriptions of the most common brushes.
Read the section titled 'The Basic Tools'. Focus on the descriptions for Draw, Clay Strips, and Smooth to reinforce what you've just seen in the videos.
Hands-On Practice: Making Your First Marks
It's time to apply this. On your subdivided Icosphere, let's experiment with each brush. Don't worry about making anything beautiful; the goal is to feel how the tools work.
-
Select the Draw Brush:
- Draw a few lines on your sphere. Notice the soft, rounded profile.
- Now, hold
Ctrland draw next to your first lines. See how it carves a smooth valley.
-
Select the Clay Strips Brush:
- Find a clean area and draw some strokes. Feel the blockier, more textured buildup. It's great for suggesting mass and muscle.
- Hold
Ctrland carve with it. The channel it creates has a harder, more defined edge than the Draw brush.
-
Practice the Smooth Workflow:
- Go back to any of your previous strokes.
- Hold down the
Shiftkey. Your brush icon will change, and you are now using the Smooth brush. - Gently paint over your sculpted marks. See how they soften and blend into the surface.
- Let go of
Shift, and you're immediately back to your previously selected brush.
This sculpt -> Shift-smooth -> sculpt rhythm is the fundamental loop of digital sculpting.
A Practical Technique: Carving and Smoothing
Let's try a common technique that combines these actions, which is demonstrated in the Introduction to Sculpting in Blender article you just reviewed. Imagine you want to create a subtle depression on your model.
- Select the Clay Strips brush.
- Hold
Ctrlto activate its subtractive mode. - Carve out the rough shape of the depression. It will look a bit harsh.
- Now, without changing brushes, hold
Shiftto activate the Smooth brush. - Lightly paint over the area you just carved. Smooth the inside of the depression and blend the edges into the main surface.
You've just used a core sculpting workflow: blocking in a form with a constructive brush (Clay Strips) and then refining it with the Smooth brush. This two-step process is something you will do thousands of times.
Sculpting for Complete Beginners! (Blender Tutorial)
To see this subtractive technique in a practical context, let's return to the 'Sculpting for Complete Beginners!' video. Here, Ryan King uses this exact method to define the eye sockets on a creature.
Watch from 34:23 to 35:19. Notice how he uses the Clay Strips brush with Ctrl to dig in the sockets, then uses Shift to lightly smooth the area.
Conclusion
Congratulations on taking your first practical steps in digital sculpting! You've moved from understanding the concepts to manipulating the digital clay yourself. This is a huge milestone.
Key Takeaways:
- The Draw brush creates smooth, rounded forms, like adding coils of clay.
- The Clay Strips brush builds up blocky, textured forms, like smearing on strips of clay.
- The Smooth brush, accessed universally by holding
Shift, is essential for blending and refining your strokes. - Holding
Ctrlinverts nearly any brush's function, allowing you to switch instantly from adding material to carving it away.
Next Steps
You now know what the basic brushes do. In our next lesson, we'll learn how to control how they do it. We will explore how to adjust the brush size and strength to create everything from large, form-altering strokes to tiny, subtle details.