Hello! In our last lesson, you learned how to create Django views, the crucial components that handle web requests and return responses. You've built both function-based and class-based views to display a list of tasks, connecting your data models to the user's browser. Now, we'll take the next logical step: controlling who can access your application.
This lesson focuses on implementing a complete user authentication system. You'll learn to leverage Django's powerful built-in tools to add user registration, login, and logout functionality to your TaskMaster project. This is a fundamental building block for almost any web application and directly supports the "extensive experience in Django" and "simple authentication and authorization" requirements for your target role.
By the end of this 60-minute lesson, you will be able to:
- Integrate Django's default authentication URLs into your project.
- Create templates for login and registration pages.
- Build a custom sign-up view to allow new users to register.
- Implement a full login/logout cycle for your users.
1. The Authentication Lifecycle
Before writing code, let's visualize the process. When we talk about authentication, we're describing a lifecycle that begins when a user wants to identify themselves and ends when their session is terminated.

Django's django.contrib.auth framework provides robust, secure implementations for most of these steps right out of the box. Our job is to wire them up correctly and build the few missing pieces.
2. Quick Wins: Django's Built-in Auth URLs
One of Django's great features is that it provides pre-built views and URLs for common authentication tasks like login, logout, and password management. Our first step is to simply include these in our project's URL configuration.
This is a powerful shortcut that saves you from writing a lot of boilerplate code. The resource below walks you through this simple but crucial setup.
Django Login, Logout, Signup, Password Change, and ...
This tutorial from LearnDjango.com provides a very clear, step-by-step guide to setting up Django's authentication system. We'll use it as our primary guide.
First, read the initial setup section. Follow the instruction to add path("accounts/", include("django.contrib.auth.urls")) to your project's taskmaster/urls.py file. The name accounts/ is a convention. Next, read the Log In Page section to understand how Django looks for authentication templates. We will now implement this.
Hands-On: Configure Auth URLs and Templates
Let's apply what you just read to your TaskMaster project.
-
Include Auth URLs: In your project's
taskmaster/urls.py, add the path for the built-in authentication URLs. Make sure you also importinclude.# taskmaster/urls.py from django.contrib import admin from django.urls import path, include # Add include urlpatterns = [ path('admin/', admin.site.urls), path('tasks/', include('tasks.urls')), path('accounts/', include('django.contrib.auth.urls')), # Add this line ] -
Configure Template Directory: In
taskmaster/settings.py, tell Django to look for a project-leveltemplatesdirectory.# taskmaster/settings.py TEMPLATES = [ { ... 'DIRS': [BASE_DIR / 'templates'], # Update this line ... }, ] -
Create Login Template: By default, Django's login view looks for a template at
registration/login.html.- Create a
templatesfolder in your project's root directory (next tomanage.py). - Inside
templates, create another folder namedregistration. - Inside
registration, create a file namedlogin.html.
Add the following code to
templates/registration/login.html:<h2>Log In</h2> <form method="post"> {% csrf_token %} {{ form.as_p }} <button type="submit">Log In</button> </form>The
{{ form.as_p }}tag will render the username and password fields provided by Django'sAuthenticationFormas paragraphs. - Create a
With just these changes, if you run your server and navigate to http://127.0.0.1:8000/accounts/login/, you will see a functional login form! However, we don't have any users yet, and we don't know where to go after logging in.
3. The Full Flow: Login, Logout, and Redirects
To make the login/logout process seamless, we need to tell Django where to send users after a successful login or logout.
We'll continue following the LearnDjango tutorial.
Django Login, Logout, Signup, Password Change, and ...
This guide explains how to set redirect URLs and create a home page to test the flow.
Read the section explaining login redirect. Then, read about the logout button and redirect. Pay attention to the fact that logout requires a POST request.
Hands-On: Implementing Login and Logout
-
Set Redirect URLs: In
taskmaster/settings.py, add these two lines at the bottom. We'll redirect users to our existing task list page upon login and to a new home page (which we'll create) upon logout.# taskmaster/settings.py LOGIN_REDIRECT_URL = '/tasks/' LOGOUT_REDIRECT_URL = '/' -
Create a Superuser: To test the login, you need a user account. Use the command line to create an administrator account.
python manage.py createsuperuserFollow the prompts to set a username, email, and password.
-
Create a Home Page with Conditional Links: We need a simple home page and a way to show "Login" or "Logout" depending on the user's status.
- In your project-level
templatesfolder, create ahome.htmlfile. - In the same folder, create a
base.htmlfile to hold the common structure.
templates/base.html:<!DOCTYPE html> <html> <head> <title>TaskMaster</title> </head> <body> <nav> <a href="/">Home</a> | <a href="{% url 'task-list' %}">Tasks</a> <hr> {% if user.is_authenticated %} <p>Hi {{ user.username }}!</p> <form action="{% url 'logout' %}" method="post"> {% csrf_token %} <button type="submit">Log Out</button> </form> {% else %} <p>You are not logged in.</p> <a href="{% url 'login' %}">Log In</a> | <a href="{% url 'signup' %}">Sign Up</a> {# We will create this URL soon #} {% endif %} </nav> <main> {% block content %} {% endblock %} </main> </body> </html>templates/home.html:{% extends "base.html" %} {% block content %} <h1>Welcome to TaskMaster</h1> <p>Your ultimate solution for task management.</p> {% endblock %} - In your project-level
-
Create a URL for the Home Page: In
taskmaster/urls.py, we need to add a path for our new home page. We'll use a built-inTemplateViewfor this simple case.# taskmaster/urls.py from django.contrib import admin from django.urls import path, include from django.views.generic.base import TemplateView # Import TemplateView urlpatterns = [ path('admin/', admin.site.urls), path('tasks/', include('tasks.urls')), path('accounts/', include('django.contrib.auth.urls')), path('', TemplateView.as_view(template_name='home.html'), name='home'), # Add this line ]
Now, start your server. You can visit the home page, log in with your superuser account, be redirected to the task list, and see the "Hi, [username]!" message and a logout button. Clicking logout will end your session and redirect you back to the home page.
4. The Missing Piece: User Registration
While Django provides a login view, it does not provide a view for user registration (sign-up). This is intentional, as sign-up logic can be highly custom. We will build our own using Django's UserCreationForm and a generic CreateView.
The UserCreationForm is a critical tool. It validates user input, checks if a username is already taken, and most importantly, securely hashes the password. Passwords should never be stored in plain text.
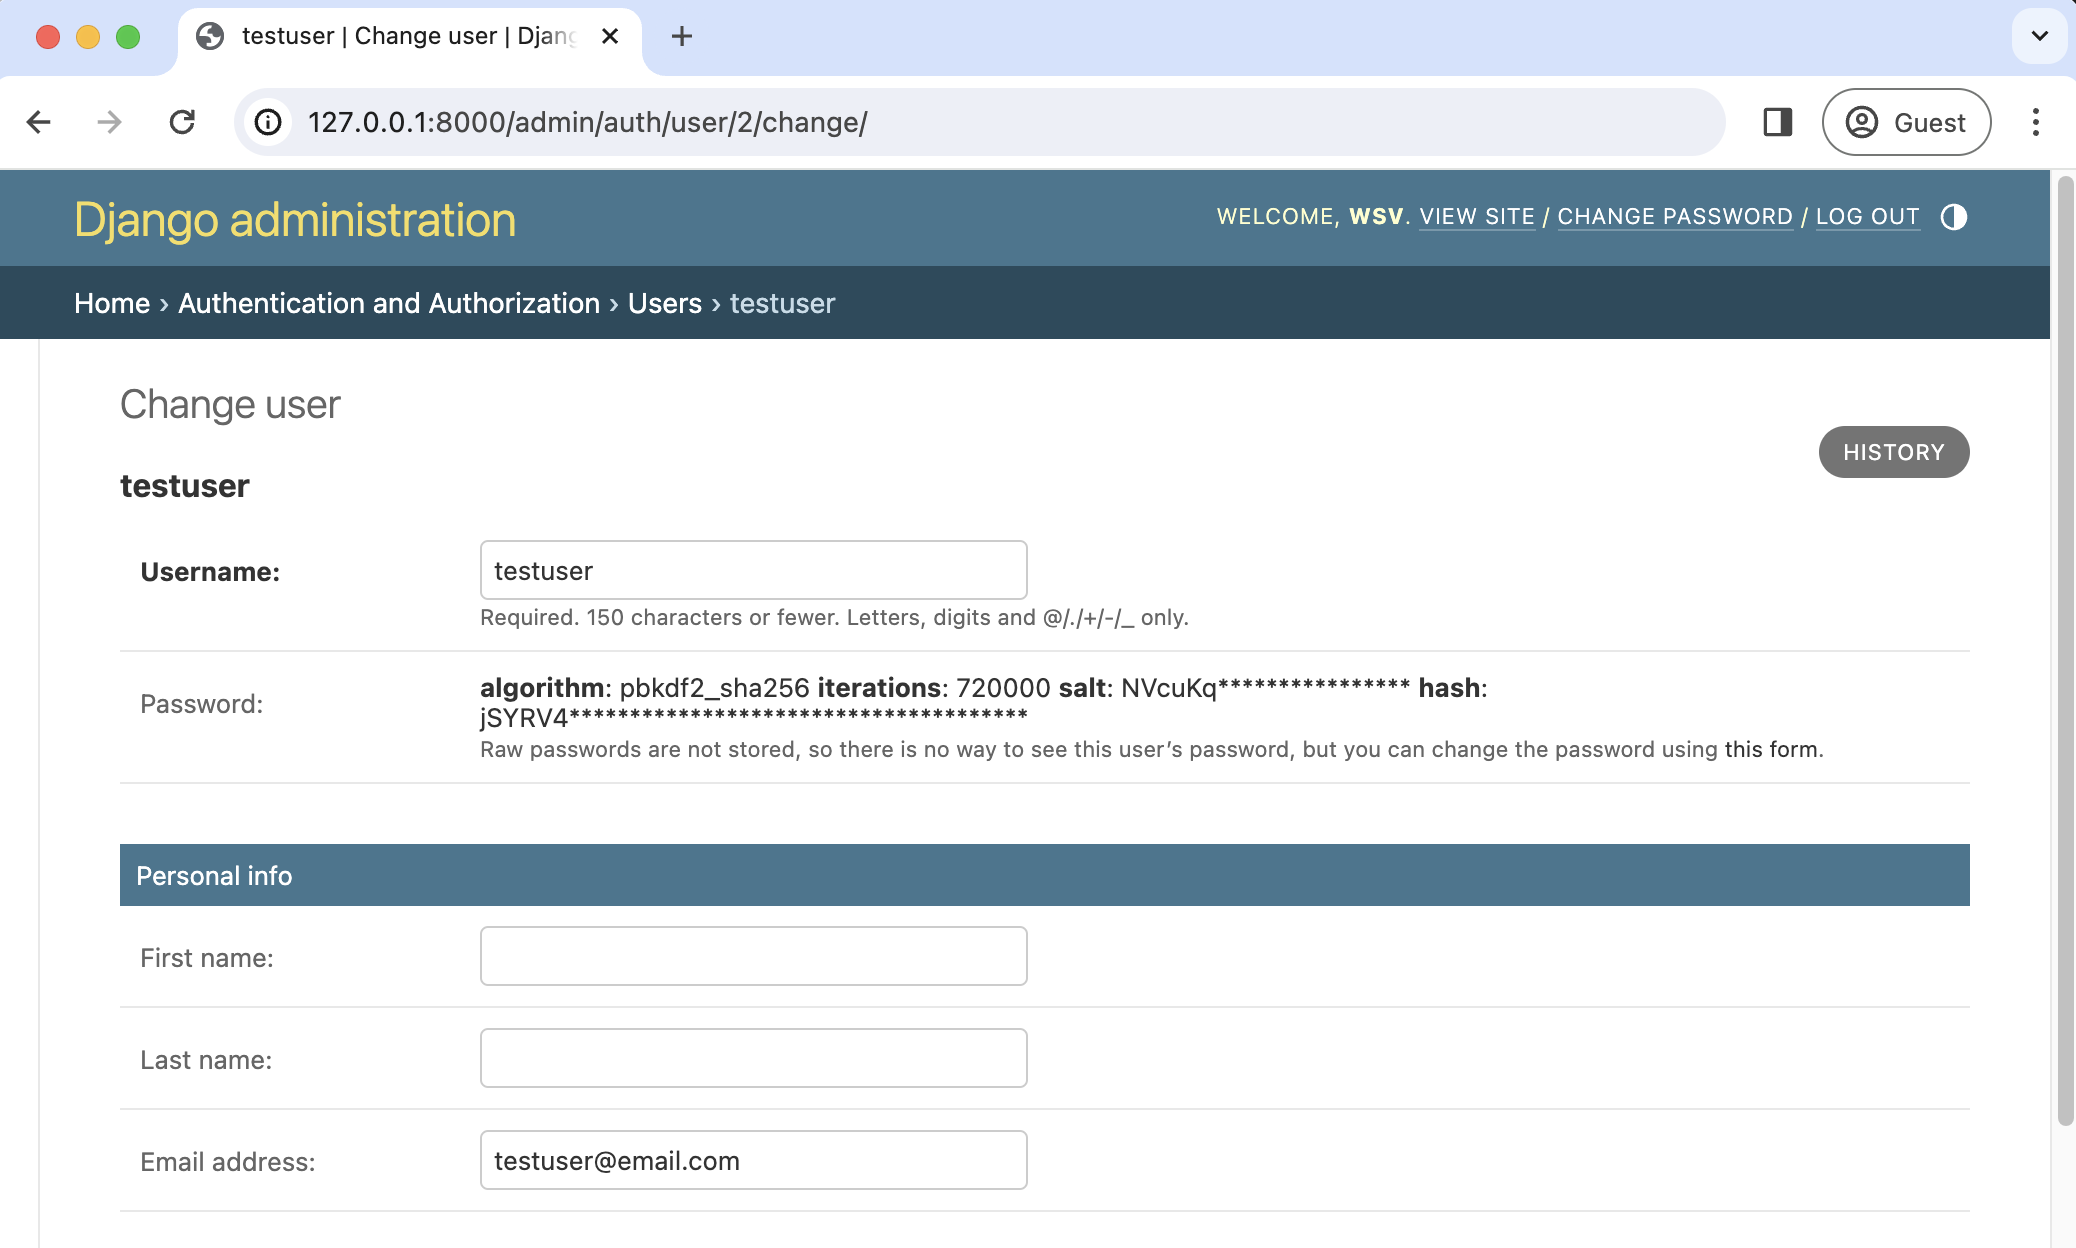
Let's build the sign-up functionality.
Django Login, Logout, Signup, Password Change, and ...
This final section of the tutorial shows the standard way to implement a sign-up page.
Read the Sign Up Page section carefully. It guides you through creating a dedicated accounts app, building a SignUpView with CreateView and UserCreationForm, and setting up the URL and template.
Hands-On: Building the Sign-Up View
Following the guide, let's add registration to TaskMaster.
-
Create an
accountsApp: It's good practice to place custom authentication logic in its own app.python manage.py startapp accounts -
Add to
INSTALLED_APPS: Intaskmaster/settings.py, register the new app.# taskmaster/settings.py INSTALLED_APPS = [ # ... 'tasks.apps.TasksConfig', 'accounts.apps.AccountsConfig', # Add this line ] -
Create the
SignUpView: Inaccounts/views.py, create the view.# accounts/views.py from django.contrib.auth.forms import UserCreationForm from django.urls import reverse_lazy from django.views.generic import CreateView class SignUpView(CreateView): form_class = UserCreationForm success_url = reverse_lazy('login') template_name = 'registration/signup.html'form_class: We specify the built-in form to use.success_url: We usereverse_lazyto redirect to the login page upon success. We use_lazybecause the URLs haven't been loaded when this file is imported.template_name: We specify the template to render.
-
Create the
signup.htmlTemplate: In yourtemplates/registration/folder, createsignup.html.{% extends "base.html" %} {% block content %} <h2>Sign Up</h2> <form method="post"> {% csrf_token %} {{ form.as_p }} <button type="submit">Sign Up</button> </form> {% endblock %} -
Wire up the URLs:
-
Create a new file
accounts/urls.py.# accounts/urls.py from django.urls import path from .views import SignUpView urlpatterns = [ path('signup/', SignUpView.as_view(), name='signup'), ] -
In the project's
taskmaster/urls.py, include these new URLs. Place it above thedjango.contrib.auth.urlsinclude. This ensures your customaccounts/URLs are checked first.# taskmaster/urls.py urlpatterns = [ path('admin/', admin.site.urls), path('tasks/', include('tasks.urls')), path('accounts/', include('accounts.urls')), # Add this line path('accounts/', include('django.contrib.auth.urls')), path('', TemplateView.as_view(template_name='home.html'), name='home'), ]
-
You now have a complete registration-login-logout flow! You can create new users, who can then log in and access the application.
Conclusion
In this lesson, you've implemented one of the most critical features of any web application: user authentication. By skillfully combining Django's built-in components with a custom-built view, you've created a secure and complete system for user management.
Key Takeaways:
- Django's
django.contrib.authprovides a powerful foundation for authentication. - The
django.contrib.auth.urlsentry gives you login, logout, and password management views for free. - You must build the sign-up view yourself, typically using the built-in
UserCreationFormwith aCreateView. - Settings like
LOGIN_REDIRECT_URLandLOGOUT_REDIRECT_URLprovide easy control over the user flow. - Django automatically handles security best practices, like password hashing, to protect user data.
Our application can now distinguish between different users. However, all users can still see all tasks. In our next lesson, we will solve this by securing application views. You'll learn how to restrict pages so that only authenticated users can access them, and how to ensure that users can only see their own data.