Welcome back! In our last session, you prepared your digital workspace by creating and configuring the fundamental track types for your project. You now have a session with tracks ready to hold your vocal ideas, synth pads, and bass lines. This is the structural foundation of your song.
Now, it's time to learn how to control the flow of time within that project. This lesson focuses on the transport controls—the "cockpit" of your DAW. Mastering these will allow you to navigate your project, play back your work, loop sections to develop ideas, and record your performances with precision and speed. For a producer aiming to capture creative sparks as they happen, a fluid command of these controls is non-negotiable.
The Anatomy of Playback: Playhead and Transport Bar
At the top of your Logic Pro window is the Control Bar. In its center, you'll find the transport buttons, which govern the timeline.
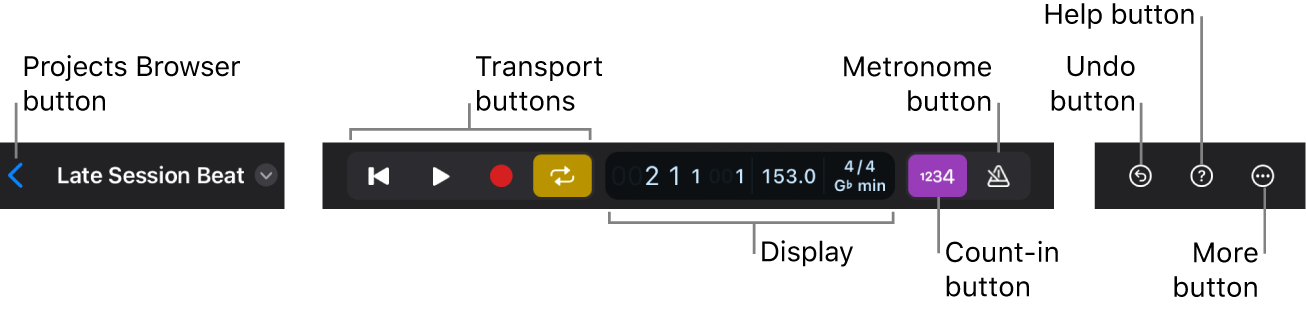
Your position in the project is indicated by the playhead, a vertical line that spans the height of the Tracks Area. The timeline itself is measured by the ruler at the top, typically showing bars and beats.
Playback and navigation, Logic Pro X Help
This official help document clearly defines the core components for navigating your project.
Read the short introductory section, Get started with playback and navigation. This will familiarize you with the official terms for the playhead and ruler.
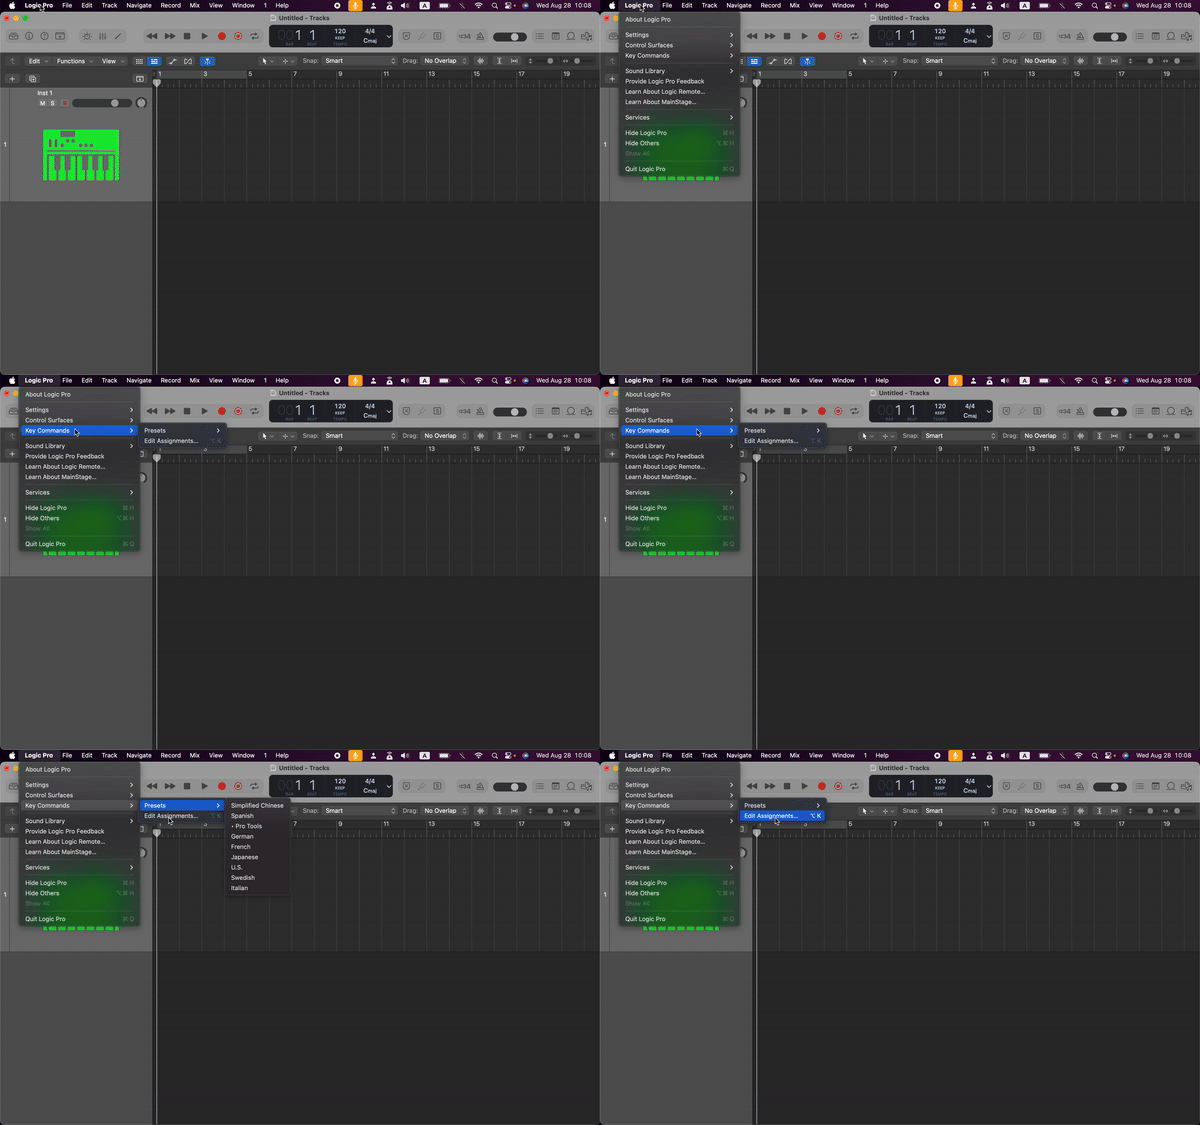
The most basic way to control playback is by clicking these buttons with your mouse. The GIF below shows this in action: clicking Record starts the recording, and clicking Stop halts it.
From Clicking to Commanding: Essential Keyboard Shortcuts
While clicking buttons works, professional producers rely on keyboard shortcuts to maintain a fast, uninterrupted creative flow. Your goal is to make these commands second nature, so you can focus on the music, not the mouse. The "Why Logic Pro Rules" channel has an excellent video that emphasizes this very point.
#7 - Transport Controls (& Tips For Faster Playback)
This video introduces the transport controls but quickly pivots to the far more important topic of keyboard shortcuts for a faster workflow.
First, watch the introduction from the beginning to understand the philosophy behind using key commands. Then, jump to the core of the lesson at the 10 key commands section. This is the most critical part of today's lesson—write these down or commit them to memory.
Let's break down these essential commands.
1. The "Big Three": Play, Stop, and Return
- Play/Stop (
Spacebar): This is the most-used shortcut. Press it once to play, press it again to stop. - Go to Beginning (
Return): Instantly moves the playhead to the very start of your project (bar 1, beat 1).
Pro-Tip: Change Playback Behavior
By default, when you press Spacebar to stop and then play again, Logic starts from where it left off. It's often more useful to have it return to the original starting point. As shown in the video (<ts start="00:08:55" end="00:09:49">click and hold on the play button</ts>), you can change this. Click and hold the Play button in the Control Bar and select Play from Last Locate Position. This is a one-time setup that dramatically speeds up your workflow when you're working on a specific section.
2. Navigating the Timeline
Moving the playhead with the mouse is imprecise. Use these keys to jump around with musical accuracy. These shortcuts are also covered in detail by MusicTechHelpGuy, who provides a very clear explanation.
Logic Pro 11 - #04 Transport Playback Controls, Cycle Range & Locators
This video from MusicTechHelpGuy offers another expert take on transport controls, with a great explanation of the timeline grid.
Watch the segment from the beginning of the controls walkthrough. Pay close attention to how he explains the division of the timeline into bars and beats, as this is the grid you are navigating with these shortcuts.
- Move by Bars (
<and>): The comma and period keys allow you to jump the playhead forward or backward one bar at a time. - Move by 8 Bars (
Shift+</>): HoldingShiftwhile using the navigation keys lets you jump in larger, 8-bar increments. This is perfect for moving between major song sections like a verse and a chorus.
Looping for Creativity and Practice: The Cycle Range
Modern music, especially pop and electronic genres, is built on loops. Logic’s Cycle Range allows you to define a section of your project that will play repeatedly. This is essential for building a beat, practicing a vocal line, or recording multiple takes.
- Toggle Cycle Mode (
C): PressCto turn the yellow cycle range bar on and off in the ruler. You can drag its edges to set the loop points. - Set Cycle to Selection (
Command + U): This is a game-changer. Select any region (or multiple regions) in your project and pressCommand + U. The cycle range will instantly snap around your selection. This is the fastest way to loop a specific part you're working on.
Playback and navigation, Logic Pro X Help
For a clear, step-by-step guide on the Cycle Range, this resource is excellent.
Read the section on the cycle area. This reinforces how to activate, resize, and move the loop.
Capturing Your Ideas: Recording Controls
Now let's get ready to record.
- Record (
R): This is your main record button. Remember from our last lesson, you must first record-enable the track you want to record on by clicking the 'R' button in the track header. - Toggle Metronome (
K): The metronome provides a click track to keep your performance in time with the project's tempo. TheKkey turns it on and off. - Toggle Count-in: The
1234button in the transport bar gives you a one-bar count-in before recording begins, so you can prepare yourself.
The Ultimate Creative Safety Net: Capture Recording
What if you play a brilliant idea but forgot to press record? Logic has an incredible feature for this.
- Capture Recording (
Shift + R): Logic is always listening to the MIDI data you play on armed software instrument tracks. If you play something you love without being in record mode, simply stop and pressShift + R. Logic will create a MIDI region containing what you just played.
40+ Essential Logic Pro Shortcuts You Need to Know - Hyperbits
This article from Hyperbits highlights some excellent shortcuts, including the magical Capture Recording feature.
Scroll to the very end of the article and read item #43. This explains how to use this powerful feature to ensure you never lose a spontaneous idea.
Your Turn: Take Control of the Timeline
Open the Logic Pro project you created in the last lesson. Let's put these commands into practice.
-
Navigate Your Project:
- Press
Returnto ensure the playhead is at the beginning. - Use the
>key to move the playhead to Bar 9. - Use
Shift + >to jump to Bar 17. - Use the
<key to move back to Bar 16. - Press
Returnto go back to the start.
- Press
-
Create and Use a Loop:
- In the empty space on any track, use the pencil tool (press
TthenTto open and select it) to draw a placeholder region from Bar 5 to Bar 9. - Click on the region to select it.
- Press
Command + U. Notice how the yellow cycle range snaps perfectly to your 4-bar region. - Press
Cto toggle the cycle range off, thenCagain to turn it back on. - With the cycle range active, press
Spacebar. The project will now loop playback between bars 5 and 9. PressSpacebaragain to stop.
- In the empty space on any track, use the pencil tool (press
-
Practice Recording:
- Select your "Vocal Idea" track and make sure it's record-enabled (the
Rbutton is flashing red). - Press
Kto turn on the metronome. - Click the "Count-in" button (
1234) so it's highlighted. - Move the playhead to Bar 5.
- Press
R. You will hear four clicks, and then Logic will start recording an empty audio region on your vocal track. Let it record for a few bars. - Press
Spacebarto stop recording. You've just recorded your first (silent) take!
- Select your "Vocal Idea" track and make sure it's record-enabled (the
-
Experience "Capture Recording":
- Select your "Dark Pad" software instrument track.
- Do not press
R. - Press
Spacebarto start playback and play a few notes or a simple chord on your MIDI keyboard (or using Musical Typing -Command + K). - Press
Spacebarto stop. Your performance is seemingly gone. - Now, press
Shift + R. A new MIDI region containing the notes you just played will magically appear on the track.
Conclusion
You've just taken a massive step toward fluency in Logic Pro. You've moved beyond simple mouse clicks and have begun to command the application with the speed and efficiency of a professional.
Here are your key takeaways:
- The transport controls (Play, Stop, Record) and the playhead are central to controlling your project's timeline.
- Keyboard shortcuts are essential for a fast workflow. The most critical are:
Spacebarfor Play/StopReturnto go to the beginning<and>to navigate bar-by-barCto toggle the Cycle Range (loop)Command + Uto set the loop around a selected regionRto RecordKfor the Metronome
- Capture Recording (
Shift + R) is a powerful creative tool that ensures you never lose a spontaneous musical idea.
You now have the ability to move around your project and capture your ideas. In our next lesson, we'll focus on bringing existing sounds into your session. You'll learn how to import audio files and explore Apple Loops, giving you a vast library of sounds to start building the rhythmic and melodic foundations for your tracks.