Welcome back! In our last session, we set up your digital workshop by installing and exploring Visual Studio (VS) Code. You now have a feel for the editor's layout and even customized it with a new theme.
Today, we're going to install the power supply for that workshop.
1. What We Are Learning
This lesson continues Module 2: The Developer's Toolkit. Our goal is to install Node.js and explain its role as a runtime for web development tools. We will also learn about its companion, NPM (Node Package Manager).
2. Why This Matters
As we discussed, VS Code is your core application, like Figma. But to build a modern website, developers rely on an ecosystem of helper tools that automate tasks, manage project dependencies, and even run a local server to preview work.
Node.js is the environment that allows these tools to run on your computer.
Think of it this way: Figma itself is an application, but it can also run plugins—for spell-checking, finding stock photos, or managing design systems. Those plugins are separate pieces of software that operate within Figma's environment.
Similarly, Node.js provides the environment for our development tools to run. We won't be writing any Node.js code directly, but we need it installed so that tools like a local web server (for live previews) and the AI code generators we'll use later will function correctly.
When we install Node.js, we also get NPM (Node Package Manager). If Node.js is the "plugin environment," NPM is the "plugin marketplace" or "App Store." It's a command-line tool we use to find, install, and manage all the other developer tools we'll need.
3. Step-by-Step Instructions
Let's get this essential foundation in place.
Step 1: Understand the Key Concepts
Before installing, let's clarify exactly what Node.js and NPM are.
Installing NPM and Node.js on Windows & macOS: Beginner’s Guide
This article provides clear, beginner-friendly definitions of Node.js and NPM. It will help you understand their relationship and why they are installed together.
Read the sections titled 'What is Node.js, and how does it relate to NPM?' and 'Does Node.js Install NPM Automatically?'. Focus on understanding that Node.js is a 'runtime' (an environment for code to run) and that NPM is automatically included with it.
The key takeaway is that Node.js lets us run JavaScript-based tools on our computer, outside of a web browser, and NPM is the tool we use to manage them.
Step 2: Download the Node.js Installer
We will download the official installer. It's important to choose the LTS version, which stands for Long-Term Support. This is the most stable and reliable version, recommended for most users.
- Go to the official Node.js website: https://nodejs.org
- You will see two buttons on the homepage. Click the one that says LTS.
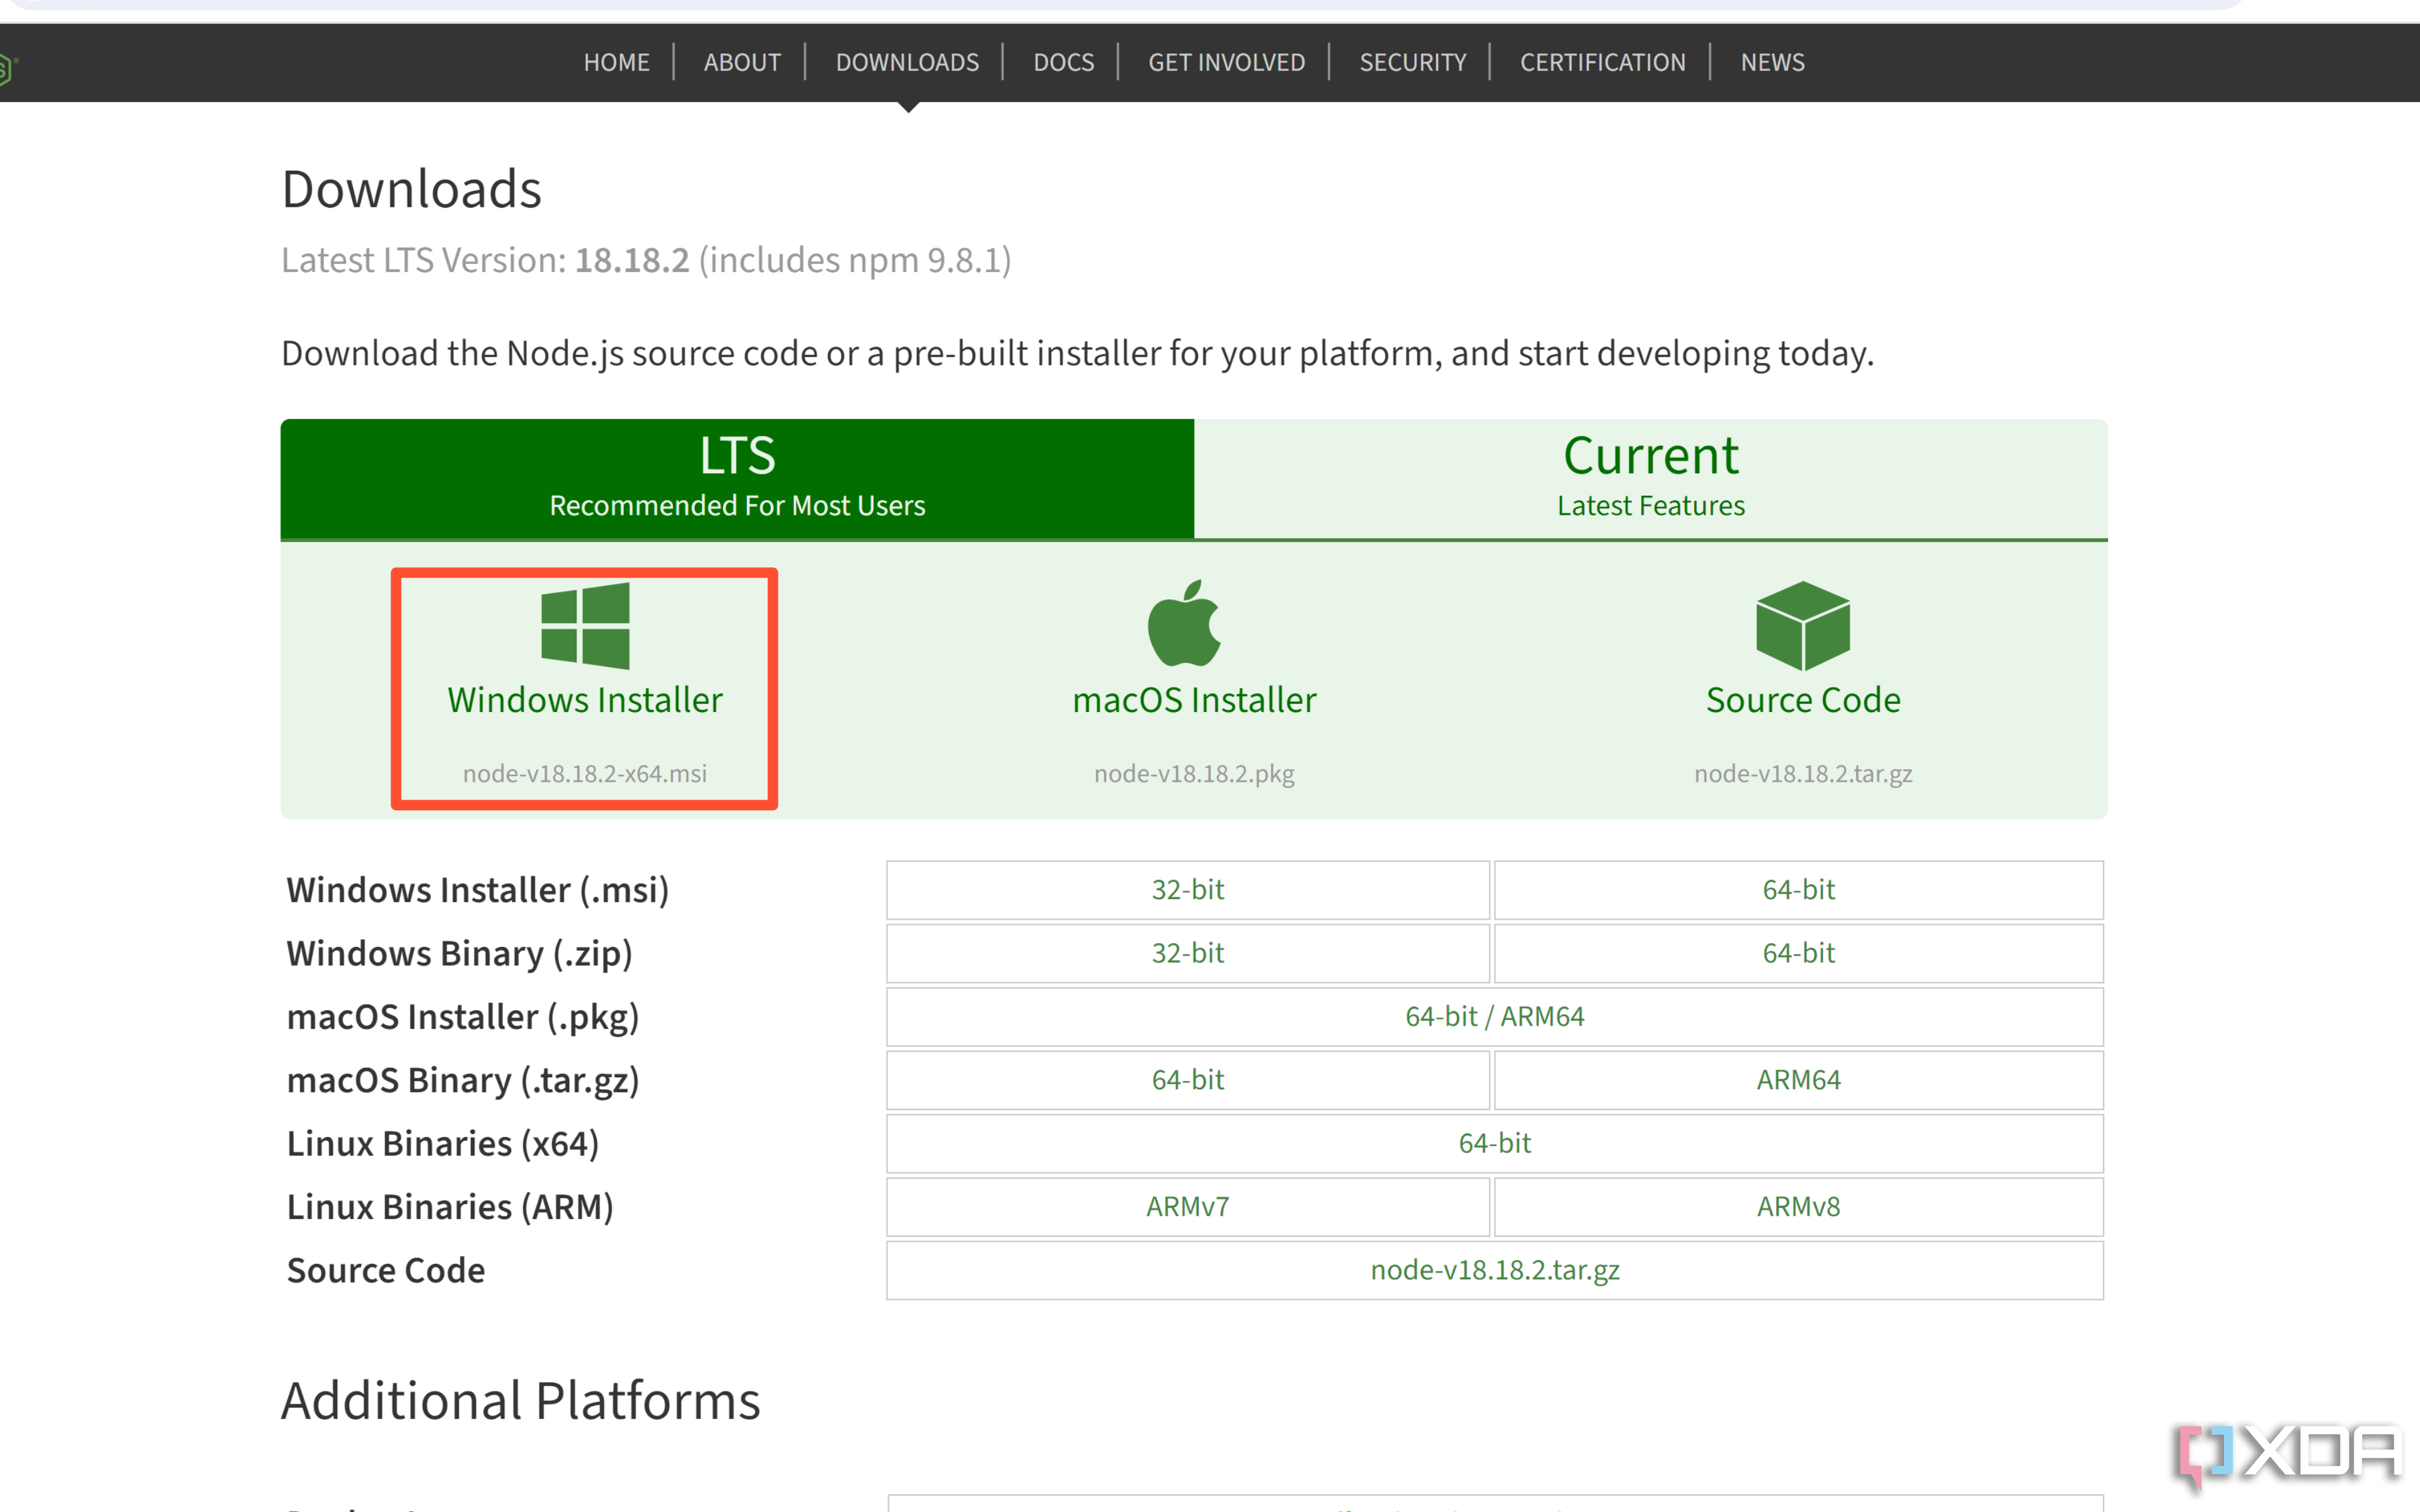
This will download the installer file for your operating system (macOS or Windows).
Step 3: Run the Installer
Now, find the downloaded file and run it. The process is a standard software installation, but let's watch a video to see the exact steps for your operating system.
How to Install Node.js in 2026! (Mac & Windows)
This video from The Common Coder provides a clear, step-by-step walkthrough of the installation process for both Mac and Windows.
Follow the part of the video that matches your operating system: For Mac users: Watch from 01:18 to 03:22. The installer is very straightforward; you can accept the default settings. For Windows users: Watch from 05:19 to 08:24. On the 'Custom Setup' screen, ensure 'Add to PATH' is selected (it should be by default). You will also be asked about installing 'Tools for Native Modules'; you can leave this box unchecked as we won't need these for our project.
For Windows users, one of the most important steps is to ensure the "Add to PATH" option is enabled. This is what allows your computer to find and use Node.js from the terminal.

Step 4: Verify the Installation
The installation is complete, but we need to verify that it worked correctly. We'll do this using the integrated terminal in VS Code—the same Panel area we identified in the last lesson.
- Open VS Code.
- Open the terminal by going to the top menu and selecting
View > Terminalor by using the shortcutCtrl+` (that's a backtick, usually on the same key as the~). - In the terminal prompt, type the following command and press Enter:
node -v - Next, type this command and press Enter:
npm -v
Each command should print a version number. This confirms that Node.js and NPM were installed successfully and are accessible to your system.
How to Install Node.js in 2026! (Mac & Windows)
Let's watch the final part of the same video, which shows exactly how to perform this verification step.
For Mac users: Watch from 03:22 to 04:20. For Windows users: Watch from 08:24 to 09:12. Notice how the presenter types the command and the system responds with a version number. This is the result you are looking for.
4. What Could Go Wrong
-
command not foundError: After typingnode -vornpm -v, you might see an error likezsh: command not found: node(on Mac) or'node' is not recognized as an internal or external command(on Windows).- Why it happens: This usually means the terminal session you have open doesn't know about the new software you just installed. It's the most common issue after an installation.
- How to fix it: The simplest solution is to completely close and reopen VS Code. This starts a new terminal session that will be aware of the updated system
PATH. Try the verification commands again. If it still fails, you may need to revisit the installation and ensure the "Add to PATH" option was selected.
-
Windows Installer Hangs or Opens a Blue Window: The Windows installer might open a separate blue PowerShell window to install extra tools. As mentioned in the video, this can sometimes take a very long time (5-10 minutes). Be patient and let it finish.
5. Mini Exercise
This exercise will serve as your first hands-on experience with the command line. The goal is to prove to yourself that everything is installed correctly.
- If it's not already open, open VS Code.
- Open the integrated terminal (
View > Terminal). - Type
node -vand press Enter. Note down the version number you see. - Type
npm -vand press Enter. Note down the version number you see.
Success is simply seeing the two version numbers appear without any errors. This act of typing a command and getting a response is a fundamental part of the development workflow.
6. Checklist Before Moving Ahead
- I can explain that Node.js is an environment that runs developer tools.
- I understand that NPM is the "package manager" used to install those tools.
- I have downloaded and installed the LTS version of Node.js.
- I have opened the terminal in VS Code and successfully run
node -vandnpm -v, seeing version numbers for both.
Conclusion
Excellent work! You've now installed Node.js and NPM, the "power supply" and "app store" for your developer toolkit. Even though we won't interact with them directly very often, they are working in the background, making everything else possible. You've also taken your first successful steps in using the command-line terminal.
A Look Ahead: In our next lesson, we'll get more comfortable with that terminal. We'll learn a few basic commands to navigate folders and create new ones (ls, cd, mkdir). This will prepare us to set up the folder structure for our first web page.