Welcome back! In our last lesson, we focused on writing a great initial "brief" for our AI assistant, telling it to build our page with professional standards like semantic HTML and a mobile-first approach.
But as with any creative or technical process, the first draft is rarely perfect. The real magic happens in the refinement stage.
1. What We Are Learning
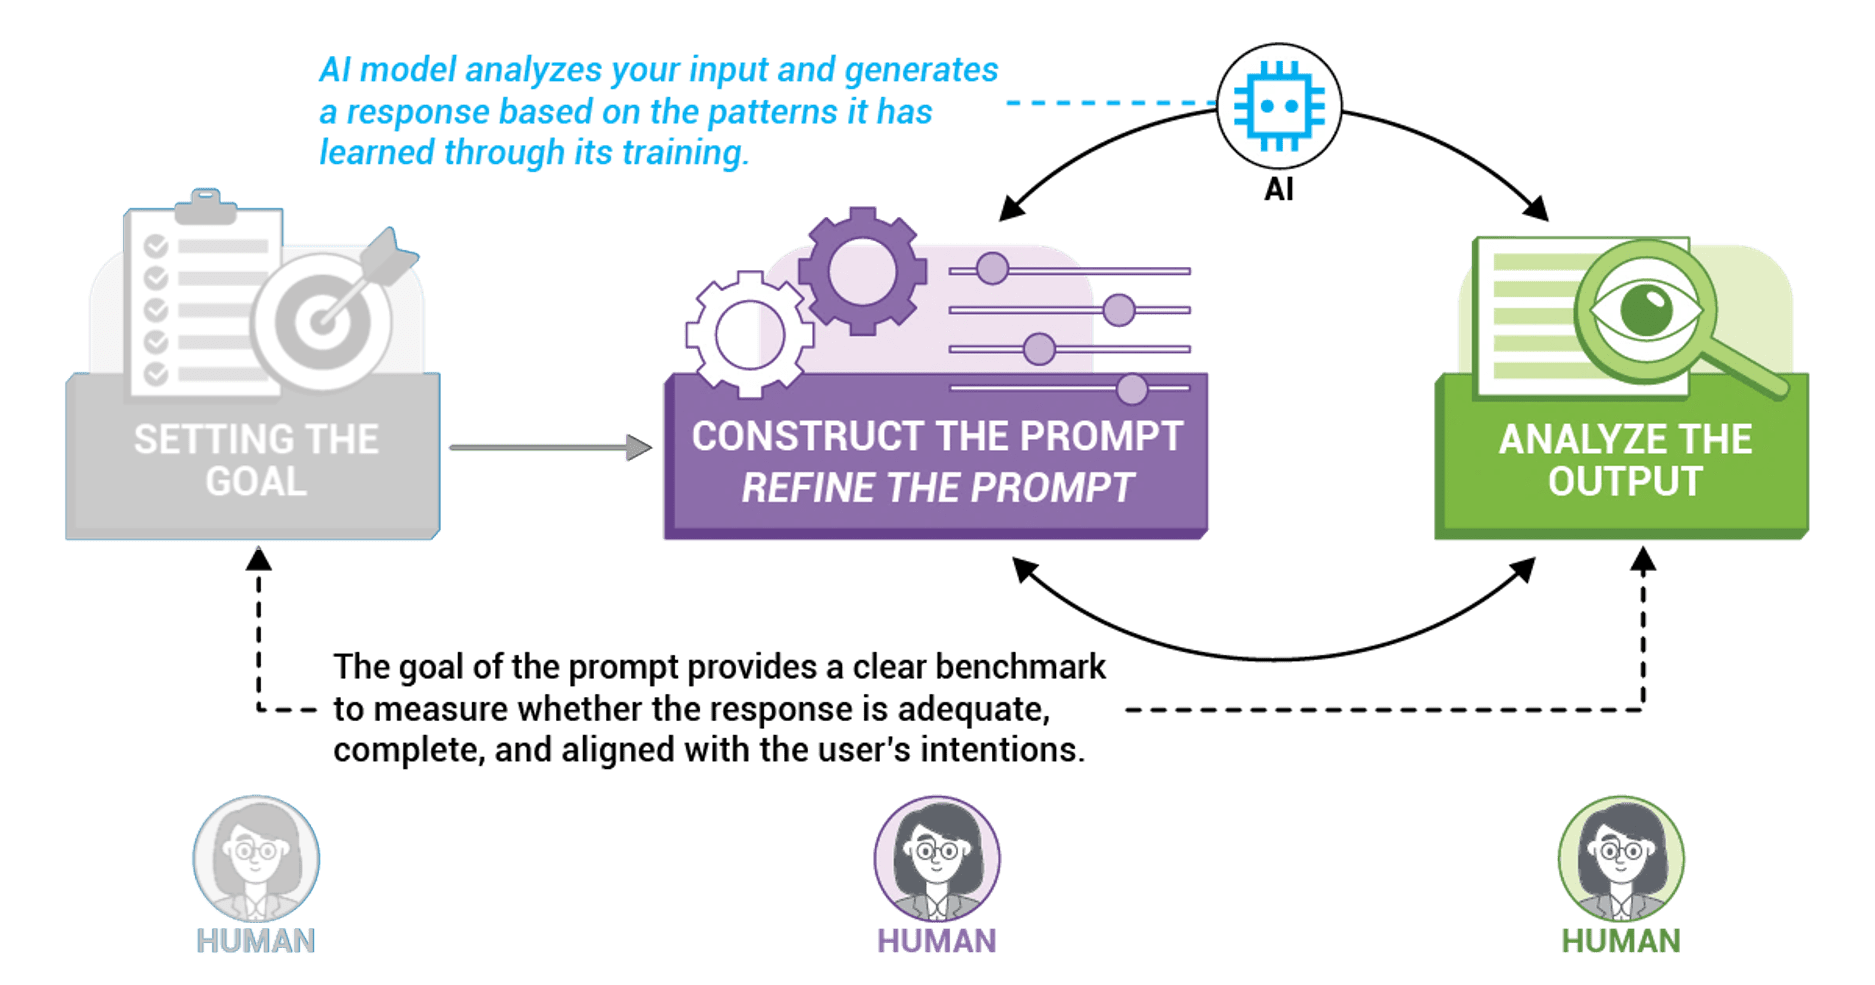
This lesson is all about the iterative loop of AI-assisted development. We're going to learn how to use follow-up prompts to have a conversation with our AI, guiding it to correct mistakes and refine its output.
Our Analogy:
Think of this process exactly like a design critique. You’ve given a brief to a junior designer (our AI). They've come back with a first pass. Now, it's your job as the senior designer to review their work, spot the inconsistencies, and provide clear, actionable feedback to bring it in line with the vision. You don't grab the mouse and fix it yourself; you explain what needs to change and why.
2. Why This Matters
AI code generators are powerful, but they aren't mind readers and they aren't infallible. They will make mistakes. They might misinterpret a design token, miss a hover state, or use a generic element where a specific one would be better.
Your ability to effectively diagnose, communicate, and correct these errors is what elevates you from someone who simply uses a tool to someone who directs it with expertise. This conversational process of refinement is the most critical skill in an AI-powered workflow. It's how you ensure the final product meets your exacting design standards and professional quality benchmarks.
This feedback loop is the core of modern prompt engineering.
3. Step-by-Step Instructions
The process of correcting AI code can be broken down into a simple loop: Review, Diagnose, and Prompt.
Step 1: Review and Diagnose the Output
First, you need to spot the problem. With our Live Server extension running, you can have your Figma design open on one side of your screen and the live browser preview on the other.
Look for discrepancies:
- Visual Bugs: Is the spacing off? Is a color wrong? Is the font size incorrect? Does the layout break on a certain screen size?
- Structural Bugs: Did the AI use a generic
<div>where you wanted a semantic<header>? Is a hover effect from your Figma prototype missing? - Content Bugs: Is the text wrong? Is an image missing?
Step 2: Formulate a Clear Correction Prompt
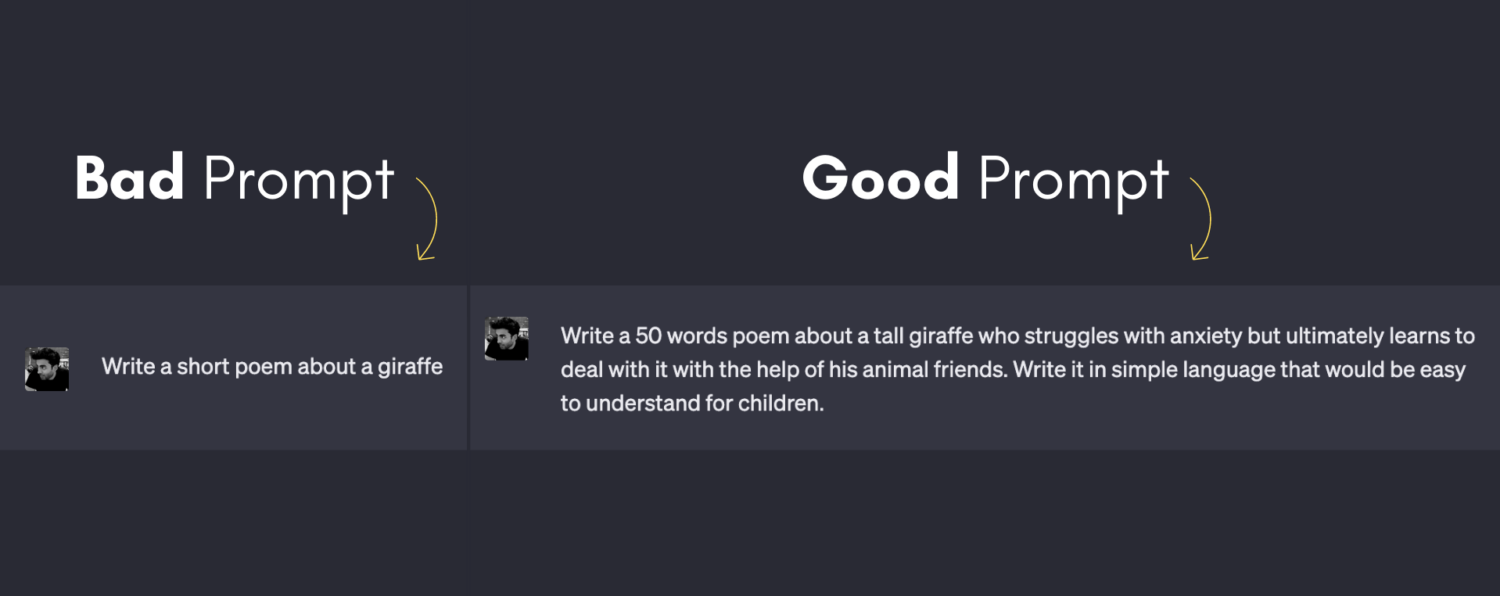
Once you've found a bug, you need to tell the AI how to fix it. Vague feedback like "it's broken" won't work. You need to be specific, just like in a design review.
To learn the principles of writing effective correction prompts, let's turn to a guide written for developers.
The Prompt Engineering Playbook for Programmers - Elevate
This article, 'The Prompt Engineering Playbook for Programmers', contains a fantastic section on debugging with AI. We'll focus on its core principles.
Please read the section titled 'Prompt patterns for debugging code'. Pay close attention to the four numbered points and the 'poor vs. improved prompt' example. While the code is JavaScript, the logic of the prompts is universal: provide the context, describe the error, and state the expected outcome.
The key takeaway is this formula for a great correction prompt:
- State the problem: "I see that..."
- State the expected behavior: "...but it should be..."
- Provide the fix (if you know it): "Please change X to Y." or Ask for a diagnosis: "Can you find the bug and fix it?"
Step 3: See It in Action - A Real-World Debugging Conversation
Now, let's watch a video that perfectly demonstrates this conversational debugging process. A developer tries to add a simple style, it fails, and he asks the AI to figure out why.
AI Coding 101: Learn HTML & CSS with AI
In this clip from the 'AI Coding 101' video by Volo Builds, you'll see a live demonstration of identifying a bug and using a follow-up prompt to have the AI diagnose and explain the fix.
Watch from 11:38 to 14:22. The developer adds a border style, but it doesn't appear. Notice how he then uses the AI to ask 'Why is the black border style that I applied not actually showing up?' The AI diagnoses the problem (a missing border-style property) and explains the fix. This is a perfect example of the iterative loop.
This interaction is the heart of what we're learning today. You don't need to know the answer yourself. You just need to be able to spot the problem and ask the right questions.
Step 4: Iterating on Style and Responsiveness
This same conversational process works for any refinement, not just obvious bugs. For a designer, this is where you can enforce your vision.
Let's look at some examples written specifically for designers giving feedback on AI code.
Claude Code guide for designers
This guide from 'AI First Designer' provides excellent, concise examples of iterative prompts for styling and responsiveness.
Read the section 'Step 4: Iterate through prompts'. Notice how the prompts for Styling, Responsiveness, and Functionality are written in plain, descriptive language, just like you would give feedback to another designer.
Here are a few examples from that resource:
- Styling:
"The projects section looks cramped. Add more padding between cards — at least 32px." - Responsiveness:
"Make it responsive. On mobile, stack the project cards vertically."
Even seasoned professionals using these tools expect to iterate. In the video below, the presenter notes that the AI missed a hover effect from his Figma design and mentions how he would use a follow-up prompt to fix it.
Figma MCP + Cursor: The New AI Design System Workflow
In this short clip, the presenter from UI Collective reviews AI-generated components and identifies a missing hover effect, explaining that the next step would be to 'dialogue with Cursor' to correct it.
Watch from 16:44 to 18:00. This confirms that identifying discrepancies and planning corrective prompts is a standard part of the expert workflow.
4. What Could Go Wrong
When you're trying to correct the AI, you might run into some common anti-patterns.
- The Vague Correction: You say, "The header is wrong." The AI has no idea what to fix.
- The Fix: Be specific. "The header's background color is gray, but it should be our primary brand blue,
#0A74FF. Please update the CSS."
- The Fix: Be specific. "The header's background color is gray, but it should be our primary brand blue,
- The Overloaded Correction: You list ten different fixes in one long paragraph. The AI might get confused and only fix a few of them.
- The Fix: Group related changes or send them one by one. "First, let's fix the colors. Then, we'll adjust the spacing."
- Ignoring the AI's Feedback: The AI might say, "I can't make that change because the font
Interhasn't been imported." If you just repeat your prompt, you'll be stuck.- The Fix: Read the AI's response and address the issue it raised. A good follow-up would be: "You're right. Please add the necessary code to the HTML
<head>to import the 'Inter' font from Google Fonts."
- The Fix: Read the AI's response and address the issue it raised. A good follow-up would be: "You're right. Please add the necessary code to the HTML
5. Mini Exercise
Imagine the AI generated the code for a hero section. You've reviewed it against your Figma design and found two problems:
- The main heading text is black (
#000000) instead of your brand's dark-blue (#1C2A39). - The call-to-action button has sharp corners, but your design specifies an
8pxcorner radius.
Your Task: Write a single, clear follow-up prompt to instruct the AI to fix these two specific issues.
Click here to see my example prompt
"Thanks for generating that hero section. I see a couple of small things to fix:
- The main heading's color is currently black. Please change it to
#1C2A39to match the brand guidelines from the Figma file.- The button has sharp corners. Please add a
border-radiusof8pxto it.Please make these updates to the CSS."
6. Checklist Before Moving Ahead
- I understand that working with AI is an iterative conversation, not a one-shot command.
- I know how to review the AI's output in a browser and compare it to my Figma design to find bugs.
- I can write a specific, actionable prompt to correct a visual or structural error.
- I understand the value of asking the AI to diagnose a problem when I don't know the cause myself.
Excellent work! You've now mastered the most important part of the AI-assisted workflow: the feedback loop. You're no longer just a prompter; you're a director, guiding the AI to produce a pixel-perfect result that matches your design intent.
A Look Ahead:
In our debugging example today, we saw the developer ask the AI why the border wasn't working. In our next lesson, we'll dive deeper into this concept. We will learn how to prompt the AI to explain the code it has generated, adding comments and breaking down complex sections. This is the final step in building true "code literacy" and understanding the what, how, and why of your website's code.