Hello! In our last lesson, we practiced the crucial skill of iterating with AI—acting as a design director to give clear, corrective feedback and refine the generated code. We saw how a simple conversational prompt can fix visual bugs and bring the output closer to your design vision.
That process helps us control what the code does. Now, it's time to master why it does it.
1. What We Are Learning
Today, we're focusing on how to prompt the AI to add comments and explain the code it generates. This moves us from simply using the AI as a generator to using it as a personal tutor, building your "code literacy."
Our Analogy:
This is like asking a junior designer to annotate their Figma file. You don't just want to see the final design; you want to see the thinking behind it. Why was a stack chosen over a grid for that component? What's the logic behind the spacing system? By asking them to explain their work, you ensure they understand the core principles and make the design easier for others (like developers) to understand. Code comments and explanations are the developer's version of design annotations.
2. Why This Matters
AI-generated code can feel like a "black box." If you don't understand what's inside, you can't truly own the project. Forcing the AI to explain itself is a critical step for several reasons:
- It Demystifies the Code: It turns complex syntax into plain English, connecting it back to the design concepts you already know.
- It Builds Your Knowledge: Every explanation is a mini-lesson in HTML and CSS, accelerating your learning.
- It Creates Design Documentation: Well-commented code is future-proof. When you return to a project weeks later, the comments will remind you of the purpose of each section, saving you from having to reverse-engineer it.
- It Helps You Spot Deeper Flaws: An AI might produce code that looks right but is built on a shaky foundation (e.g., using a non-semantic element). When it explains its choice, you can more easily spot when the reasoning is flawed.
3. Step-by-Step Instructions
We'll approach this in two parts: asking the AI to add comments directly into the code, and asking it to provide a separate, narrative explanation.
Part 1: Prompting for Code Comments
Code comments are notes written directly into the code that are ignored by the browser. They are for humans only. In HTML, they look like <!-- This is a comment -->, and in CSS, they look like /* This is a comment */.
You can ask the AI to add these after it has generated the code.
How to Use ChatGPT as a Powerful Tool for Programming
First, let's watch a demonstration of asking an AI to document its own code. The example uses Python, but the principle is identical for HTML and CSS. Notice how the AI adds detailed comments that clarify the purpose of each part.
Watch the clip from 19:33 to 21:27 from Corey Schafer's video. The key moment is when he provides the prompt, 'Can you add comments and documentation for that code?' and then reviews the commented output.
A simple prompt is often all you need:
"Please add comments to the
style.cssfile you just generated. Explain the purpose of each major section (e.g., header, hero, footer) and any complex layout rules."
This prompt is effective because it specifies what to comment (the CSS file) and how to comment (focus on major sections and complex rules).
Part 2: Prompting for Detailed Explanations
Sometimes, you need more than a one-line comment. You need a full walkthrough. This is where you ask the AI to act as a teacher.
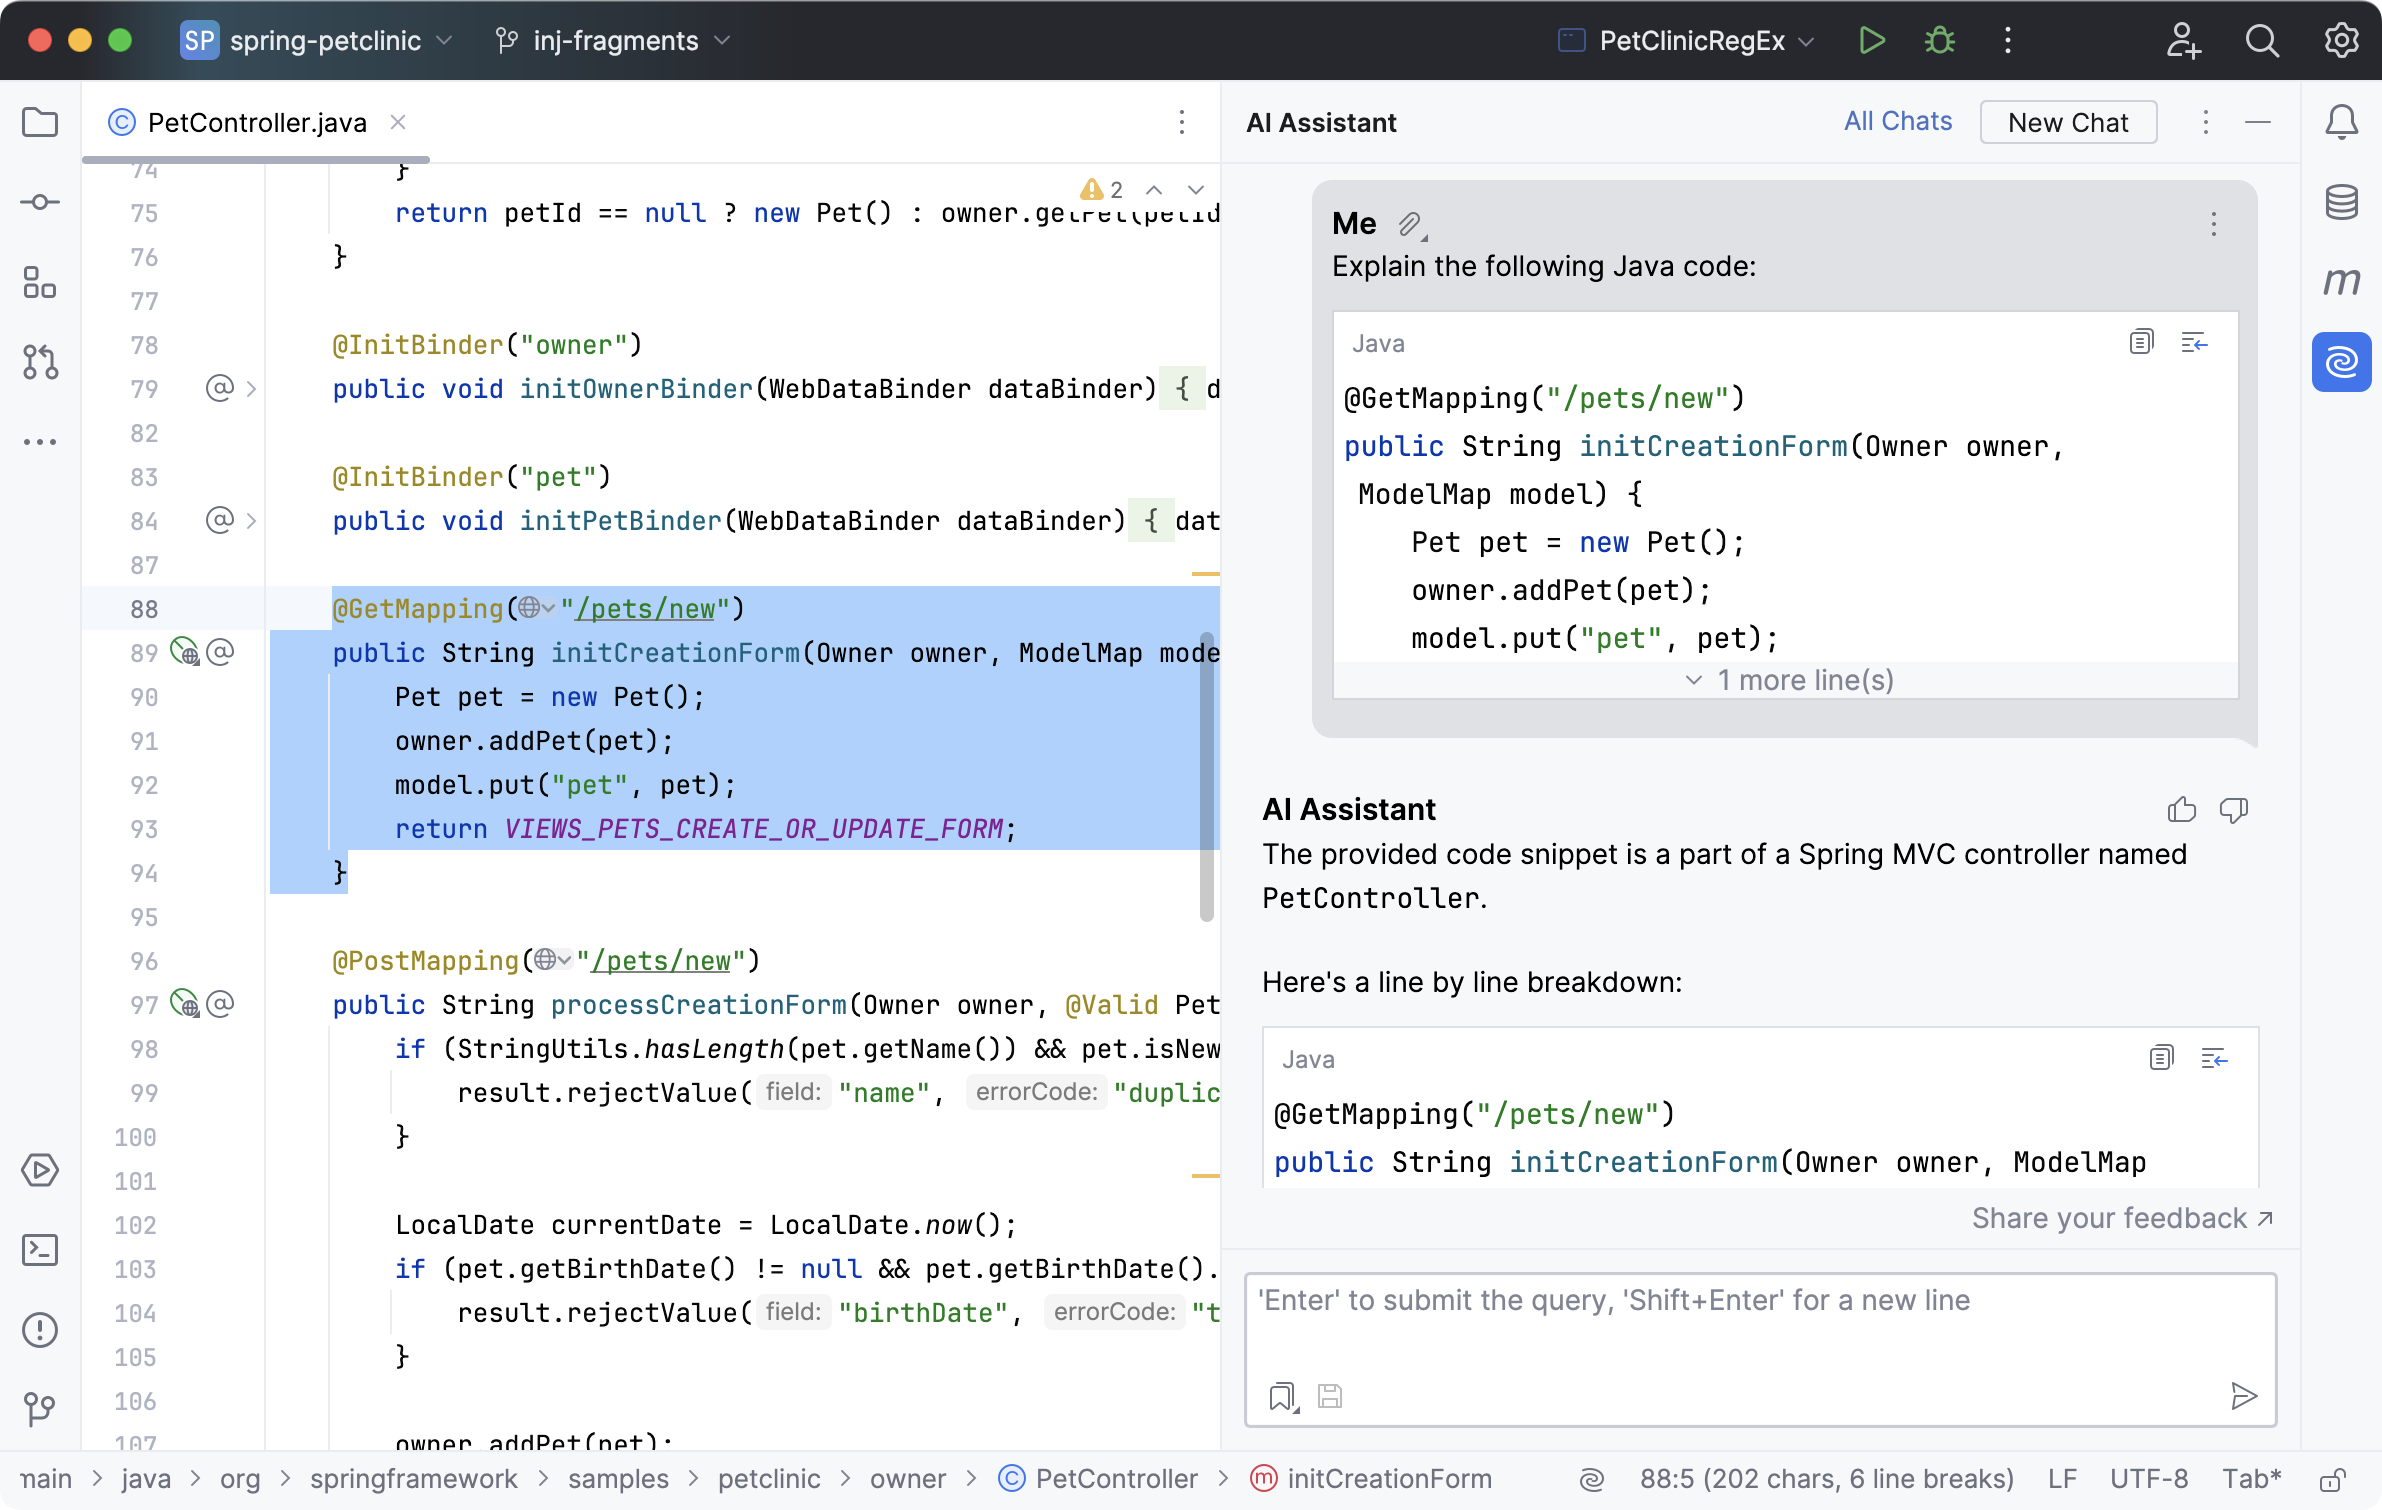
To do this, you give the AI a piece of code and ask it to break it down.
How to Use ChatGPT as a Powerful Tool for Programming
Let's see this in action. Here, the presenter gives the AI a confusing piece of code (a 'regular expression,' which is notoriously difficult to read) and asks for an explanation. The AI breaks it down piece by piece.
Watch from 10:38 to 12:29. The prompt is simple and direct: 'Can you explain what this regular expression does?' The AI's response is a perfect example of transforming cryptic code into understandable language.
The key is to ask specific questions. For this, we can use some excellent templates.
AI Coding Assistants for Beginners | Complete Guide
This 'AI Coding Assistants for Beginners' guide provides fantastic, ready-to-use prompt templates for learning. We'll look at the 'Code review' section.
Read the subsection titled 'Code review'. The first prompt template is exactly what we need: 'I wrote this... [paste code]. Walk me through what this code does line by line.'
Based on this, here are some powerful explanation prompts you can use:
- For a specific piece of code:
"Explain this CSS rule to me like I'm a beginner in web design: [paste CSS code here]" - For a whole file:
"Walk me through my index.html file. Explain the purpose of each semantic tag you used (like,, and - To understand a concept:
"In the CSS you generated, you useddisplay: flex;andjustify-content: space-between;. What do these two properties do together?"
Part 3: The Efficient Workflow - Combining Generation and Explanation
The most efficient way to work is to ask for comments and explanations as part of your initial generation prompt. This saves a follow-up step.
"Please generate the HTML and CSS for the hero section from my Figma design. Use semantic HTML and a mobile-first responsive approach. In the CSS, please add comments explaining the flexbox properties you use for the layout."
This front-loads the documentation, making it part of the initial "design brief" for the AI.
4. What Could Go Wrong
- The Explanation is Too Generic: You ask what a
<div>does, and the AI gives you a textbook definition instead of explaining its role in your specific layout.- The Fix: Make your prompt more specific. "In the code you gave me, what is the purpose of the
<div class='card-container'>? How does it relate to the individual cards inside it?"
- The Fix: Make your prompt more specific. "In the code you gave me, what is the purpose of the
- The AI "Hallucinates": The AI explains what the code should do, not what it actually does. For example, it says a rule makes the text blue, but the code actually makes it red.
- The Fix: Trust your eyes. If the explanation doesn't match the live preview, point out the discrepancy. "You said this rule makes the button blue, but it's appearing red in the browser. Can you review the CSS and correct either the code or the explanation?"
- Comment Overload: The AI adds comments to every single line (
color: blue; /* sets the color to blue */), which clutters the code.- The Fix: Be specific about the level of detail. "Add high-level comments for each major component, not for every single style rule."
5. Mini Exercise
Below is a block of CSS for a simple profile card. It works, but it has no comments or explanations.
.profile-card {
    display: flex;
    align-items: center;
    gap: 16px;
    padding: 24px;
    border: 1px solid #E5E7EB;
    border-radius: 12px;
    box-shadow: 0 4px 6px -1px rgb(0 0 0 / 0.1);
    max-width: 350px;
    margin: 20px;
}
Your Task:
- Write a prompt that asks your AI assistant to add comments to this block of code, explaining what each property does.
- Write a second prompt that asks the AI to explain the box model as it applies to this specific
.profile-cardrule, referencing thepadding,border, andmarginvalues.
Click here to see my example prompts
Prompt 1 (for comments):
"Please add comments to the following CSS code. Explain what each property is doing to style the card."
.profile-card {
    display: flex;
    align-items: center;
    gap: 16px;
    padding: 24px;
    border: 1px solid #E5E7EB;
    border-radius: 12px;
    box-shadow: 0 4px 6px -1px rgb(0 0 0 / 0.1);
    max-width: 350px;
    margin: 20px;
}
Prompt 2 (for explanation):
"Using the CSS rule for
.profile-cardabove, can you explain the box model to me? Specifically, describe what thepaddingof 24px, theborderof 1px, and themarginof 20px are doing to create space in and around the card."
6. Checklist Before Moving Ahead
- I understand that code comments are notes for humans and are ignored by the browser.
- I can write a prompt to ask an AI to add comments to a file it generated.
- I can write a prompt that asks an AI to explain a specific piece of code in plain English.
- I know how to combine a generation request with a request for comments in a single, efficient prompt.
- I am aware of potential issues like generic explanations or "hallucinations" and know how to guide the AI to fix them.
Fantastic! You've now unlocked the full potential of your AI assistant, turning it from a simple code generator into an interactive learning tool. By demanding explanations, you are actively building the code literacy needed to direct and own your projects with confidence.
A Look Ahead:
So far, we've focused on the conversation between you and the AI. But how do we verify the final product against our original design blueprint with professional-grade precision? In our next lesson, we will enter the "Quality Control" phase. You'll learn how to use browser developer tools and Figma's Dev Mode to inspect the AI-generated page, compare it to your design specs, and ensure every pixel is perfect.