Hello! In our last module, we focused on measuring and optimizing your site's performance, culminating in using Lighthouse to audit Core Web Vitals. You now have a solid, performant foundation. It's time to build upon it with more advanced, interactive features.
Welcome to the "Advanced Features: Search and Forms" module. In this lesson, we will tackle a cornerstone of any professional website: the contact form. By the end of this session, you will be able to build a contact form as an interactive React component with client-side validation.
This lesson is a great opportunity to leverage your existing experience with React. We'll be using the Astro islands architecture, which we introduced earlier, to embed this interactive form into an otherwise static page. We'll also use modern, industry-standard libraries to ensure our form is robust, performant, and maintainable—perfectly aligning with your project goals.
1. Creating an Interactive Form Island
As you'll recall from our module on integrating React, Astro pages are static HTML by default. To add client-side interactivity, we must explicitly tell Astro to ship JavaScript to the browser for specific components. These components are called "islands."
We'll create our contact form as a React component and then render it on an Astro page (e.g., a new contact.astro page) using a client:* directive.
The following guide from Formspree, 'Adding a Form to Astro', has a great section on this exact topic. We will use its approach to create our form as a React-based client island. For now, we will focus only on setting up the component and making it interactive, not on submitting the data.
Please read the sections 'Option 2: Creating an Interactive Client Island with React' and the part of the guide that shows how to import and insert the component into an Astro page. Focus on understanding: The command to add the React integration (npx astro add react). The concept of importing a .jsx or .tsx file into an .astro file. The role of the client:load directive in making the component interactive.
Based on that reading, let's set up our contact form.
First, ensure you have the React integration installed in your project:
npx astro add react
Next, create a new file at src/components/ContactForm.tsx. For now, let's add a basic structure:
// src/components/ContactForm.tsx
import React from 'react';

export default function ContactForm() {
  const handleSubmit = (e: React.FormEvent) => {
    e.preventDefault();
    alert("Form submitted! (We'll handle this for real in the next lesson)");
  };

  return (
    <form onSubmit={handleSubmit}>
      <h2>Contact Us</h2>

      <div>
        <label htmlFor="name">Name</label>
        <input type="text" id="name" name="name" />
      </div>

      <div>
        <label htmlFor="email">Email</label>
        <input type="email" id="email" name="email" />
      </div>

      <div>
        <label htmlFor="message">Message</label>
        <textarea id="message" name="message" rows={5}></textarea>
      </div>

      <button type="submit">Send Message</button>
    </form>
  );
}
Finally, create a new page at src/pages/contact.astro and render your new component as an interactive island:
---
// src/pages/contact.astro
import Layout from '../layouts/Layout.astro';
import ContactForm from '../components/ContactForm.tsx';
---
<Layout title="Contact Us">
  <main>
    <h1>Get in Touch</h1>
    <p>Have a question? Fill out the form below and we'll get back to you as soon as possible.</p>

    <ContactForm client:load />

  </main>
</Layout>
By adding client:load, you're telling Astro to hydrate the ContactForm component immediately on page load, making it fully interactive. Our form now renders, but it lacks validation. Let's fix that.
2. Managing Form State with react-hook-form
While you can manage form state with React's useState, it can become cumbersome. For a production-ready site, we'll use react-hook-form, a library designed for performance and ease of use. It minimizes re-renders and simplifies state management.
First, install the necessary packages:
npm install react-hook-form
Now, let's refactor our ContactForm.tsx to use react-hook-form.
How to Validate Forms with Zod and React-Hook-Form
The article 'How to Validate Forms with Zod and React-Hook-Form' from freeCodeCamp provides a clear, step-by-step guide to building a form with this library. We will adapt its principles for our contact form.
Please read 'How to Define Form Types' and 'How to Create a Form with React-Hook-Form'. Focus on how the useForm hook provides the register, handleSubmit, and formState: { errors } objects. Notice how the register function is used to connect inputs to the form state.
Applying those concepts, let's update ContactForm.tsx.
First, define the type for our form data. You can create a new file src/types/forms.ts or define it directly in your component file for now.
// src/types/forms.ts
export type ContactFormData = {
  name: string;
  email: string;
  message: string;
};
Now, update ContactForm.tsx to use react-hook-form:
// src/components/ContactForm.tsx
import React from 'react';
import { useForm } from 'react-hook-form';
import type { ContactFormData } from '../types/forms';

export default function ContactForm() {
  const { register, handleSubmit, formState: { errors } } = useForm<ContactFormData>();

  // The `data` object is fully typed as ContactFormData
  const onSubmit = (data: ContactFormData) => {
    console.log(data);
    alert("Form is valid! Check the console for data. We'll handle submission next lesson.");
  };

  return (
    // Pass our onSubmit function to RHF's handleSubmit
    <form onSubmit={handleSubmit(onSubmit)}>
      <h2>Contact Us</h2>

      <div>
        <label htmlFor="name">Name</label>
        {/* Register the input and connect it to the 'name' field */}
        <input type="text" id="name" {...register('name')} />
        {/* We'll display errors here later */}
      </div>

      <div>
        <label htmlFor="email">Email</label>
        <input type="email" id="email" {...register('email')} />
      </div>

      <div>
        <label htmlFor="message">Message</label>
        <textarea id="message" rows={5} {...register('message')}></textarea>
      </div>

      <button type="submit">Send Message</button>
    </form>
  );
}
Our form is now powered by react-hook-form, but it still doesn't perform any validation. That's where Zod comes in.
3. Client-Side Validation with Zod
Zod is a TypeScript-first schema declaration library. It allows us to define the "shape" of our data and validation rules in one place. This is far more robust and maintainable than writing manual if/else checks.
Let's install Zod and its resolver for react-hook-form:
npm install zod @hookform/resolvers
Now, we'll create a schema that defines the validation rules for our contact form.
How to Validate Forms with Zod and React-Hook-Form
Let's return to the freeCodeCamp article to see how to integrate Zod for powerful, declarative validation.
Read the sections 'How to Integrate Zod for Schema Validation' and 'How to Integrate Zod with React-Hook-Form for validation'. Focus on: How a schema is defined using z.object(). How to apply validation rules like .string(), .email(), and .min(). How zodResolver is passed to the useForm hook.
Let's apply this. We can create a new file, src/schemas/contactFormSchema.ts, to hold our Zod schema.
// src/schemas/contactFormSchema.ts
import { z } from 'zod';

export const contactFormSchema = z.object({
  name: z.string().min(2, { message: "Name must be at least 2 characters long." }),
  email: z.string().email({ message: "Please enter a valid email address." }),
  message: z.string().min(10, { message: "Message must be at least 10 characters long." }),
});
With our schema defined, we can now hook it into our form and display the error messages.
Update ContactForm.tsx one last time:
// src/components/ContactForm.tsx
import React from 'react';
import { useForm } from 'react-hook-form';
import { zodResolver } from '@hookform/resolvers/zod';
import { contactFormSchema } from '../schemas/contactFormSchema';
import type { ContactFormData } from '../types/forms';

// Simple styling for error messages
const errorStyles = {
  color: 'red',
  fontSize: '0.8rem',
  marginTop: '0.25rem',
};

export default function ContactForm() {
  const { register, handleSubmit, formState: { errors } } = useForm<ContactFormData>({
    // Tell react-hook-form to use our Zod schema for validation
    resolver: zodResolver(contactFormSchema),
  });

  const onSubmit = (data: ContactFormData) => {
    console.log(data);
    alert("Form is valid! Check the console for data. We'll handle submission next lesson.");
  };

  return (
    <form onSubmit={handleSubmit(onSubmit)}>
      <h2>Contact Us</h2>

      <div>
        <label htmlFor="name">Name</label>
        <input type="text" id="name" {...register('name')} />
        {/* Display error message if it exists for the 'name' field */}
        {errors.name && <p style={errorStyles}>{errors.name.message}</p>}
      </div>

      <div>
        <label htmlFor="email">Email</label>
        <input type="email" id="email" {...register('email')} />
        {errors.email && <p style={errorStyles}>{errors.email.message}</p>}
      </div>

      <div>
        <label htmlFor="message">Message</label>
        <textarea id="message" rows={5} {...register('message')}></textarea>
        {errors.message && <p style={errorStyles}>{errors.message.message}</p>}
      </div>

      <button type="submit">Send Message</button>
    </form>
  );
}
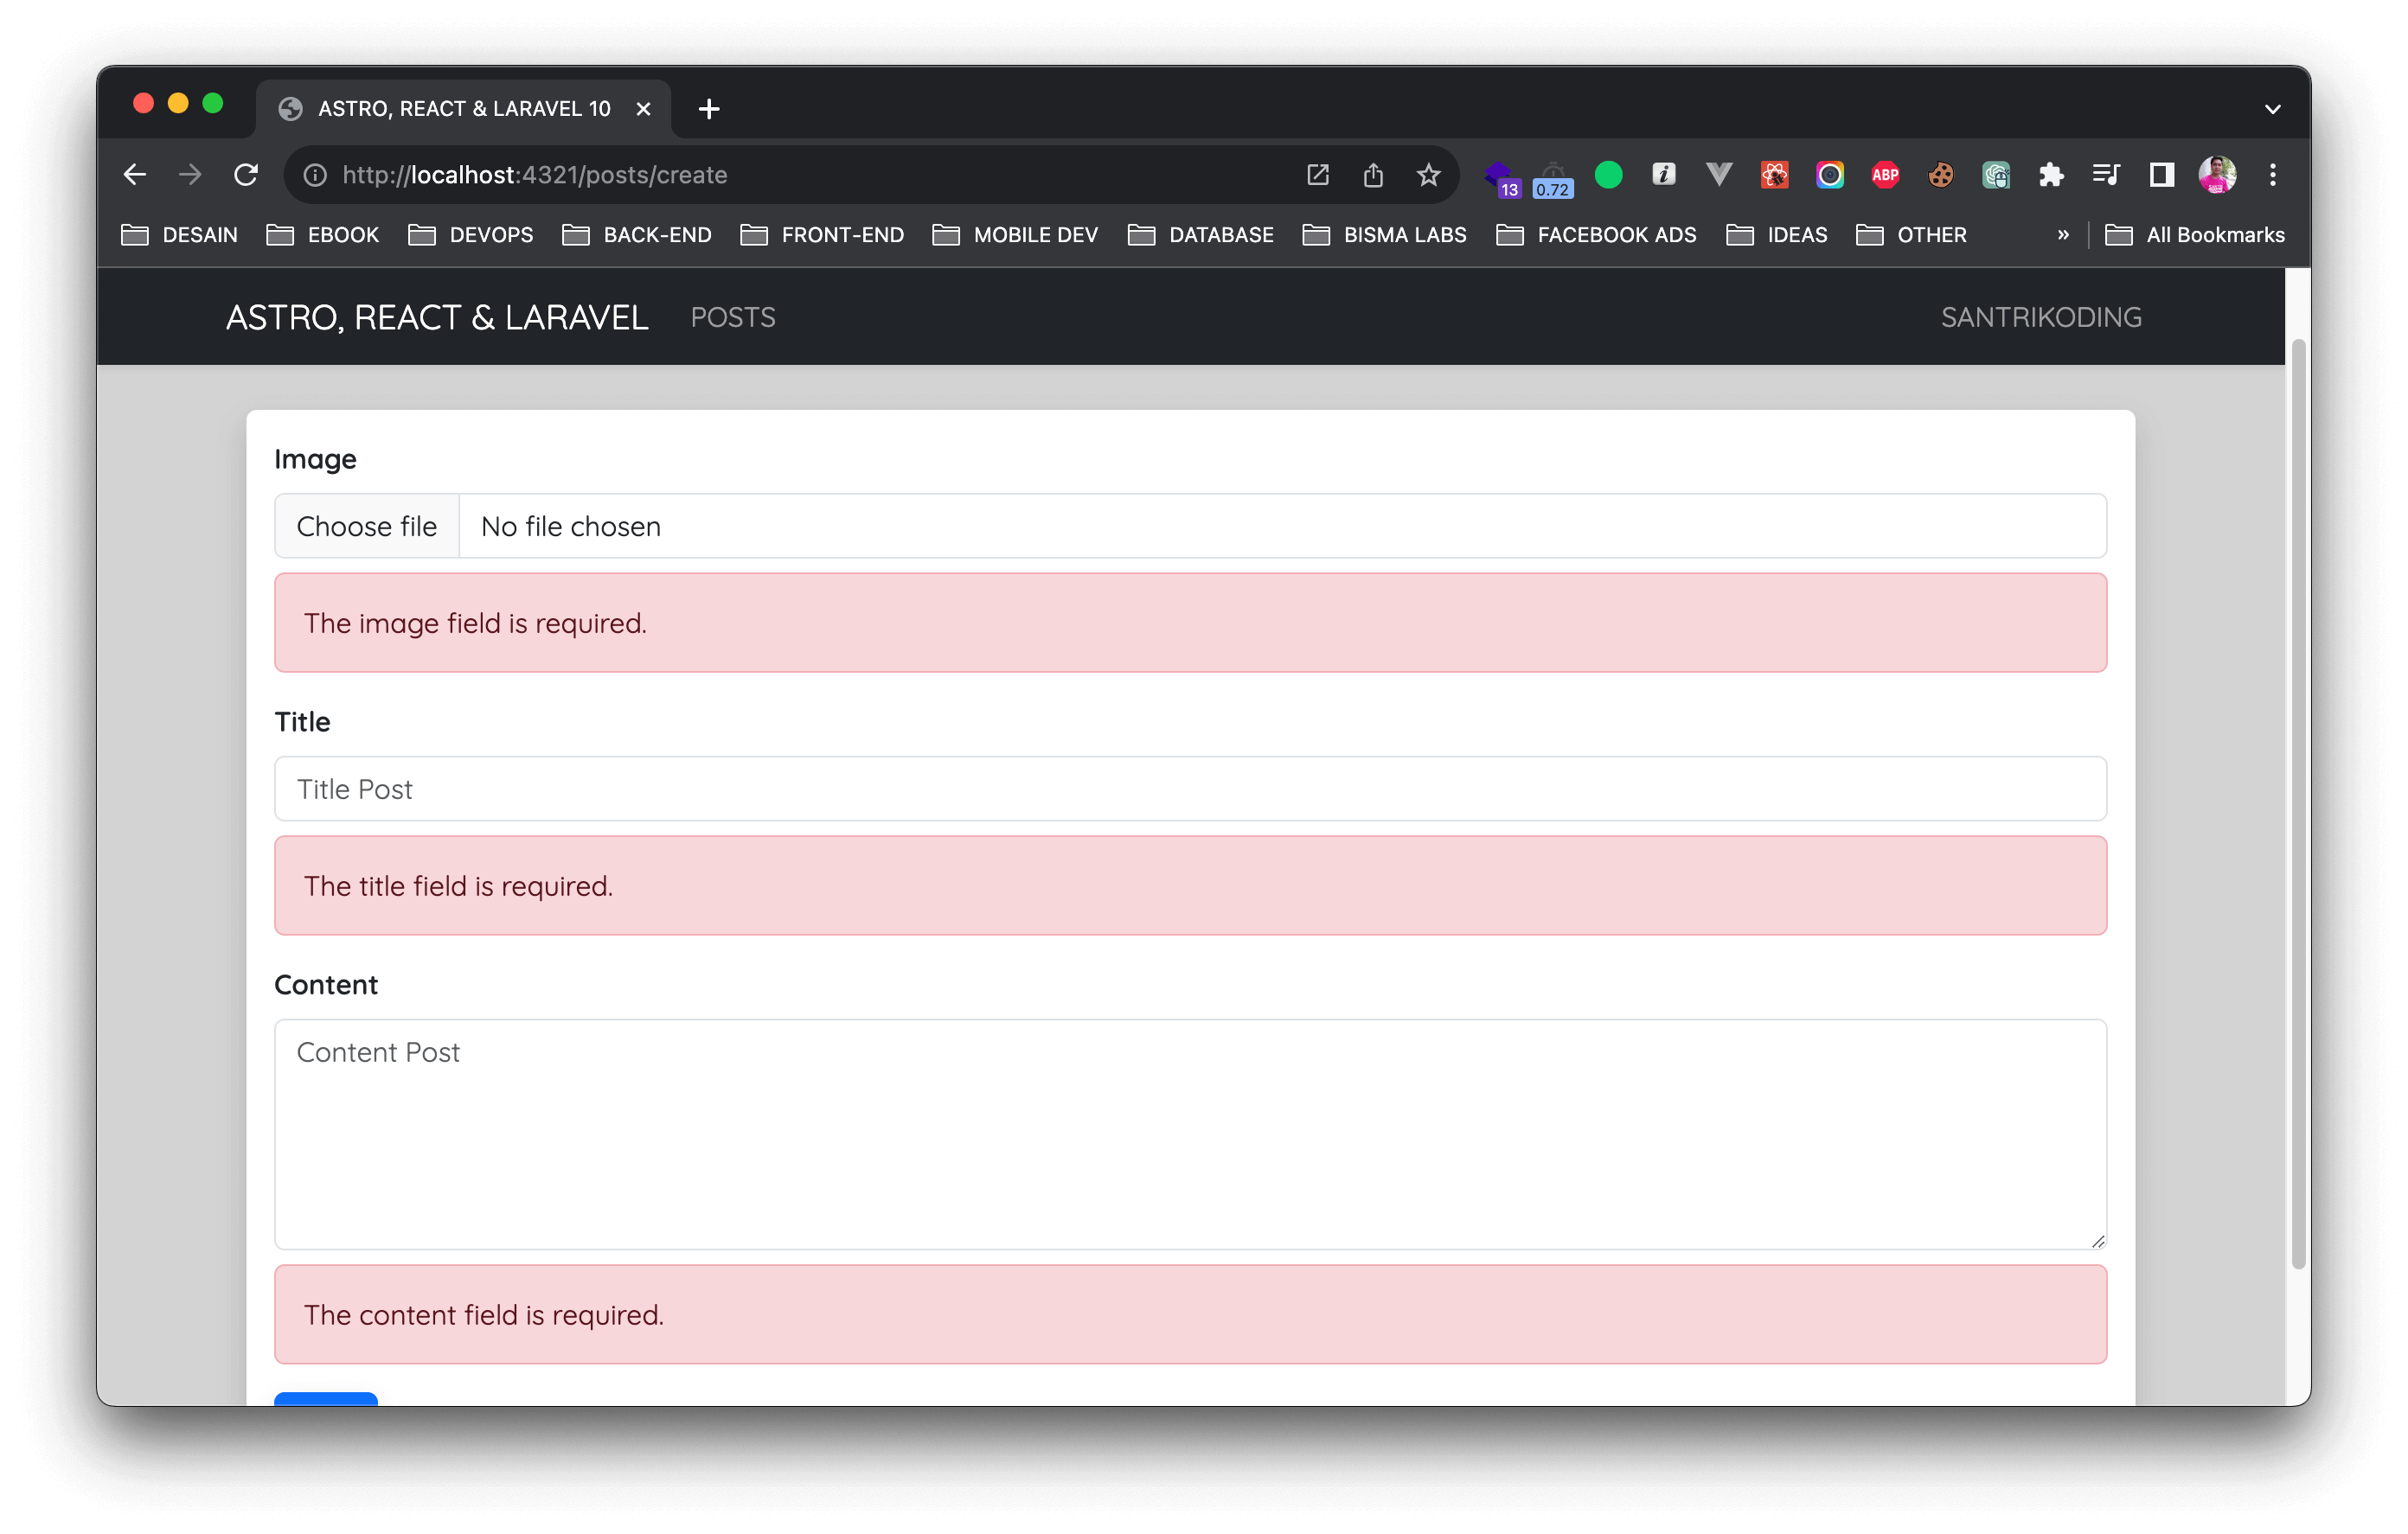
Now, if you try to submit the form with invalid data, you will see your custom error messages appear, preventing submission until all fields are valid.
Test your understanding!
Imagine the accounting firm wants to add an optional "Company Name" field to the contact form. How would you modify the code to include this field? You would need to update three places. What are they?
Show answer
-
Update the Type (
src/types/forms.ts): AddcompanyNameas an optional string property to theContactFormDatatype.export type ContactFormData = { name: string; email: string; companyName?: string; // Optional property message: string; }; -
Update the Zod Schema (
src/schemas/contactFormSchema.ts): AddcompanyNameto the schema and mark it as optional using.optional().export const contactFormSchema = z.object({ // ... other fields companyName: z.string().optional(), message: z.string().min(10, { message: "Message must be at least 10 characters long." }), }); -
Update the JSX in
ContactForm.tsx: Add the new input field to the form.<div> <label htmlFor="companyName">Company Name (Optional)</label> <input type="text" id="companyName" {...register('companyName')} /> {/* No error message needed since it's optional */} </div>
Conclusion
Congratulations! You've successfully built a fully interactive and robust contact form in your Astro project. You've combined your React skills with modern, best-practice libraries to create a component that is both user-friendly and maintainable.
Key Takeaways:
- Interactive React components are integrated into Astro as "islands" using
client:*directives likeclient:load. react-hook-formis a powerful library for managing form state in React without performance overhead.Zodallows you to define a single source of truth for your data's shape and validation rules, which you can connect to your form using@hookform/resolvers/zod.- This combination provides a professional-grade solution for client-side form validation, giving users immediate feedback.
Up Next:
Our form looks great and validates correctly, but clicking "Send Message" doesn't actually send anything yet. In the next lesson, we will handle form submissions by sending data to a serverless function or third-party service, making our contact form fully functional.