Hello! Welcome to our next lesson on preparing your Django project for deployment.
In our last session, we took a major step towards building a professional web application by learning how to manage secrets like the SECRET_KEY using environment variables and the python-dotenv library. This introduced a new dependency into our project. This raises a crucial question: when we move our project to a production server, how will that server know it needs to install Django, python-dotenv, and any other packages we use?
Today, we'll answer that question. This lesson is all about preparing a requirements.txt file, the standard way to list all of your project's dependencies. Mastering this will make your project portable, reproducible, and ready for deployment.
By the end of this 60-minute lesson, you will be able to prepare a requirements.txt file that lists all of your project's Python dependencies, ensuring your application can be set up consistently in any environment.
1. Why Do We Need a requirements.txt File?
Imagine you've finished your task manager application on your computer. It works perfectly. Now, you want to host it on a web server so others can use it. That server is essentially a blank slate. It has Python, but it doesn't have Django, python-dotenv, or any other specific libraries your project relies on.
How do you tell the server exactly what to install? You could try to remember and install them one by one, but this is inefficient and prone to errors. What if you forget one? Or install the wrong version? This is the problem that a requirements.txt file solves.
This short video explains the problem clearly.
Pip Freeze and Python Libraries
In this clip from the 'Pip Freeze and Python Libraries' video by CodingWithMitch, you'll see a great explanation of why manually tracking libraries across different projects and environments is not a scalable solution.
Watch from the beginning to 01:27. The video paints a clear picture of the challenge we face when moving a project from a development machine to a production server.
A requirements.txt file acts as a manifest for your project. It's a simple text file that lists every external package your project needs to run, typically with the exact version numbers. This file allows anyone (including your future self or a production server) to recreate your project's environment perfectly with a single command.
2. The Core Workflow: pip freeze and pip install -r
The process of creating and using a requirements.txt file is straightforward. There are two main commands you'll use constantly.
The following video demonstrates this entire workflow. We will walk through the steps right after.
Pip Freeze and Python Libraries
This video continues where the last clip left off, demonstrating the essential commands for generating and using a requirements.txt file.
Watch from 01:27 to 04:53. Pay close attention to the two main commands: one to create the file, and one to install from it.
Let's break down the process into actionable steps.
Step 1: Generating the requirements.txt file
First, ensure your project's virtual environment is activated. Then, run the following command in your terminal at the root of your project (the same directory as manage.py):
pip freeze > requirements.txt
Let's dissect this command:
pip freeze: This command lists all the Python packages installed in the current virtual environment, along with their exact versions.>: This is a standard shell operator that redirects the output of the command on its left to the file on its right.requirements.txt: This is the conventional name for the file.
After running this, you'll find a new requirements.txt file in your project. It will look something like this:
asgiref==3.7.2
Django==4.2.7
python-dotenv==0.21.1
pytz==2023.3.post1
sqlparse==0.4.4
...
This format, package_name==version, is called "pinning" because it pins the dependency to a specific version.
Crucial Habit: Every time you install a new package (e.g., pip install some-new-package), you should immediately update your requirements.txt file by running pip freeze > requirements.txt again.
Step 2: Installing Dependencies from the File
Now, imagine you've cloned your project onto a new machine or a server. After creating and activating a new virtual environment, how do you install all the necessary packages? You use the -r flag, which stands for "requirement".
pip install -r requirements.txt
This single command tells pip to read the requirements.txt file and install every package listed inside it to the exact version specified. It's an efficient and reliable way to replicate an environment.
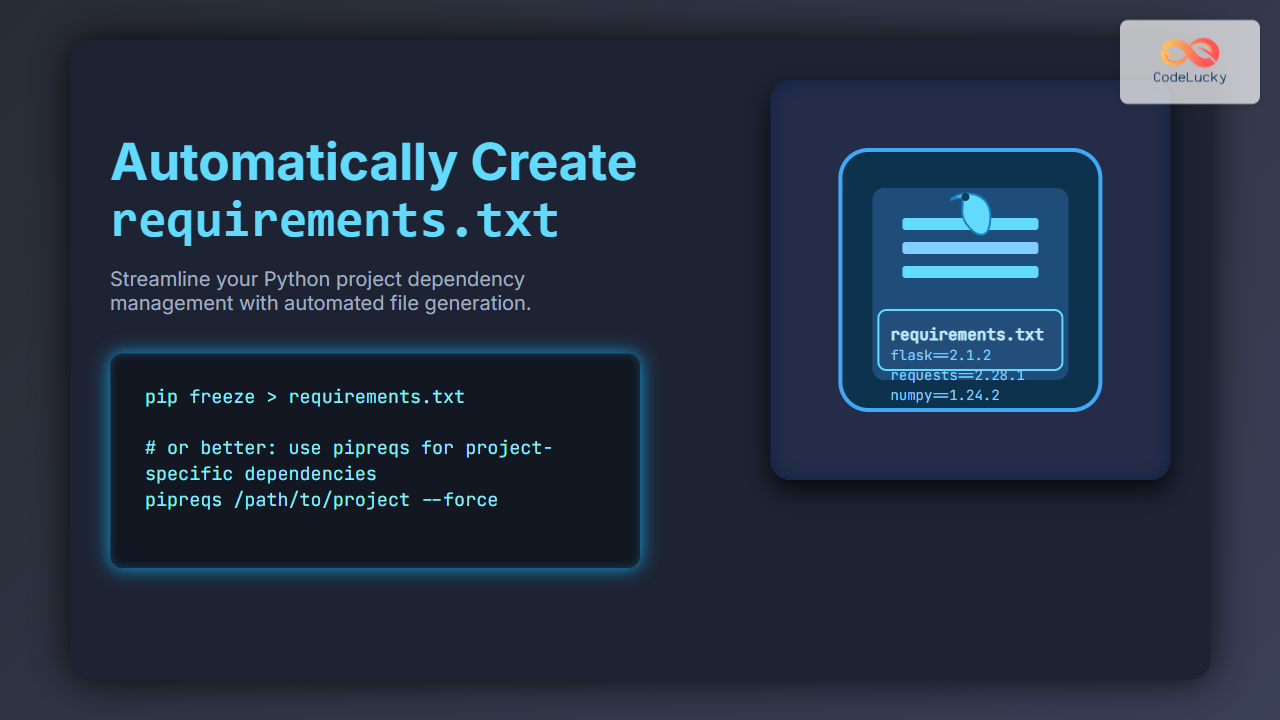
3. A Cleaner Approach with pipreqs
One downside of pip freeze is that it saves every package in your virtual environment. This might include packages you installed for a quick experiment but are no longer using in your code. This can lead to a bloated requirements.txt file.
A popular alternative is a tool called pipreqs. It works by scanning your project's import statements to figure out which packages are actually being used.
To generate a requirements.txt file for an existing Python project
This article from Mi Do on Medium introduces pipreqs as a more precise tool for generating your requirements file.
Read the section 'To include only libraries that actually used in your project’s code files'. This will show you how to install and run pipreqs.
To use it:
- Install
pipreqs:pip install pipreqs - Run it in your project root:
pipreqs .
This will generate a requirements.txt file that only includes the dependencies your project actively imports. While pip freeze is the most common method, pipreqs is a fantastic tool for keeping your dependency list clean and minimal.
Test your understanding!
You have just added the Pillow library to your Django project to handle image uploads by running pip install Pillow. What command should you run immediately after to ensure your project's dependencies are correctly documented for deployment?
Show answer
You should run pip freeze > requirements.txt. This will overwrite the old requirements.txt file with a new list that includes Pillow and all other packages in your virtual environment.
4. Best Practices for Dependency Management
Simply creating the file is just the beginning. As you progress, adopting a few best practices will make your projects more maintainable and professional. Since you have an IT background, you'll appreciate how these practices map to standard software development workflows.
This article from Real Python goes into more depth on managing dependencies like a pro.
Using Python's pip to Manage Your Projects' Dependencies
The article 'Using Python's pip to Manage Your Projects' Dependencies' offers excellent advice on fine-tuning your requirements.
Read the sections 'Fine-Tuning Requirements' and 'Separating Production and Development Dependencies'. These sections cover more advanced but very useful techniques.
Based on the article, here are two key strategies:
A. Flexible vs. Pinned Versions
While pinning versions with == guarantees reproducibility, it can prevent you from getting important bug fixes or security updates. For development, you might want more flexibility. The requirements.txt format allows for comparison operators.
Django==4.2.7: Installs exactly version 4.2.7. Best for production to ensure stability.Django>=4.2.7: Installs version 4.2.7 or any newer version. Good for development to stay up-to-date.Django>=4.2.7,<5.0: Installs any version from 4.2.7 up to (but not including) 5.0. This is useful to avoid major breaking changes, which often come with major version bumps (e.g., 4.x to 5.x).
For our project, sticking with pip freeze and pinned == versions is the safest and simplest approach.
B. Separating Development and Production Dependencies
Some tools are only needed for development (e.g., testing libraries like pytest, or code formatters like black). You don't need to install these on your production server.
A common pattern is to have two files:
requirements.txt: Contains only the packages needed to run the application in production (e.g.,Django,gunicorn,python-dotenv).requirements_dev.txt: Contains development-only tools and also includes the production requirements.
The requirements_dev.txt file would look like this:
# Includes all production packages
-r requirements.txt

# Development-specific packages
black==23.11.0
pytest==7.4.3
- A developer would run
pip install -r requirements_dev.txtto set up their full environment. - The production server would run
pip install -r requirements.txtto set up a lean, production-ready environment.
This mirrors the separation we created for settings files in the previous module and is a hallmark of a well-structured project.
Conclusion
Excellent work! You now have a complete understanding of how to manage your project's dependencies. This is a non-negotiable skill for any Python developer, as it's the foundation for collaboration and deployment.
Key Takeaways:
- A
requirements.txtfile lists all the external packages and their versions that your project depends on. - The command
pip freeze > requirements.txtgenerates this file based on your current virtual environment. - The command
pip install -r requirements.txtinstalls all listed dependencies, making it easy to replicate an environment. - Always remember to update your
requirements.txtfile after installing a new package. - For more advanced use cases, you can use tools like
pipreqsfor a cleaner list or separate your dependencies into development and production files.
Preview of the Next Lesson:
We've secured our secrets and now we have a list of our dependencies. We are getting very close to being ready for deployment! The next step is to configure how our Django application will handle static files (like CSS, JavaScript, and images) in a production environment. We will learn how to use a tool called WhiteNoise to make this process simple and efficient.