Hello! Welcome back to the course.
In our last lesson, you successfully configured URL patterns, acting as your application's traffic controller. You mapped specific URLs to placeholder view functions that returned simple text responses. This was a crucial step in understanding how Django directs requests.
Today, we're going to build the "brain" of those routes. This lesson focuses on the learning outcome: Create function-based views to handle HTTP requests and return responses. We'll move beyond simple text and write view functions that can process user input, prepare data, and use more sophisticated ways to respond, setting the stage for building fully-featured web pages.
1. What is a Django View?
At its core, a Django view is a Python function that does a specific job: it takes information about a web request and returns a web response. It's the central piece of logic that connects your data (Models) to your presentation (Templates).
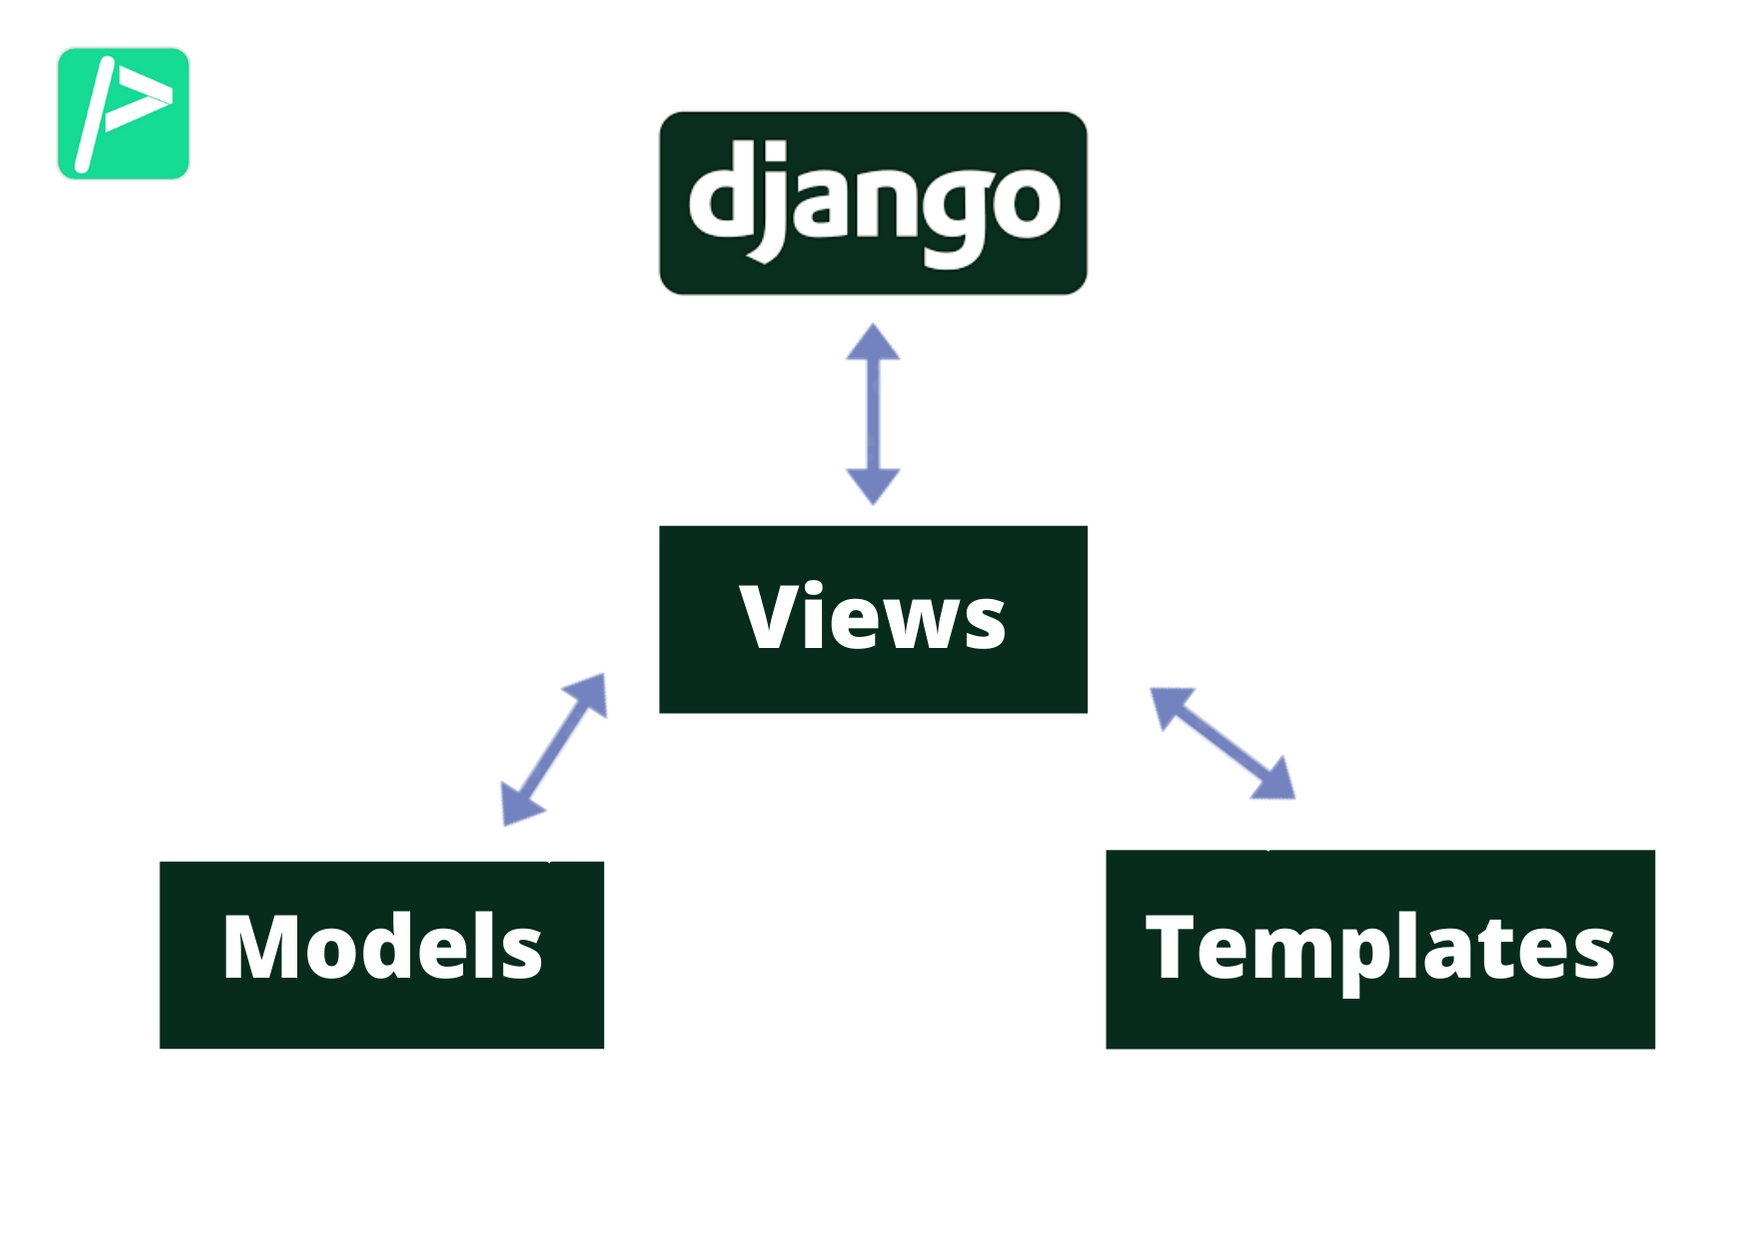
The entire flow, from the user's browser to your view and back again, looks like this:

To see this concept in action, let's watch a short video that defines and creates a very simple view function.
Django Tutorial for Beginners – Build Powerful Backends
The video "Django Tutorial for Beginners" by Programming with Mosh provides a clear, concise explanation of what a view function is and how to create a basic one.
Watch the section from 25:27 to 27:14. Focus on the core definition: a view is just a Python function that takes a request and returns an HttpResponse.
As you saw, the basic structure is:
from django.http import HttpResponse

def my_view(request):
    # ... logic goes here ...
    return HttpResponse("Hello, world!")
2. The HttpRequest Object: Your View's Input
The request parameter in your view function is not just a placeholder. It's an HttpRequest object that Django creates automatically, and it's packed with useful information about the incoming request. For your web development background, you can think of it as a Python object that holds information similar to PHP's superglobals like $_SERVER, $_GET, and $_POST.
Here are a few of the most important attributes:
request.method: A string representing the HTTP method used, usually'GET'or'POST'. This is how you can tell if a user is just visiting a page or submitting a form.request.POST: A dictionary-like object containing all data submitted from an HTML<form>using thePOSTmethod.request.GET: A dictionary-like object containing all data passed in the URL's query string (e.g., in/search?q=django,request.GET['q']would be'django').
Being able to check request.method is fundamental to building interactive pages. The common pattern is:
- If
request.methodis'GET', the user is just requesting to see the page. Your view should prepare the necessary data and display the page. - If
request.methodis'POST', the user has submitted a form. Your view should process the submitted data (e.g., save it to the database), and then usually redirect the user to another page.
Let's see this in a practical example. The following video demonstrates a view for a to-do list that handles both cases.
Django Todo App - Class Based Views vs Function Based Views
The video "Django Todo App" from Code With Stein shows a perfect example of a view that handles both displaying data (a GET request) and creating a new item (a POST request). This GET/POST pattern is one of the most important concepts you'll use.
Watch from 02:48 to 05:14. Pay close attention to the if request.method == 'POST': block. Notice how it gets data from request.POST, creates a new item, and then redirects. The code outside the if block handles the GET request by preparing a list of items to display.
3. The HttpResponse Object: Your View's Output
Just as every view receives a request, it must return a response. So far, we've only used the basic HttpResponse. Now, let's look at two more powerful and common ways to create a response.
For a clear explanation of this, let's turn to an article from the PyCharm blog.
An Introduction to Django Views | The PyCharm Blog
The article "An Introduction to Django Views" clearly explains the different ways a view can generate a response, focusing on the render() shortcut.
Read the sections titled "Rendering and passing data to templates" and "Function-based views". Focus on: How the render() function combines a template file with a context dictionary. The structure of a function-based view that uses render().
Based on what you just read, here are the key response types:
-
HttpResponse("..."): You've used this. It's great for simple text, testing, or returning non-HTML content like JSON or CSV data. -
redirect("url-name"): As you saw in the "Code With Stein" video,redirectis used to send the user to a different page. This is essential after successfully processing a form with a POST request. It prevents the user from accidentally resubmitting the form by refreshing the page (a pattern known as Post/Redirect/Get). -
render(request, "template_name.html", context): This is the most common and powerful one. It's a shortcut that does two things: it loads an HTML template file and fills it with data you provide in acontextdictionary. It then returns a fully renderedHttpResponse. This is how you separate your Python logic from your HTML presentation.
Test your understanding!
A user fills out a "Create New Task" form and clicks "Submit". In your view, after you successfully save the new task, which type of response (HttpResponse, redirect, or render) should you generally return, and why?
Show answer
You should return a redirect. After a successful POST request that changes data, redirecting the user (e.g., back to the main task list) prevents them from accidentally resubmitting the same form if they refresh the page.
4. Let's Build a View
Now, let's apply these concepts to our tasks app. We will replace the simple index view with a more realistic one that prepares a list of tasks to be displayed. We won't connect to a database just yet (that's for the next module), so we'll use a hardcoded Python list for now.
- Open
tasks/views.py. - Modify your
indexview to look like this. We are replacing the oldHttpResponsewithrender.
# tasks/views.py

from django.shortcuts import render # Import render
# We no longer need HttpResponse for this view, but you might need it for others.

# Dummy data - we'll replace this with a real database query later
dummy_tasks = [
    {'id': 1, 'title': 'Learn Django Views', 'completed': True},
    {'id': 2, 'title': 'Create a Template', 'completed': False},
    {'id': 3, 'title': 'Connect to a Database', 'completed': False},
]

def index(request):
    # Create a context dictionary to pass data to the template
    context = {
        'tasks': dummy_tasks
    }
    # Use the render shortcut to generate the response
    return render(request, 'tasks/task_list.html', context)

# You can keep your 'about' view as it is for now
def about(request):
    from django.http import HttpResponse
    return HttpResponse("This is the about page.")
Let's break this down:
- We've created a list of dictionaries called
dummy_tasksto simulate data from a database. - Inside the
indexview, we create acontextdictionary. The keys of this dictionary (e.g.,'tasks') will become variables you can use in your HTML template. - We then call
render(), telling it to use an HTML file located attasks/task_list.htmland to pass ourcontextdictionary to it.
- Check your server. Make sure your development server is running (
python manage.py runserver). Now, open your browser and navigate tohttp://127.0.0.1:8000/.
You will see an error page with a big, red message: TemplateDoesNotExist.
This is expected! Don't worry, you haven't done anything wrong. Your view function is working perfectly. It prepared the data and tried to find the template file tasks/task_list.html, but that file doesn't exist yet. We've successfully separated our logic (in the view) from our presentation (the non-existent template).
Conclusion
In this lesson, you took a major step forward in building real web applications. You moved from simple text responses to writing views that handle different HTTP methods and prepare dynamic data for presentation.
Key Takeaways:
- A function-based view is a Python function that takes an
HttpRequestobject and returns anHttpResponseobject. - The
requestobject gives you access to crucial information, includingrequest.method(GET/POST) andrequest.POST(form data). - A common pattern is to check
if request.method == 'POST'to handle form submissions separately from page loads. render()is the primary tool for generating HTML responses by combining a template file with acontextdictionary.redirect()is used to send the user to a new URL, typically after a successful form submission.
Preview of the Next Lesson:
We've ended on a TemplateDoesNotExist error. In our next lesson, "Use the Django Template Language to render dynamic HTML pages," we will fix this error. You will create the task_list.html file and learn how to use Django's template tags and variables to display the list of tasks we prepared in our view.