Hello! Welcome back to your course on Linux software management.
In our last lesson, we established the theoretical workflow for compiling software from source code: configure, make, and make install. You learned why this process is necessary for accessing the latest or custom-built software and saw demonstrations of how it works.
Today, we transition from theory to practice. This lesson is a hands-on workshop where you will perform your first basic software installation from a source tarball. We'll walk through each step in a real-world scenario, reinforcing the concepts you've learned and giving you the practical experience needed for your CompTIA Linux+ exam preparation.
1. Preparation: Setting Up Your Build Environment
Before you can build software, you need the right tools and the source code itself. Think of this as setting up your workshop.
Installing the Build Toolchain
As we discussed, your system needs a compiler (gcc), the make utility, and other essential tools to build software. These are often bundled together in a meta-package. If you haven't done so already, please open a terminal in your virtual machine and install the necessary tools for your distribution.
Anyone can compile open source code in these three simple steps
The article 'Anyone can compile open source code in these three simple steps' provides the exact commands you need. It's a good practice to ensure these are installed before you start.
Please find the section titled 'Install commands to build software'. Run the appropriate command for your Linux distribution (either the dnf command for Fedora/CentOS or the apt command for Debian/Mint/Ubuntu).
Obtaining the Source Code
Source code is typically distributed in a compressed archive file, often called a tarball (with an extension like .tar.gz or .tar.bz2). For this lesson, we will use the LabEx tutorial resource, which provides a sample tarball for an FTP server called pure-ftpd. This will be our practical example.
2. A Step-by-Step Guide to Installation from Source
We will now work through a complete installation. The following reading provides a self-contained lab exercise that walks you through every command. My goal is to add context to each step and connect it back to what we've learned.
Build Software from Source Code in Linux
The CompTIA Linux+ tutorial 'Build Software from Source Code in Linux' from LabEx is a perfect, self-contained guide for this practical exercise. It uses a real-world example and covers the entire lifecycle from extraction to cleanup.
Please open this tutorial. We will work through the first four major sections together: 'Introduction', 'Extract the Source Code with tar', 'Configure and Compile the Software...', and 'Install the Software...'. Follow the commands in your own terminal as described in the tutorial.
Let's break down the process you're following in that tutorial.
Step A: Extract the Source Code with tar
As directed in the "Extract the Source Code..." section of the tutorial, your first action is to unpack the tarball. The command tar -zxvf pure-ftpd-1.0.53.tar.gz uses these common options:
z: Decompress the file (it's a.gzfile).x: Extract the files from the archive.v: Verbose, show the files as they are being extracted.f: Use the following argument as the file to operate on.
After running this, you'll have a new directory containing all the source files. You must then cd into this directory to proceed.
Step B: Configure the Build with ./configure
This is the "pre-flight check" we discussed. As shown in the "Configure and Compile..." part of the tutorial, you run the script located in the current directory (./configure).

This script generates the Makefile, which is the custom-tailored recipe for the make command. If any required libraries (dependencies) were missing, the script would fail at this stage with an error message telling you what you need to install.
Step C: Compile the Code with make
With the Makefile ready, you can now compile the code. The make command reads the Makefile and executes all the necessary commands to turn the human-readable .c files into machine-executable code.
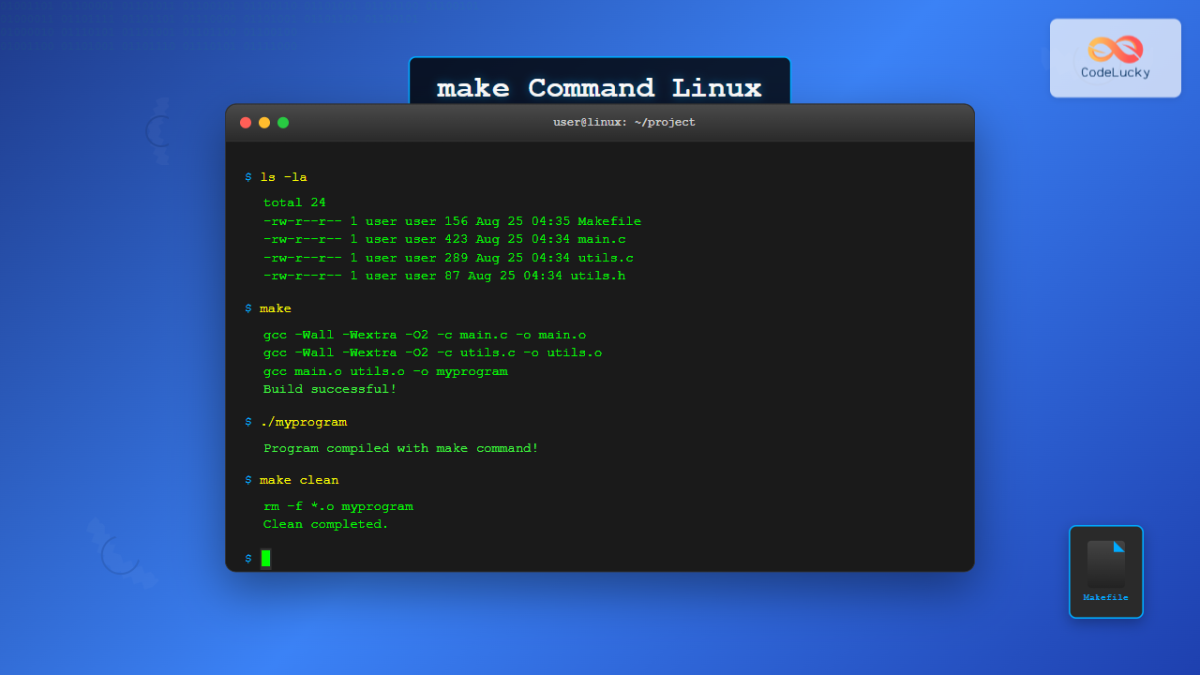
This step does the real work. You'll see a lot of output scroll by as each source file is compiled. If it finishes without a fatal error, the software has been successfully built.
Step D: Install the Software with sudo make install
The final step is to copy the compiled files from your local source directory to the system-wide directories (like /usr/local/bin). As the tutorial explains, this requires administrative privileges, which is why you must use sudo.
After running sudo make install, the software is installed. The tutorial shows you how to verify this using the which command, which confirms the program is now in your system's PATH.
3. Managing and Uninstalling Source-Built Software
You've successfully installed the software, but a crucial part of system administration is management. How do you remove what you've just installed?
The "make uninstall" Target
The make install command copied files all over your system. A well-designed source package provides a way to reverse this.
Build Software from Source Code in Linux
Let's continue with the LabEx tutorial to see how to properly remove the software.
Now, follow the steps in the 'Uninstall the Software and Clean Up...' section. This will show you how to use make uninstall and then remove the source directory.
Running sudo make uninstall executes another target in the Makefile that knows exactly which files were installed and where they are located, and removes them. This is the cleanest way to uninstall software built from source.
Important Note: Not all developers include an uninstall target in their Makefile. This is a major drawback of this installation method. If it's missing, you would have to manually hunt down and delete every file, which is difficult and error-prone.
Test your understanding!
You have just compiled and installed a program using sudo make install. Why is it a good practice to keep the original source code directory instead of deleting it immediately after installation?
Show answer
You should keep the source code directory because it contains the Makefile and other build files that are necessary to uninstall the program. If you want to remove the software later, you will need to navigate back into this directory and run sudo make uninstall. Without this directory, cleanly removing the software becomes very difficult.
A Better Way: checkinstall
To overcome the pitfalls of make install, many administrators use a tool called checkinstall. Instead of running sudo make install, you run sudo checkinstall. This clever utility:
- Runs the
make installprocess in a temporary location. - Tracks all the files that are created.
- Bundles them into a standard package file for your distribution (e.g., a
.debfile for Debian/Ubuntu or an.rpmfile for Fedora/CentOS). - Installs that package using your system's package manager (
dpkgorrpm).
The result is that your self-compiled software is now known to the package management system, and you can manage it just like any other package—for example, by uninstalling it with sudo apt remove <package_name>.
Basic Linux -- How to Compile Software Yourself (on Ubuntu)
The video 'Basic Linux -- How to Compile Software Yourself' demonstrates this exact process. Seeing it in action makes the benefit clear.
Watch the segment from 05:27 to 06:40, where the checkinstall tool is introduced and installed. Then, skip to the segment from 13:48 to 15:13 to see it being used in place of make install.
Conclusion
Congratulations! You have now performed a complete software installation from a source tarball. You've moved from theoretical knowledge to practical skill, a critical step in your journey to becoming a proficient Linux administrator.
Key Takeaways:
- The standard practical workflow is:
tar -zxvf <file.tar.gz>,cd <directory>,./configure,make, and finallysudo make install. - Always ensure you have the
build-essential(or "Development Tools") package installed first. - Good source packages provide a
make uninstalltarget for clean removal, but you must keep the source directory to use it. - Using
checkinstallis a best practice that integrates your compiled software with the system's package manager, making it much easier to manage and uninstall.
Preview of the Next Lesson:
In our next lesson, we will move from managing user-space applications to managing the very core of the operating system: the Linux kernel. You will learn how to perform a kernel update using your system's package manager and how to manage kernel modules. This will highlight the importance of using package managers for such critical system components.