Hello! Welcome to the next phase of our journey.
In the previous module, we focused on making our REST API project production-ready, culminating in a deep dive into performance benchmarking. You've mastered project setup, database abstraction, testing, and performance analysis—a powerful skill set that we will now carry forward.
Today, we begin building the project that is the central goal of this course: a simplified, from-scratch message broker, our "mini-Kafka." We start with the most fundamental component: the network layer.
Your Goal for Today
Learning Outcome: Build a TCP server using net.Listener that accepts and manages multiple connections.
This is the front door to our broker. Every message produced and every message consumed will pass through this TCP server. We'll cover:
- The fundamental pattern of a Go network server: Listen, Accept, Handle.
- Why a simple, sequential server is insufficient for a real-world system.
- The idiomatic Go solution for concurrency: one goroutine per connection.
- A look under the hood to understand why this model is so efficient in Go.
- A hands-on implementation of a basic concurrent TCP server.
1. The Core TCP Server Pattern
At its heart, any TCP server performs three steps in a loop:
- Listen: Bind to a network port and listen for incoming connections. In Go, this is done with
net.Listen. - Accept: Wait for a client to connect. When one does,
Acceptthe connection, which gives you anet.Connobject to communicate with that specific client. - Handle: Read data from and write data to the
net.Connobject.
Let's start by seeing this pattern in its most basic, sequential form. The following video first demonstrates the problem with a simple blocking server before showing the concurrent solution. We'll focus on the problem first.
Write your own TCP Protocol in golang, build chat servers, blockchain node, part 1
The video 'Write your own TCP Protocol in golang' from the Fat FIRE devs channel provides an excellent pedagogical walkthrough. It starts by building a server that can only handle one client at a time, which perfectly illustrates the challenge we need to solve.
Please watch from 00:55 to 09:13. As you watch, focus on: The Setup (00:55 - 03:27): How net.Listen and l.Accept are used inside a for loop. Notice that the call to handle(conn) is a standard, blocking function call. The Demonstration (07:35 - 09:13): Pay close attention to the experiment with two telnet clients. The second client connects, but its messages are ignored. Why? Because the server is stuck inside the handle function for the first client.
As you saw, the l.Accept() call blocks until a client connects. Then, the handle(conn) call blocks until that client disconnects. Only then can the loop continue to accept the next client. For a system like a message broker that needs to serve many producers and consumers simultaneously, this is unworkable.
2. The Go Solution: One Goroutine Per Connection
The solution in Go is both elegant and powerful. Instead of calling the handler function directly, we launch it in a separate goroutine.
go handleConnection(conn)
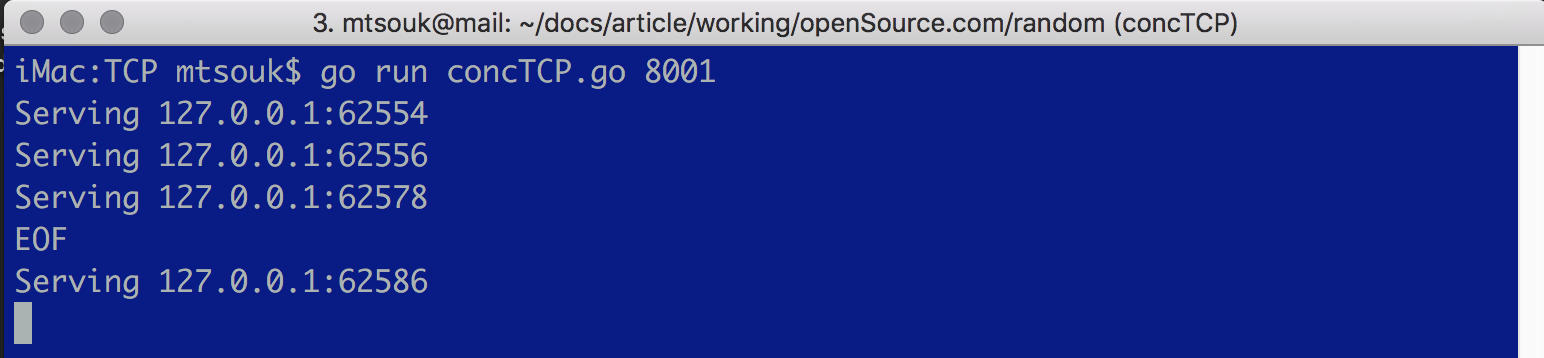
This simple go keyword is the key. It allows the for loop to immediately iterate and call listener.Accept() again, ready for the next client, while the previously accepted connection is handled concurrently.
Write your own TCP Protocol in golang, build chat servers, blockchain node, part 1
Now, let's see the fix. The same video introduces the go keyword to solve the blocking problem.
Watch from 11:23 to 13:19. This section explains how adding the go keyword transforms the server from a sequential, blocking one into a concurrent one capable of handling many clients at once.
This pattern is the foundation of almost all network services in Go.
3. Under the Hood: Why is this so Efficient?
Given your interest in system design and your goal of mastery, it's worth asking: why is this "goroutine-per-connection" model, which is often discouraged in other languages due to "thread-per-connection" overhead, the standard in Go?
The answer lies in Go's runtime scheduler and its integrated network poller. Unlike OS threads, goroutines are extremely lightweight (a few KB of stack). The Go runtime multiplexes these M goroutines onto a small number of N OS threads (the M:N model). When a goroutine makes a blocking network call (like conn.Read()), the runtime doesn't block the OS thread. Instead, it parks the goroutine, informs the network poller it's waiting for data on that connection, and schedules another runnable goroutine on the same OS thread.
This is a deep topic, but the following article gives a superb, concise overview for an experienced engineer.
How Go Handles Networking - Go Optimization Guide
The article 'How Go Handles Networking' from the Go Performance Guide provides a fantastic explanation of the internals.
Please read the first three sections: 'Go Networking Internals', 'Internals of the net Package', and 'The Netpoller'. This will give you a clear mental model of how net.Listen, conn.Read, and goroutines work together with the OS to achieve massive concurrency with low overhead.
Understanding this mechanism is key to appreciating Go's design and building high-performance network services. You aren't just creating a thread for every connection; you are handing off a lightweight task to a highly optimized I/O event reactor.
4. Hands-On: Building Your First Concurrent Server
It's time to write the code. Since we're starting our new message broker project, let's set up the directory.
- In your Go workspace, create a new directory for the project (e.g.,
gokafka). - Inside
gokafka, rungo mod init gokafka(or your chosen module path). - Create the directory structure:
cmd/server/. - Create a new file:
cmd/server/main.go.
Now, let's look at a clean, complete implementation of this pattern.
How To Build A Custom TCP Server In Golang!?
The video 'How To Build A Custom TCP Server In Golang!?' by Anthony GG offers a concise and practical walkthrough that we can use as a guide for our own implementation.
Watch from 00:25 to 06:36. This will walk you through: Setting up a Server struct. Creating the listener with net.Listen. Implementing the acceptLoop. Spawning a goroutine for each connection with go s.handleConn(conn).
Now, translate that into your cmd/server/main.go file. Here is a complete version you can use, which implements a simple echo server. This code directly reflects the patterns from the videos and articles.
cmd/server/main.go
package main

import (
	"bufio"
	"fmt"
	"io"
	"log"
	"net"
)

func main() {
	// 1. Listen for incoming connections.
	listener, err := net.Listen("tcp", ":8080")
	if err != nil {
		log.Fatalf("Failed to bind to port 8080: %v", err)
	}
	defer listener.Close()
	log.Println("TCP server listening on port 8080")

	// 2. The Accept Loop.
	for {
		// Wait for a connection. This is a blocking call.
		conn, err := listener.Accept()
		if err != nil {
			log.Printf("Failed to accept connection: %v", err)
			continue // Don't crash the server, just log the error.
		}

		// 3. Handle the connection in a new goroutine.
		// The loop can now immediately go back to waiting for the next connection.
		log.Printf("Accepted connection from %s", conn.RemoteAddr())
		go handleConnection(conn)
	}
}

// handleConnection reads data from the connection and echoes it back.
func handleConnection(conn net.Conn) {
	// Ensure the connection is closed when the function returns.
	defer conn.Close()
	defer log.Printf("Closing connection from %s", conn.RemoteAddr())

	// Use a buffered reader for efficiency.
	reader := bufio.NewReader(conn)

	for {
		// Read until the next newline character.
		line, err := reader.ReadString('\n')
		if err != nil {
			// If it's an EOF, it just means the client disconnected.
			if err != io.EOF {
				log.Printf("Read error: %v", err)
			}
			return // Exit the handler.
		}

		// Echo the data back to the client.
		_, err = conn.Write([]byte("Echo: " + line))
		if err != nil {
			log.Printf("Write error: %v", err)
			return // Exit on write error.
		}
	}
}
5. Test Your Server
You can now run your server from the root of your gokafka project:
go run ./cmd/server
You should see the "TCP server listening on port 8080" message. To test its concurrent capabilities, open two or three separate terminal windows and use telnet:
Terminal 1:
telnet localhost 8080
Type hello from client 1 and press Enter. You should see Echo: hello from client 1.
Terminal 2:
telnet localhost 8080
Type hello from client 2 and press Enter. You should see Echo: hello from client 2.
Both clients are being served at the same time. Check the server logs; you'll see it accepting and handling both connections. Congratulations, you've built the network foundation of your message broker!
Conclusion
Today you took the first major step in building our message broker. You've implemented the fundamental networking pattern in Go and, importantly, you've seen the runtime mechanics that make it so powerful.
Key Takeaways:
- The core of a Go TCP server is the
net.Listen,listener.Accept,handleConnectionpattern. - Handling each connection in its own goroutine (
go handleConnection(conn)) is the key to concurrency. - This pattern is highly efficient because Go's runtime scheduler and network poller work together to avoid blocking OS threads on I/O.
- A
net.Connis anio.Readerandio.Writer, making it easy to work with standard library packages likebufio.
Next Up
Our current server runs forever, but it has a flaw: if we stop it with Ctrl+C, it terminates immediately, potentially cutting off active client connections mid-communication. This is not acceptable for a reliable system.
In the next lesson, we will implement graceful shutdown. You will learn to use sync.WaitGroup and OS signals to ensure that when the server is asked to stop, it waits for all active connections to finish their work before exiting.