Hello! Welcome back to our course on building a life simulation game.
In the last lesson, you did an excellent job sourcing and configuring the core visual assets for our game: a ready-to-use character model from Mixamo and PBR materials from Poly Haven. We now have the building blocks for a visual world.
Today, we'll create the stage for that world. Our learning outcome is to set up a reusable Unity game scene with lighting and placeholders for world objects. This "game scene" will serve as the foundational environment where all gameplay will eventually take place. We'll focus on creating a flexible structure, establishing good visual quality with lighting, and blocking out a basic environment.
1. Scene Architecture: Building for Reusability
Before we start adding objects, it's wise to think about how our scenes will be organized. A common and robust pattern in game development is to have a main, persistent scene that manages core systems (like our Rust backend connection, game managers, etc.) and then load the actual game world (the environment, houses, characters) into it. This keeps our logic separate from our levels.
For now, we'll create a single, well-structured "game world" scene that can be saved as a template. This allows us to quickly create new, consistent environments later on.
The following video discusses some excellent principles for scene organization. While we won't implement everything it suggests today, the core concepts are highly relevant.
Starting Your Unity Game Flawlessly (8 Steps)
This video from PracticAPI explains the benefits of a clean scene architecture. We'll focus on the concepts of keeping scenes clean and using a central entry point for game logic.
Please watch the following parts: Emptying the Scene (02:33 - 03:28): This explains why starting with a clean scene and using prefabs is a good practice. Separating Levels into Scenes (03:28 - 03:43): This reinforces the idea of loading different environments into a main scene. The 'Game Initiator' Concept (03:43 - 04:45): Pay attention to the idea of having a single GameObject that kicks off the game's logic. We will adopt this pattern.
Let's apply these ideas. Create a new scene (File > New Scene) and save it as GameWorld_Template in your Assets/Scenes folder. In this scene, create a single empty GameObject and name it _GameInitiator. For now, it will remain empty, but it establishes the architectural pattern of having a central point of control. We will also create other empty GameObjects to act as containers for better organization.
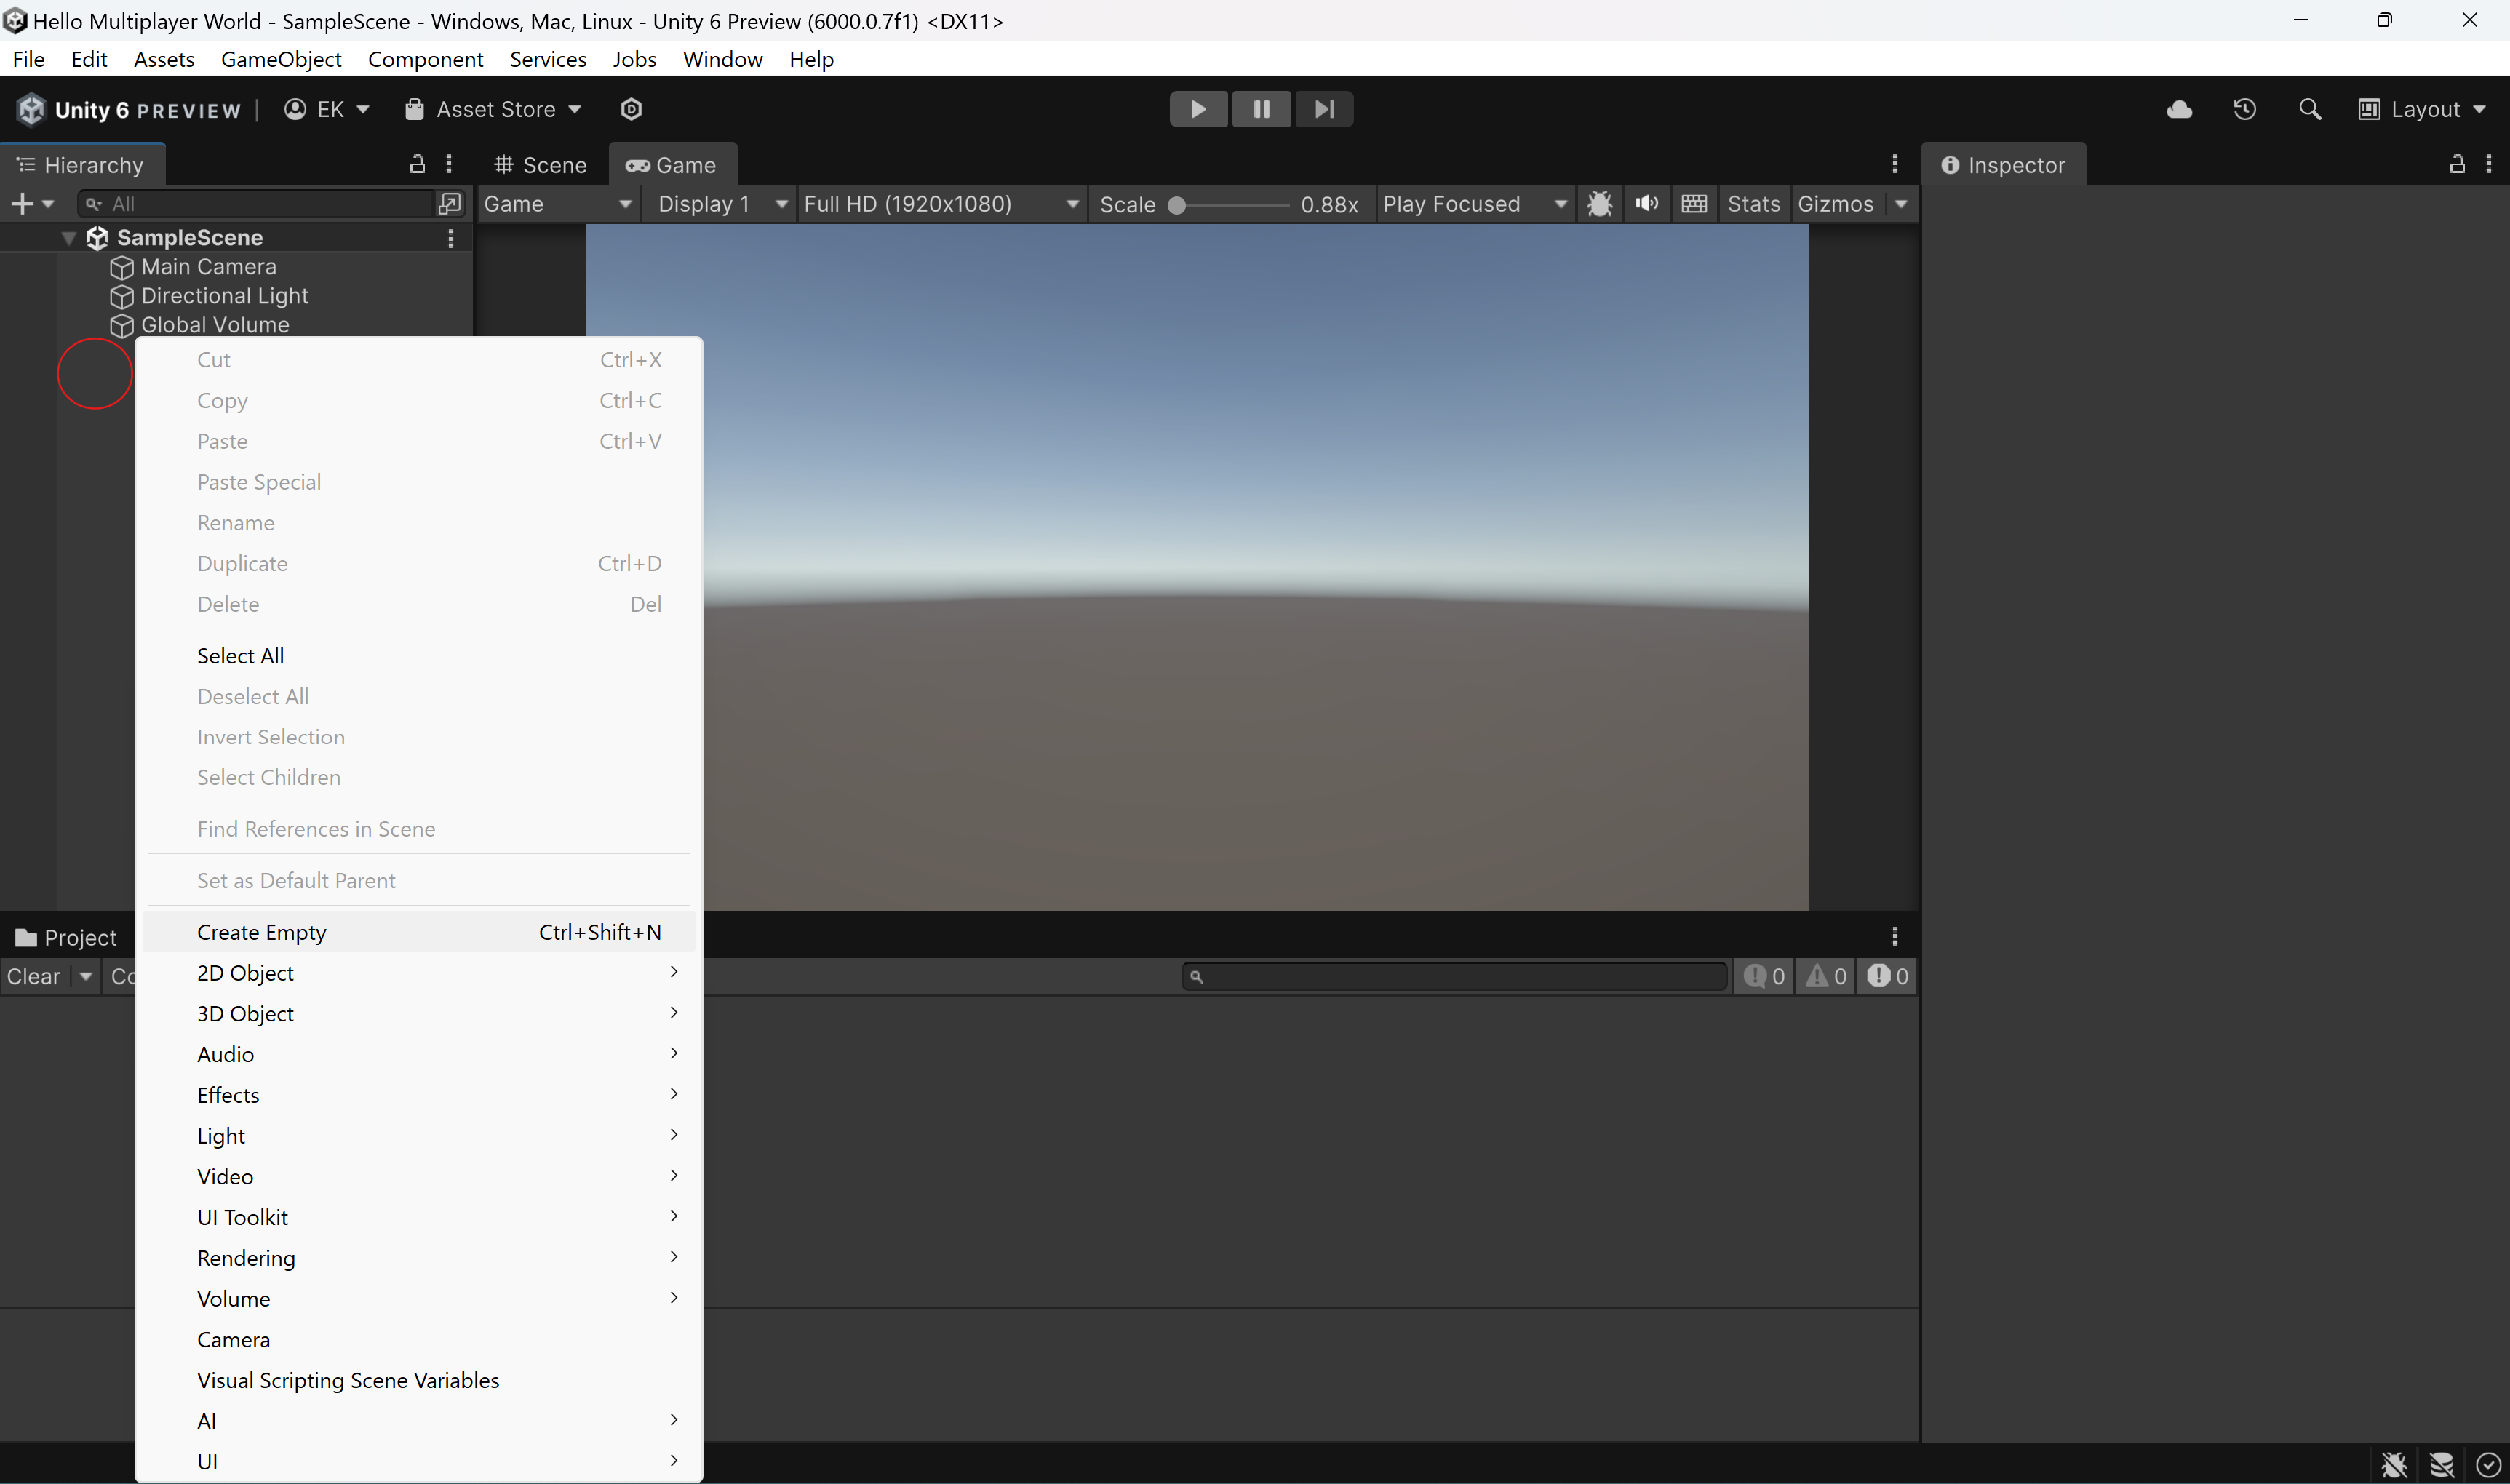
In your new scene, create the following hierarchy of empty GameObjects:
_GameInitiator_WorldLightingEnvironment
_Characters
This structure gives us a clean slate and designated places for everything we're about to add.
2. Lighting the Scene for Atmosphere
A well-lit scene dramatically improves the player's experience. We will use Unity's Universal Render Pipeline (URP) features to set up high-quality lighting. The first step is to ensure our project is using the best color space for realistic lighting.
- Go to File > Build Settings > Player Settings.
- In the Player tab, find the Other Settings section.
- Under Rendering, change the Color Space from
GammatoLinear. This ensures light and color blend in a more physically accurate way.
Next, we'll add post-processing effects. These are screen-space effects applied on top of the rendered scene to improve its visual quality, similar to filters in photo editing software.
The following video provides a great, concise guide to setting up lighting and post-processing.
The secret to how to make your game look good in Unity | all you need to know about post processing
This video from Single-Minded Ryan will guide you through the key steps to make a Unity scene look good, from lighting to post-processing.
Follow these steps in your GameWorld_Template scene: Camera and Project Settings (01:16 - 01:54): You've already set the Color Space. Now, select your Main Camera. In the Inspector, under the Rendering section, check the Post Processing box. Light Setup (01:54 - 02:14): Select the default Directional Light in your scene. Change its Shadow Type to Soft Shadows. You can also adjust its rotation to change the direction of shadows. Post-Processing Volume (02:14 - 04:41): This is the most important part. Create a Global Volume (GameObject > Volume > Global Volume). Create a new Profile for it. Then, add the following overrides and experiment with their settings: Tonemapping: Set to ACES for a cinematic, high-contrast look. Bloom: Adds a glow to bright areas. Vignette: Darkens the corners of the screen, focusing the player's view.

By following these steps, you've established a baseline for good visual quality that will be present in any scene created from this template.
3. Prototyping with ProBuilder
Before placing final, detailed assets, it's standard practice to "block out" or "greybox" the environment using simple shapes. This helps establish scale, layout, and flow without getting bogged down in details. Unity's ProBuilder package is a powerful tool for this, allowing you to create and edit custom 3D geometry directly within the editor.
First, you'll need to install it.
- Go to Window > Package Manager.
- Select the Unity Registry package list.
- Search for
ProBuilderand click Install.
Now, let's learn the basics of using it.
Enhance your prototype with ProBuilder
This Unity Learn tutorial provides a hands-on introduction to ProBuilder. We'll focus on the core modeling tools to create simple architectural placeholders.
This resource guides you through creating and manipulating shapes. Follow along to get comfortable with the tools. Focus on these key sections: Set up ProBuilder (Section 2): Shows how to open the ProBuilder window. Create a cube (Section 3): The starting point for most modeling. Review the ProBuilder edit modes (Section 5): Understanding the difference between Object, Vertex, Edge, and Face selection is crucial. Create a wall with your cube (Section 6): A practical exercise in basic shape manipulation. Extrude... to make a door (Sections 7-10): Follow these steps to practice creating more complex shapes by extruding, deleting faces, and bridging edges. This is a core workflow in 3D modeling. Your goal is not to become a modeling expert, but to be able to quickly create simple placeholders like walls, floors, and platforms.
Practical Task:
In your GameWorld_Template scene, under the Environment GameObject, use ProBuilder to create a simple room: a floor plane and four walls. You can even use the techniques you just learned to add a doorway to one of the walls. This will be the placeholder for a character's starting home.
4. Creating a Reusable Scene Template
You now have a scene with a clean hierarchy, beautiful lighting, and a placeholder environment. The final step is to save this entire configuration as a Scene Template. This allows you to create new scenes that inherit this setup with a single click.
The official Unity Manual explains how to create Scene Templates. We'll use the most direct method.
Read the short section titled 'Creating a template from the current scene'. The process is simple: with your GameWorld_Template scene open and saved, go to the main menu and select File > Save As Scene Template... and save it. Now, when you go to File > New Scene, you'll see your template in the dialog, ready to be used.
After saving your scene as a template, drag the textured character model from the previous lesson into your ProBuilder room and place it on the floor. Save your GameWorld_Template scene one last time.
Conclusion
Fantastic work! You have now created a professional, reusable foundation for any world you want to build. This single scene contains a logical hierarchy, high-quality lighting, and simple environment placeholders, ready for gameplay systems to be built upon it.
Key Takeaways:
- Scene Architecture: Organizing your scene with empty GameObjects as containers (
_World,_Characters) and a central_GameInitiatoris a scalable practice. - Lighting Quality: Using Linear Color Space and a Post-Processing Volume with effects like ACES Tonemapping are fundamental steps for achieving good visuals.
- Prototyping with Placeholders: ProBuilder is an essential tool for quickly blocking out environments to test scale and layout before adding final art assets.
- Reusability: Saving your configured scene as a Scene Template streamlines the creation of new game worlds, ensuring consistency.
In our next lesson, we will begin to bridge the gap between this visual world and our Rust backend. We will define a JSON schema for a pre-built world containing lots and character spawn locations, laying the data foundation for loading worlds and placing characters in them.