Welcome back! In our last lesson, you learned to read and understand the async/await syntax. This was a crucial first step, giving you the ability to analyze the structure of asynchronous code that AI tools like Cursor will frequently generate.
Today, we move from theory to practice. You will learn how to use the fetch API to make a live network request to a REST API. This is the fundamental mechanism for making your static designs dynamic by populating them with real data from a server. For you as a Design Engineer, mastering this process is non-negotiable. It's the bridge that connects your static Figma layouts to the living, breathing data of a web application.
What is an API and Why Do We "Fetch" From It?
Think of a web application as a restaurant. Your frontend (the UI you design and build) is the dining area where the customer sits. The backend server is the kitchen. A REST API (Application Programming Interface) is the menu and the waiter combined. You, the developer, use the API to request specific "dishes" (data) from the "kitchen" (server).
The built-in browser function for making these requests is called the Fetch API. It's a modern, powerful tool for interacting with servers.
This article from javascripttutorial.net provides a concise introduction to the Fetch API.
Read the introduction to understand its purpose. Then, review the section on reading the response, which recaps the async/await pattern we covered in the last lesson but applies it specifically to fetch.
Making Your First API Call: A GET Request
The most common type of API request is a GET request, which is used to retrieve data. Let's walk through the process of fetching a list of users from a public test API. The video below gives a fantastic visual demonstration of this entire flow.
Fetch API - JavaScript Tutorial for beginners
This video from the ColorCode channel provides a clear, step-by-step walkthrough of using the Fetch API.
First, watch the introduction from the beginning to get a high-level overview. Then, watch the core demonstration from this segment. The presenter does an excellent job showing: Calling fetch with a URL and awaiting the result. Inspecting the initial Response object. Calling response.json() and awaiting again to get the actual data.
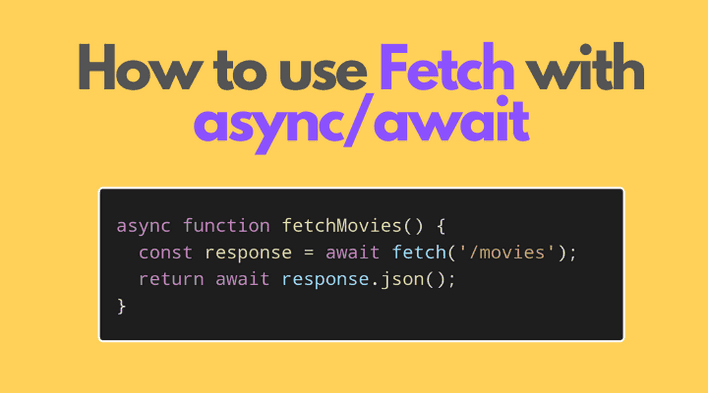
Let's break down the code from that demonstration. The core logic looks like this:
// Define the async function
async function fetchUsers() {
  // Define the API endpoint URL
  const apiUrl = 'https://jsonplaceholder.typicode.com/users';

  try {
    // 1. Make the request and wait for the response object
    const response = await fetch(apiUrl);

    // 2. Parse the response body as JSON and wait for the data
    const users = await response.json();

    // 3. Log the data to see what we got
    console.log(users);

  } catch (error) {
    console.error("Failed to fetch data:", error);
  }
}

// Call the function to execute it
fetchUsers();
This two-step await process is fundamental:
await fetch(url)gets you the initial HTTP response, which includes headers and status information but not the data itself.await response.json()reads the response body to completion and parses it as JSON, finally giving you a usable JavaScript object or array.
A Critical Detail for AI Supervision: Handling Errors Correctly
Here is a crucial point that separates a junior developer from a professional, and it's vital for your role in supervising AI. A common assumption is that if the API returns an error (like a 404 Not Found), the catch block in our try...catch will be triggered. This is incorrect.
The fetch API only considers a network failure an error (e.g., the user is offline, or the domain doesn't exist). An HTTP error status code like 404 or 500 is still considered a "successful" fetch because the server was reached and it responded.
This is a classic "gotcha," and the short video below explains it perfectly.
JavaScript Fetch API - One Mistake I ALWAYS MAKE!
This video from James Q Quick highlights the single most common mistake made with the Fetch API.
Watch the entire video (full video). It clearly demonstrates that a 404 error doesn't trigger the catch block and shows you the correct way to handle it by checking the response status.
To build robust, production-ready applications, you must manually check if the request was successful before trying to parse the response. The Response object provides a convenient property for this: response.ok. This boolean property is true if the HTTP status code is in the successful range (200-299).
Let's refine our function to include this check. This is the pattern you should always look for in AI-generated code.
async function fetchUsersRobust() {
  const apiUrl = 'https://jsonplaceholder.typicode.com/users';

  try {
    const response = await fetch(apiUrl);

    // SUPERVISION STEP: Check if the response was successful.
    if (!response.ok) {
      // If not, throw an error with the status to be caught by the catch block.
      throw new Error(`HTTP error! Status: ${response.status}`);
    }

    const users = await response.json();
    console.log("Successfully fetched users:", users);

  } catch (error) {
    // This will now catch both network errors and HTTP errors.
    console.error("Error fetching users:", error.message);
  }
}
This pattern is essential for "Exploratory & Edge Case Thinking." You are no longer just coding for the happy path; you are anticipating what happens when the server is down, when a resource is missing, or when the network fails.
This article provides another look at this error handling strategy.
This resource explains how to check the HTTP status and handle errors gracefully.
First, read the short section on handling status codes to see how the response.ok property works. Then, review the section on error handling to see how try...catch is used in a complete example.
Conclusion
In this lesson, you've made the leap from understanding async/await syntax to actively using it to fetch real data with the fetch API. You've not only learned the "happy path" but also the critical details of robust error handling—a key skill for supervising AI and shipping reliable products.
Key Takeaways:
- The
fetch()function initiates a network request to a specified URL and returns a Promise. - The first
awaitresolves the Promise into aResponseobject. - The second
awaitonresponse.json()is needed to parse the response body into usable JavaScript data. fetch()only throws an error on network failure. You must manually check for HTTP errors using theresponse.okproperty.- The
try...catchblock combined with a!response.okcheck is the standard, production-ready pattern for handling all types of errors during a fetch operation.
In our next lesson, we'll take the data we've fetched and start working with it. You'll learn how to interpret the structure of the JSON response you receive and, most importantly, begin applying your UX expertise by implementing loading and empty states in the UI to give users clear feedback while data is being retrieved.