Hello! In our last lesson, you achieved a major milestone by deploying your full-stack application to Render. You learned how to set up separate services for your frontend and backend and connect them using environment variables. As part of that process, you provisioned a PostgreSQL database directly on Render.
While using Render's built-in database is fast and convenient for initial deployment, it's important to understand the broader landscape of database hosting. Render's free PostgreSQL tier, for example, expires after 90 days. For long-term projects and more professional setups, developers often turn to dedicated, managed database providers.
This lesson focuses on a more robust and permanent approach. You will learn how to provision a cloud PostgreSQL database using a specialized service called Neon and connect it to your application already deployed on Render. We will also cover the crucial real-world task of migrating data from your local development environment to your new production database.
This will enhance your deployment skills, giving you a flexible and scalable database solution that isn't tied to a single platform.
Managed Databases: Render vs. Neon
When you deployed your app, you used Render's integrated PostgreSQL service. This is a type of managed database, where the platform (Render) handles setup, maintenance, and backups. It's great for simplicity.
However, another popular strategy is to use a separate, dedicated database provider.
- Render PostgreSQL: Integrated with the PaaS. Simple to set up. Communication is fast over the private network. The free tier is temporary.
- Neon: A dedicated, "serverless" PostgreSQL provider. It separates storage and compute, offering features like instant branching and a generous permanent free tier. It's platform-agnostic, meaning you can use it with Render, Vercel, AWS, or any other host.
For a job-ready developer, knowing how to work with a dedicated provider like Neon is a valuable skill. It gives you more flexibility and control over your application's architecture.

Step 1: Provisioning a Production Database with Neon
First, we need to create a new, permanent home for our data. We'll use Neon, which specializes in serverless PostgreSQL.
How to Deploy a PERN Stack App (PostgreSQL, Express, React, Node.js) | Render + Neon
This video by Web Dev Bey provides a clear walkthrough of deploying a PERN stack application using Neon for the database. We will start by following the steps to create our database on the Neon platform.
Please watch from 04:05 to 05:34. Follow the presenter to sign up for Neon (you can use your GitHub account), create a new project, and locate your database connection string. Copy this connection string and save it somewhere secure for the next steps.
You now have a production-ready, serverless PostgreSQL database running in the cloud. The connection string you copied contains all the credentials your application needs to connect to it.
For a text-based reference on this process, you can also consult the Neon documentation.
The official Neon documentation provides a step-by-step guide for this process. It's a good resource to have on hand.
Skim through the section titled "Setting up your Neon database". It covers the same steps you just saw in the video: creating a project and retrieving the connection string.
Step 2: Migrating Your Local Data to the Cloud
Your local database contains all the users, tasks, and other data you've created during development. A fresh cloud database is empty. A critical step in going to production is migrating this existing data. We'll do this using a backup and restore process with a database management tool like PGAdmin.
How to Deploy a PERN Stack App (PostgreSQL, Express, React, Node.js) | Render + Neon
We'll continue with the Web Dev Bey video. The next segments show how to connect to your new Neon database from your local machine and then migrate your data.
First, watch from 05:34 to 07:12. This shows you how to connect to your Neon database using PGAdmin. You'll need to parse the connection string you saved to get the host, database name, user, and password. Next, watch carefully from 07:12 to 10:55. This is the core of the migration process: Backup: Create a backup of your local todo-db database. Pay attention to the instruction to not include the owner in the backup options to prevent errors. Restore: Restore this backup file into your new Neon database. Again, ensure the owner is not part of the restore options. After completing these steps, you can use the Query Tool in PGAdmin on your Neon database to verify that all your tables and data have been successfully transferred.
This backup-and-restore capability is a fundamental skill for database management, used for migrations, disaster recovery, and creating staging environments.
Test your understanding!
In the video, the presenter advises against including the "owner" in the backup and restore options. Why is this important?
Show answer
The user "owner" on your local machine likely doesn't exist in the Neon cloud environment (which has its own auto-generated user). Trying to restore data with an owner that doesn't exist in the target system would cause a permission error. By omitting the owner, the restored tables and data will automatically be owned by the user you are connected with on the Neon database, avoiding the conflict.
Step 3: Connecting Your Deployed Application to Neon
Now that your cloud database is provisioned and contains your data, the final step is to tell your deployed backend on Render to use it instead of the old Render database.
This is where your knowledge of environment variables comes in. We simply need to update the DATABASE_URL variable in our Render Web Service.
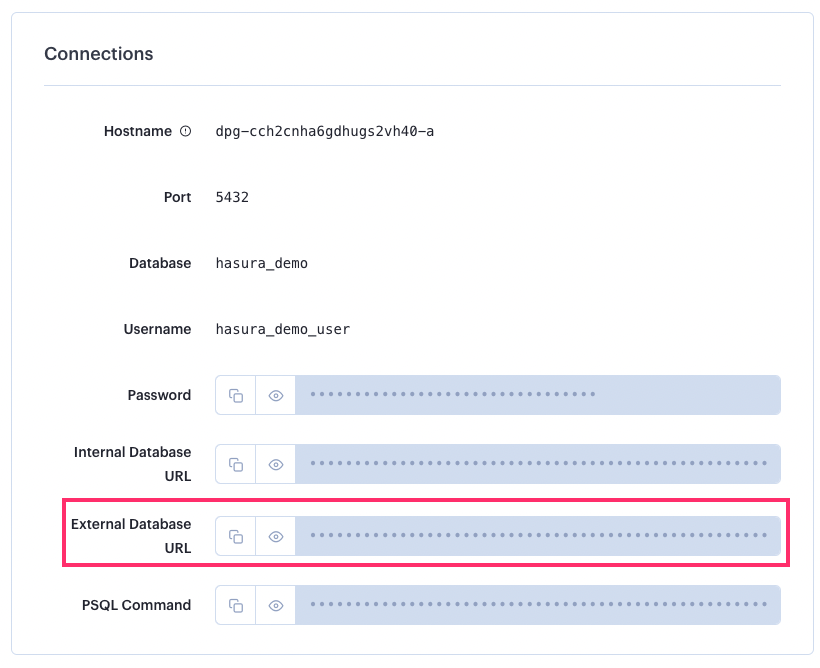
There's one more important detail when connecting to a production database over the internet: SSL (Secure Sockets Layer). This encrypts the connection between your app and the database, preventing eavesdropping. Neon requires SSL, and we need to configure our pg library in Node.js to handle it correctly.
How to Deploy a PERN Stack App (PostgreSQL, Express, React, Node.js) | Render + Neon
Let's make the final connection. The video explains how to modify your backend's database configuration to use the new Neon connection string and correctly configure SSL for production.
Watch from 10:55 to 13:45. The key steps are: Go to your Web Service settings on the Render dashboard. Navigate to the Environment tab. Update the DATABASE_URL environment variable with the full connection string from Neon. Modify your backend/db.js file to include the ssl configuration object as shown in the video: ssl: { rejectUnauthorized: false }. This is often necessary when deploying on platforms like Render to ensure the SSL connection is accepted. After making the code change, commit and push it to GitHub. Render will automatically redeploy your backend. Once the deployment is live, your application will be using the new, permanent Neon database.
Your pg pool configuration in db.js should now look something like this, dynamically enabling SSL only for production:
// A robust way to configure the pool
const isProduction = process.env.NODE_ENV === 'production';

const connectionString = process.env.DATABASE_URL;

const pool = new Pool({
  connectionString: connectionString,
  ssl: isProduction ? { rejectUnauthorized: false } : false
});
Make sure you have a NODE_ENV=production environment variable set in your Render service for this logic to work.
Conclusion
In this lesson, you've taken a significant step toward a more professional and robust deployment strategy. You moved beyond the convenience of an integrated database to provision, migrate, and connect to a dedicated, serverless provider.
Key Takeaways:
- Dedicated database providers like Neon offer benefits such as permanent free tiers and platform independence.
- The process of migrating data from a local to a cloud database is a common and critical task, often done via a backup and restore workflow.
- Tools like PGAdmin are invaluable for managing both local and remote PostgreSQL databases.
- Connecting your deployed application to a new database is as simple as updating the
DATABASE_URLenvironment variable on your hosting platform (Render). - Production database connections must be secure, often requiring SSL configuration in your application code.
Preview of the Next Lesson:
With your application fully deployed and connected to a production database, you might still encounter issues. One of the most common is the Cross-Origin Resource Sharing (CORS) error. In the next lesson, we will explore why this happens in a production environment and how to configure your backend to handle CORS correctly, ensuring your frontend can reliably communicate with your API.