Hello! In our last lesson, you were introduced to the React Context API as a powerful tool for managing global state and avoiding the "prop drilling" anti-pattern. We covered the fundamental concepts: creating a context, providing a value, and consuming it with the useContext hook. We also discussed the best practice of encapsulating your context logic.
Today, we're going to put that best practice into action. Your goal for this lesson is to create a dedicated context provider to share state (like a theme) across the entire component tree. This is the standard, professional pattern for using Context in real-world applications. By creating a self-contained provider, you make your state logic cleaner, more reusable, and easier to manage.
We will build a theme switcher from scratch, which will involve:
- Creating a
ThemeContextfile to hold all related logic. - Building a
ThemeProvidercomponent that manages the theme state ('light'or'dark') and provides it to its children. - Creating a custom
useThemehook for clean and easy consumption of the context. - Integrating this system into a sample application to see it work.
The Standard Pattern: A Dedicated Provider Component
In the last lesson, we saw examples where state and the Provider were placed directly inside the main App.js component. While this works for small demos, it has several drawbacks in larger projects:
- Clutters
App.js: Your main application component becomes bloated with state management logic, making it harder to read and understand. - Poor Reusability: The state logic is tied directly to
App.js. You can't easily reuse this theme functionality in another project or even another part of the same app. - Separation of Concerns: A core principle in software engineering is to separate different parts of your application based on their responsibility. UI components should focus on rendering UI, and state logic should be managed separately.
The solution is to create a dedicated component whose only job is to provide the context and manage its state. This component encapsulates all the logic, keeping it clean and portable.
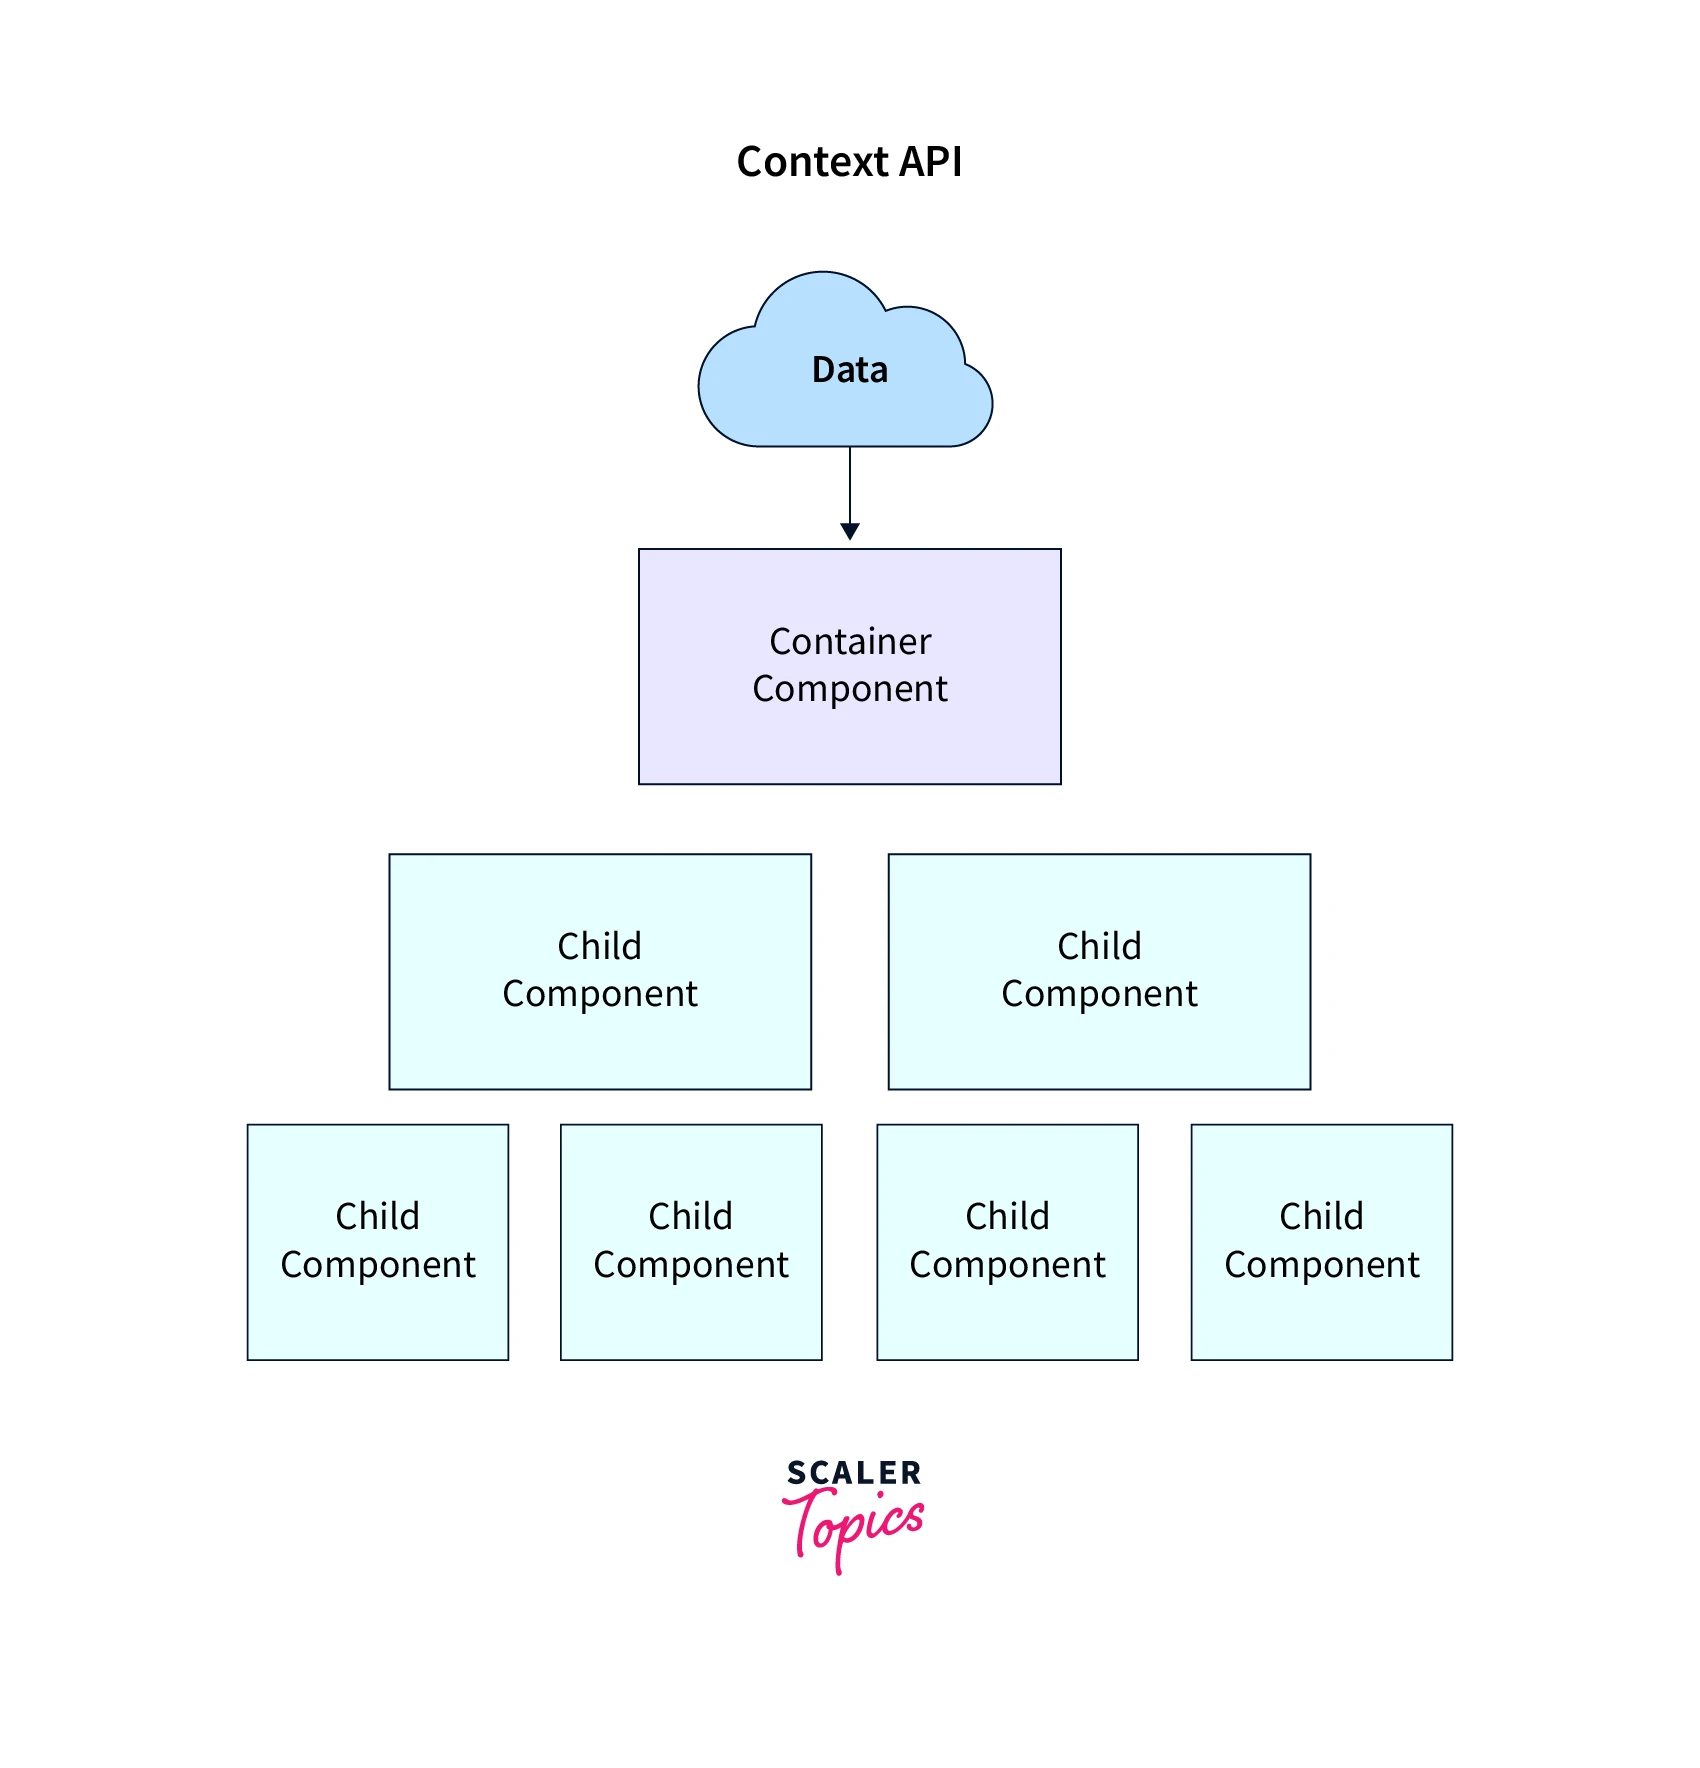
Step-by-Step: Building a Reusable ThemeProvider
We'll now build a complete theme context system. This involves creating the context, building the provider component that manages the state, and creating a custom hook to make consuming the context simple.
The following article provides an excellent step-by-step guide to building exactly this.
How to Create a Theme-Switching App using React Context.
The freeCodeCamp article 'How to Use React Context' has a fantastic section that walks through creating a theme-switching app. It demonstrates the exact professional pattern we are learning today.
Please read the section titled 'How to Create a Theme-Switching App using React Context'. Pay close attention to how the ThemeContext.js file is structured. Notice it contains three key parts: the context creation, the provider component, and a custom hook.
Let's break down the code from that article. This pattern is one you will use frequently.
1. Create the Context (createContext)
First, we create the context object itself. This is the channel our components will use to communicate.
// src/context/ThemeContext.js
import React, { createContext, useContext, useState } from 'react';

// Step 1: Create the context
const ThemeContext = createContext();
createContext() can take a default value, but we'll be providing a value higher up the tree, so we can leave it empty for now.
2. Create the Provider Component (ThemeProvider)
This is the core of our system. It's a React component that will hold the state and wrap the parts of our application that need access to it.
// src/context/ThemeContext.js (continued)

// Step 2: Create the provider component
const ThemeProvider = ({ children }) => {
  const [theme, setTheme] = useState('light');

  const toggleTheme = () => {
    setTheme((prevTheme) => (prevTheme === 'light' ? 'dark' : 'light'));
  };

  return (
    <ThemeContext.Provider value={{ theme, toggleTheme }}>
      {children}
    </ThemeContext.Provider>
  );
};
Notice what's happening here:
- It accepts
childrenas a prop. This is crucial because it allows us to wrap other components. - It uses
useStateto manage the actual theme state. - It defines a
toggleThemefunction to modify that state. - It passes an object
{ theme, toggleTheme }to thevalueprop. This makes both the current theme and the function to change it available to all consumers.
3. Create a Custom Hook (useTheme)
This step is a massive quality-of-life improvement. Instead of requiring every component to import useContext and ThemeContext, we create a simple custom hook that does it for them.
// src/context/ThemeContext.js (continued)

// Step 3: Create the custom hook for easy consumption
const useTheme = () => {
  return useContext(ThemeContext);
};

// Don't forget to export!
export { ThemeProvider, useTheme };
Now, any component that wants to access the theme context only needs to call useTheme(). This is cleaner and less error-prone.
To see this all put together in a live coding format, the following short video is an excellent visual guide.
Explained in the fastest way: React Context API
This video from onjsdev provides a very quick and clear demonstration of building a theme provider, very similar to the article you just read. Watching someone code it can help solidify your understanding.
Watch from 00:58 to 03:02. This covers: Creating the ThemeContext.js file and the ThemeProvider component. Wrapping the main app with the provider. Consuming the context in child components.
Integrating and Using Your Provider
Now that you have your ThemeProvider and useTheme hook, using them is straightforward.
First, wrap your application with the provider. This is typically done in your App.js or index.js file, ensuring the entire component tree can access the context.
// src/App.js
import React from 'react';
import { ThemeProvider } from './context/ThemeContext';
import HomePage from './components/HomePage';
import Navbar from './components/Navbar';

function App() {
  return (
    <ThemeProvider>
      <Navbar />
      <HomePage />
      {/* Other components like Footer would also go here */}
    </ThemeProvider>
  );
}

export default App;
Next, consume the context in any child component using your custom hook.
Here's an example of a Navbar component with a theme-toggle button:
// src/components/Navbar.js
import React from 'react';
import { useTheme } from '../context/ThemeContext';

const Navbar = () => {
  // Use the custom hook to get the theme and toggle function
  const { theme, toggleTheme } = useTheme();

  const navStyle = {
    background: theme === 'light' ? '#eee' : '#222',
    color: theme === 'light' ? '#000' : '#fff',
    padding: '1rem',
    textAlign: 'right',
  };

  return (
    <nav style={navStyle}>
      <button onClick={toggleTheme}>
        Switch to {theme === 'light' ? 'Dark' : 'Light'} Mode
      </button>
    </nav>
  );
};

export default Navbar;
When the button is clicked, it calls toggleTheme, which updates the state in ThemeProvider. React then automatically re-renders the Navbar (and any other component using the context) with the new theme value, and the styles change instantly.
Test your understanding!
Imagine you have a Footer.js component inside your ThemeProvider. Write the code for this component so that its background color also changes with the theme. It doesn't need a button.
Show answer
// src/components/Footer.js
import React from 'react';
import { useTheme } from '../context/ThemeContext';

const Footer = () => {
  // 1. Consume the context using the custom hook
  const { theme } = useTheme();

  // 2. Define styles based on the theme
  const footerStyle = {
    background: theme === 'light' ? '#f8f8f8' : '#1c1c1c',
    color: theme === 'light' ? '#000' : '#fff',
    padding: '1rem',
    textAlign: 'center',
    position: 'fixed',
    bottom: 0,
    width: '100%',
  };

  return (
    <footer style={footerStyle}>
      <p>My Awesome App Footer</p>
    </footer>
  );
};

export default Footer;
This demonstrates how any component can easily subscribe to the global theme state without any props being passed down.
Conclusion
You have now successfully implemented one of the most common and important patterns in modern React development. Creating a dedicated provider component is the de facto standard for managing global state with the Context API.
Key Takeaways:
- The standard pattern for using Context is to create a dedicated provider component that encapsulates state logic (
useState) and a custom hook for consumption. - This pattern promotes separation of concerns, making your
App.jscleaner and your state logic reusable and testable. - The workflow is:
createContext()to establish the context channel.- Build a
<MyProvider>component that usesuseStateand passes the state and update functions via thevalueprop. - Wrap your application tree (or a part of it) with
<MyProvider>. - Use a custom hook (
useMyContext) in any child component to easily access the global state.
This skill is not just for themes. As we move forward, we'll use this exact pattern to manage the currently logged-in user, which is a cornerstone of building full-stack applications.
Preview of the Next Module:
We are about to make a significant shift. So far, we've focused entirely on the client-side with React. In the next module, Backend Foundations with Node.js & Express, you will step into the world of server-side development. You'll learn how to build the APIs that your React applications will communicate with to fetch, create, and update data. The context management skills you've just honed will be essential for handling user authentication data on the frontend once we connect it to our new backend.