Hello! In our last lesson, you did an excellent job of hardening our API by implementing server-side validation with express-validator. Your API is now not only functional, with complete CRUD operations, but also robust, ensuring data integrity by rejecting invalid inputs.
This lesson is the final, crucial step in our API development module. Our learning outcome is to test all API endpoints using a client tool like Postman or Thunder Client. We'll move from developing the API to verifying that every single part of it works exactly as we expect. This is a standard and essential practice for all backend and full-stack developers.
Why Do We Need a Special Tool for API Testing?
So far, you might have been testing your GET routes by visiting URLs in your browser. But how do you test POST, PUT, or DELETE requests? Or send a JSON payload in the request body? A browser can't do this easily.
This is where API clients come in. They are applications designed specifically to create and send any kind of HTTP request and to inspect the server's response in detail. They are an indispensable part of a developer's toolkit.
Choosing Your API Client: Postman vs. Thunder Client
There are many great API clients, but two are extremely popular in the web development world:
- Postman: The industry standard. It's a powerful, standalone application with a vast feature set, including collaboration, monitoring, and advanced automation.
- Thunder Client: A lightweight and fast alternative that runs directly inside VS Code as an extension. It's very convenient if you prefer to stay within your code editor.
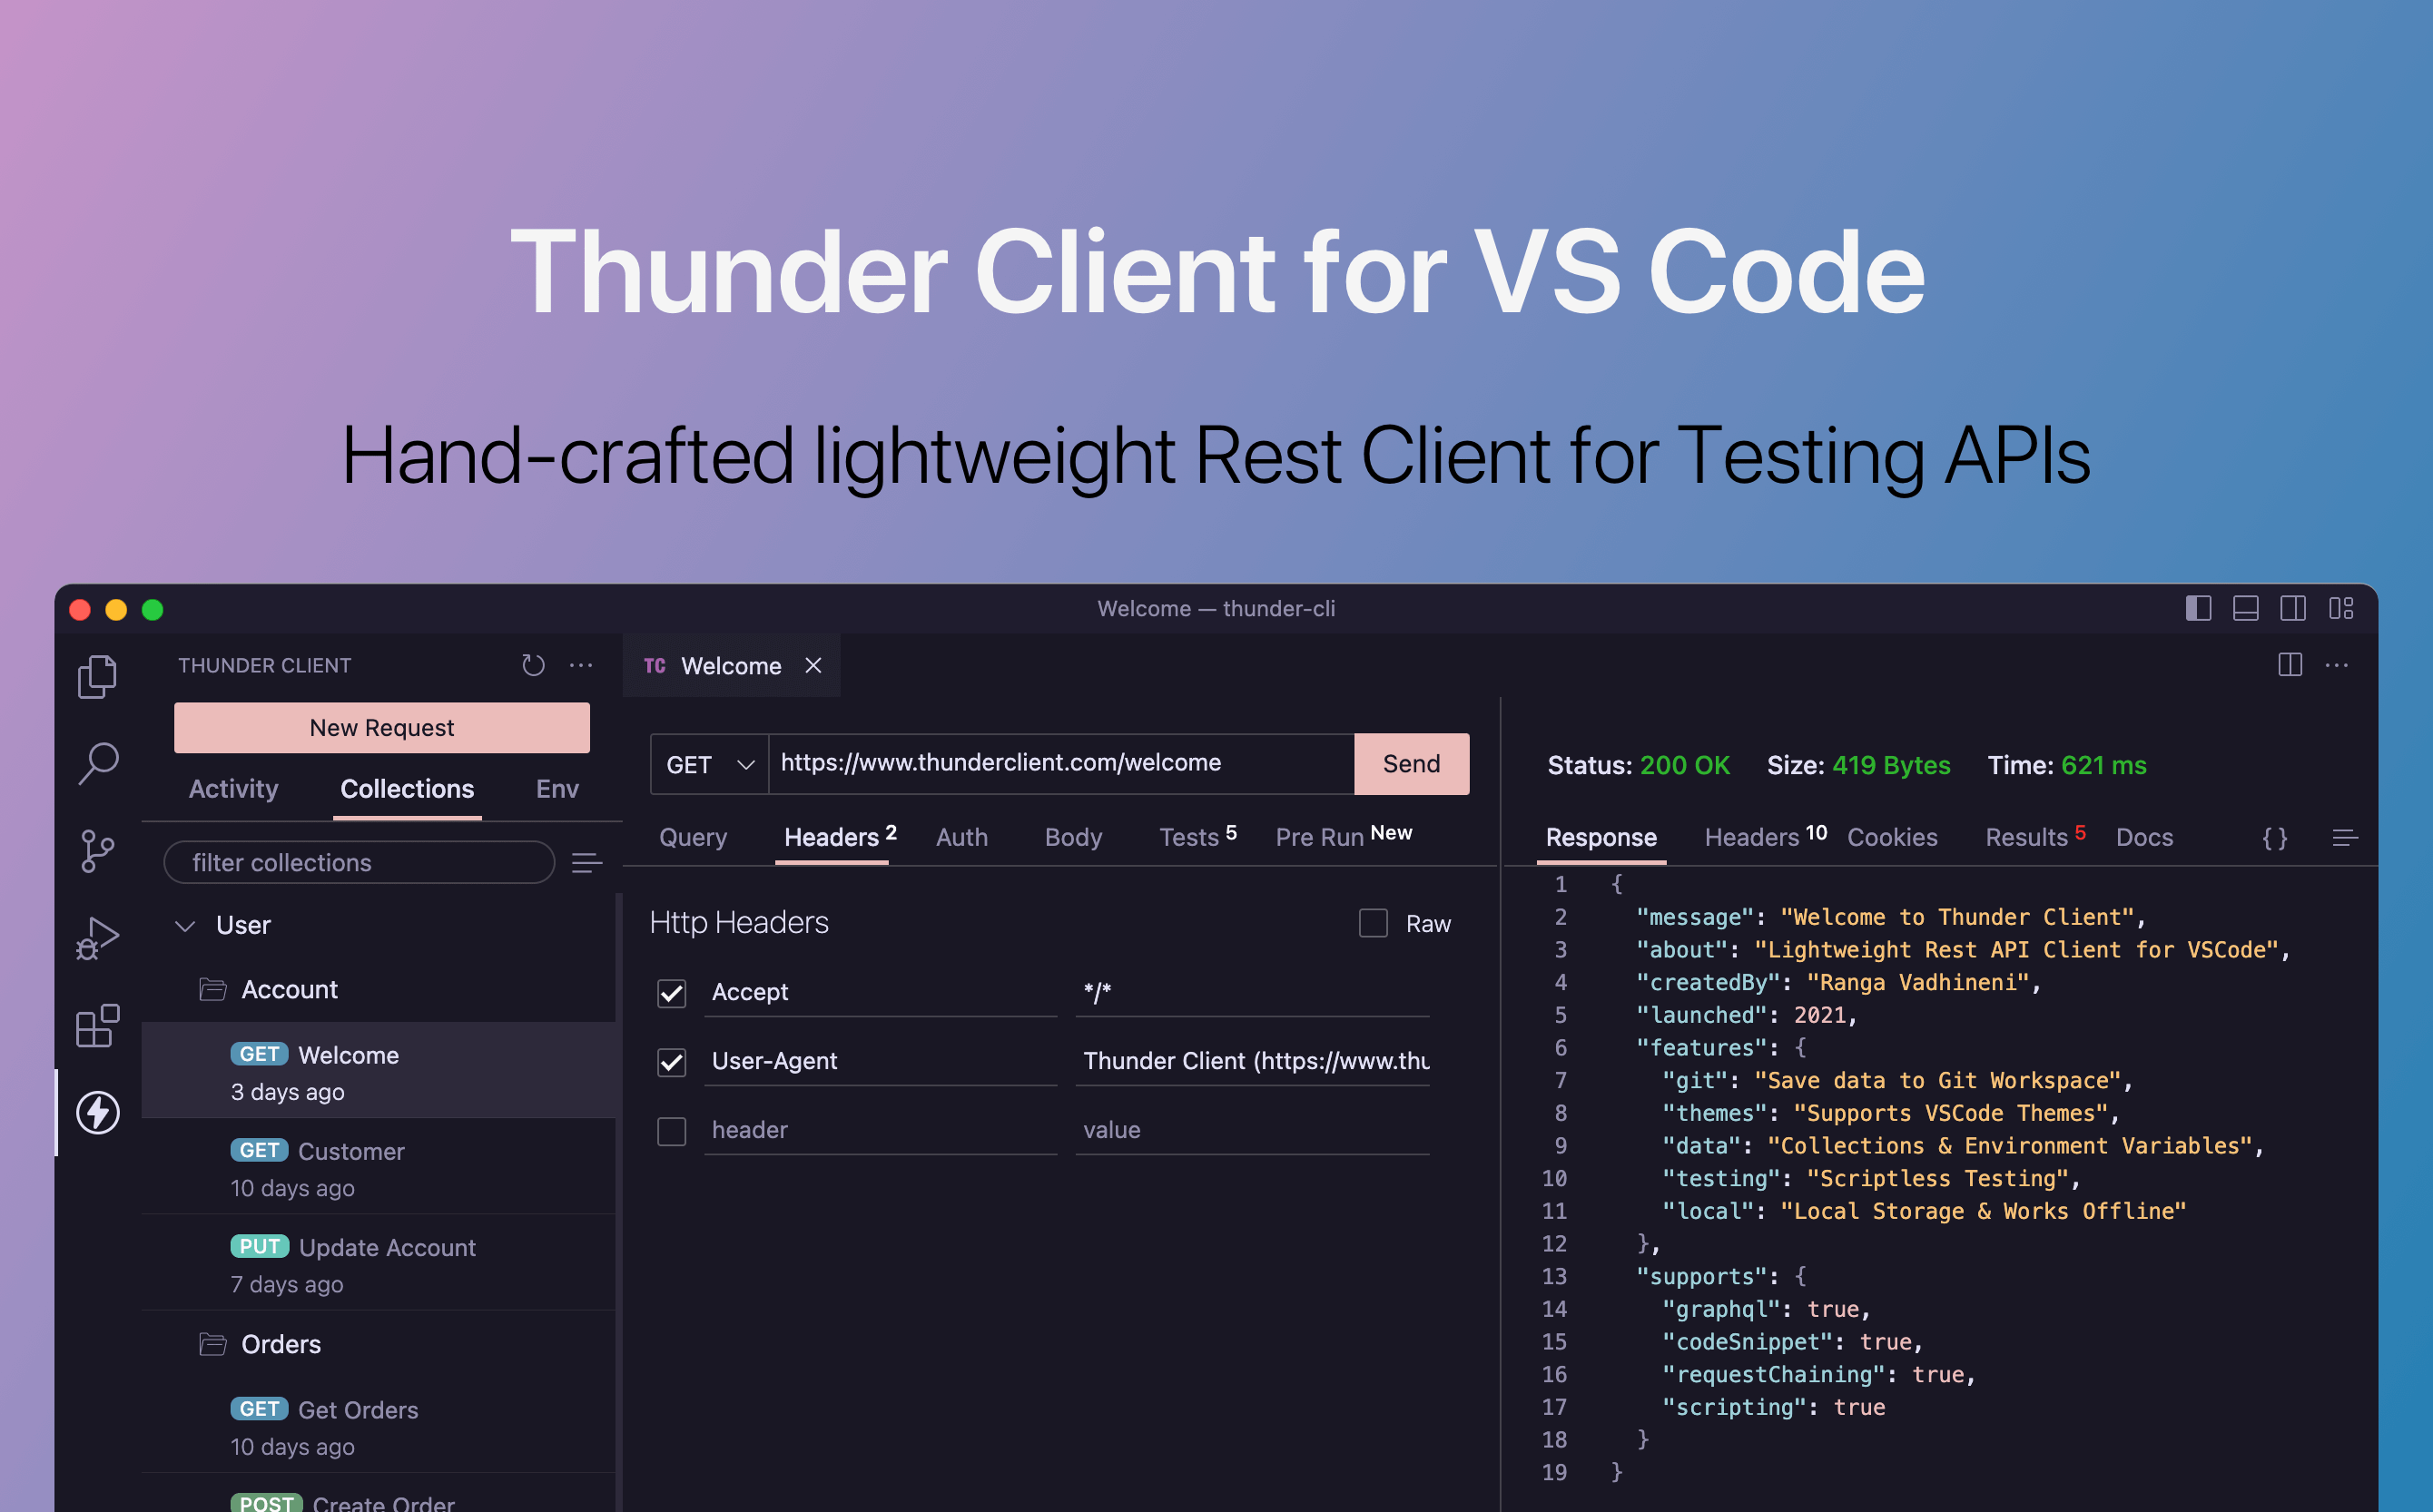
For this course, we'll focus our examples on Postman as it's the tool you are most likely to encounter in a professional environment. However, the concepts are identical, and you can easily follow along using Thunder Client if you prefer its integration with VS Code.
If you don't have Postman, please download and install it from their official website. The dev.to article we will use shortly has a link to it.
Getting Started: A Tour of Postman
Before we test our own API, let's get comfortable with the Postman interface. The best way to learn is by seeing it in action.
Learn Postman for API Testing (Step-by-Step Tutorial)
This video, 'Learn Postman for API Testing', provides an excellent step-by-step introduction to the Postman interface. We'll watch a section that covers creating and sending your first GET request.
Watch from 17:08 to 25:10. The video uses a public sample API. Don't worry about the specifics of that API; instead, focus on understanding the Postman UI: How to create a new request. Where to enter the URL. How to select the HTTP method (GET, POST, etc.). Where to find the 'Send' button. How to view the response (status code, body, headers).
Setting Up Your Testing Workspace
Now, let's apply what you've seen to our project.
- Start Your Server: Open your terminal, navigate to your project directory, and run
npm start(ornpm run devif you're usingnodemon) to get your Express API server running. - Open Postman: Launch the Postman application.
- Create a Collection: In Postman, a "Collection" is a folder for organizing your API requests. It's a best practice to create a collection for each project.
- Click the
+icon in the left sidebar or the "Create Collection" button. - Give your collection a descriptive name, like "User Management API".
- Click the
We will now add requests to this collection for each of our API's endpoints.
Testing the User API: A Systematic Approach
We will test every endpoint you've built. For each one, we'll verify three things:
- The Success Case: Does it work correctly with valid input?
- The Error Case: Does it fail gracefully with bad input (e.g., trying to get a user that doesn't exist)?
- The Validation Case: Does it reject invalid data as defined by your
express-validatorrules?
This dev.to article provides a fantastic, concise guide with screenshots for testing a simple Node.js API, which is very similar to what we need to do.
How to Build a RESTful API in Node.js and Test it with Postman
Let's read the 'Testing with Postman' section from the article 'How to Build a RESTful API in Node.js and Test it with Postman'. This will serve as our primary guide for the next steps.
Read the entire 'Testing with Postman' section. It walks through making POST, GET, PUT, and DELETE requests. Pay close attention to the screenshots and how the request body is configured for the POST and PUT requests.
Now, let's execute these tests on your API.
1. POST /api/user (Create a New User)
This endpoint creates a new user. It requires a POST request with a JSON body containing a name and email.
A. The Success Case
- In Postman, click the
+to create a new request. - Change the HTTP method to POST.
- Enter the URL:
http://localhost:3000/api/user(ensure your port number is correct). - Go to the Body tab, select raw, and choose JSON from the dropdown.
- In the text area, enter a valid user object:
{ "name": "Alice", "email": "alice@example.com" } - Click Send.
- Expected Result: You should see a
201 Createdstatus, and the response body should contain the new user object, including a database-generatedid. Make a note of thisid! We will need it for the next tests.
B. The Validation Case
- Now, modify the request body to be invalid. For example, use an invalid email:
{ "name": "Bob", "email": "bob@invalid" } - Click Send.
- Expected Result: You should see a
400 Bad Requeststatus, and the response body should contain the error array fromexpress-validator, explaining why the email is invalid.
This confirms your validation logic from the last lesson is working correctly!
2. GET /api/users (Get All Users)
- Create a new request.
- Method: GET
- URL:
http://localhost:3000/api/user - Click Send.
- Expected Result: A
200 OKstatus. The response body should be a JSON array containing the user(s) you've created so far.
3. GET /api/user/:id (Get a Single User)
A. The Success Case
- Create a new request.
- Method: GET
- URL:
http://localhost:3000/api/user/1(replace1with theidof the user you created). - Click Send.
- Expected Result: A
200 OKstatus, with the single user object for Alice in the response body.
B. The Error Case (Not Found)
- Change the ID in the URL to one that doesn't exist, like
999. - Click Send.
- Expected Result: A
404 Not Foundstatus, with the error message you configured in your controller.
4. PUT /api/user/:id (Update a User)
This is similar to the POST request. It needs a method, a URL with an ID, and a request body.
A. The Success Case
- Create a new request.
- Method: PUT
- URL:
http://localhost:3000/api/user/1(use Alice's ID). - Go to the Body tab, select raw and JSON.
- Enter the updated data:
{ "name": "Alice Smith", "email": "alice.smith@example.com" } - Click Send.
- Expected Result: A
200 OKstatus, with the fully updated user object in the response. You can verify the update by running theGET /api/user/1request again.
5. DELETE /api/user/:id (Delete a User)
A. The Success Case
- Create a new request.
- Method: DELETE
- URL:
http://localhost:3000/api/user/1(use Alice's ID). - Click Send.
- Expected Result: A
200 OKstatus and the success message from your controller.
B. Verify the Deletion
- Go back to your
GET /api/user/1request and click Send again. - Expected Result: Now, you should get a
404 Not Foundstatus, because the user has been deleted. This confirms theDELETEoperation worked.
Test your understanding!
After deleting a user, what would you expect to happen if you immediately try to send the exact same DELETE request again for the same ID? What status code and response body should your API return?
Show answer
You should expect a 404 Not Found status. The first DELETE request succeeded, so the user no longer exists. The second DELETE request is trying to operate on a resource that isn't there, which is precisely what the 404 status code is for. Your API's error handling for "user not found" in the deleteUser controller would be triggered.
Beyond Manual Testing: Automating Tests in Postman
Manually clicking "Send" and checking the response is great, but it can be repetitive. Postman has a powerful "Tests" feature that lets you write JavaScript code to automatically verify the response. Your background in programming will make this feature feel very intuitive. It's conceptually similar to writing unit tests.
Learn Postman for API Testing (Step-by-Step Tutorial)
The 'Learn Postman for API Testing' video has a great segment on this. It shows how to use the 'Tests' tab to write simple assertions.
Watch from 1:31:59 to 1:35:21. Focus on the syntax for writing a test and where the test results appear.
Let's add a simple test to our GET /api/users request.
- Open the
GET /api/usersrequest in Postman. - Go to the Tests tab.
- On the right side, there's a list of "Snippets". Click on "Status code: Code is 200". Postman will automatically add the following code:
pm.test("Status code is 200", function () { pm.response.to.have.status(200); }); - Let's add another test to verify that the response body is an array. Type this below the first test:
pm.test("Response body is an array", function () { const jsonData = pm.response.json(); pm.expect(jsonData).to.be.an('array'); }); - Now, click Send. Look at the response pane. You should now see a Test Results tab showing that both of your tests have passed.
This is just scratching the surface, but it demonstrates how you can build a reliable, automated test suite for your API directly within Postman, which is a massive step towards professional-grade development.
Conclusion
Excellent work! You have now mastered a fundamental skill for any developer working with APIs. You can systematically and efficiently test every aspect of a RESTful service, ensuring it's behaving exactly as designed.
Key Takeaways:
- API client tools like Postman and Thunder Client are essential for testing endpoints that can't be accessed by a browser.
- Collections are used to organize requests for a specific project.
- A thorough testing strategy involves checking for success cases, predictable error cases (like
404 Not Found), and expected validation failures (like400 Bad Request). - The
Bodytab in Postman is used to send JSON payloads forPOSTandPUTrequests. - Postman's Tests tab allows you to write JavaScript assertions to automate the verification of responses, leveraging your existing programming skills.
Preview of the Next Lesson:
Our backend API for managing users is now complete, validated, and tested. We're ready to tackle the next major piece of a real-world application: security. In the next lesson, we will begin our journey into Full-Stack User Authentication. We'll start by explaining the theory behind the modern, token-based authentication flow using JSON Web Tokens (JWT).