Hello! In our previous lesson, we built an endpoint to retrieve a single user by their ID, covering route parameters and the SQL WHERE clause. You've now mastered the "Read" part of CRUD for both collections and single items.
Today, we're moving on to the "C" in CRUD: Create. You'll learn how to build an API endpoint that accepts data from a client and uses it to create a new record in your database. This is the foundation for features like user registration, posting a new blog entry, or adding a product to a catalog.
Our learning outcome for this lesson is to implement a POST endpoint to create a new record in the database from request data. We'll create a POST /api/user endpoint that takes user data (like a name and email) and adds a new user to our users table.
The Anatomy of a POST Request
So far, you've only used the GET HTTP method, which is designed for retrieving data. To create data, we use the POST method. The key difference is that POST requests carry a payload of data in their body.
- HTTP
POSTMethod: This verb tells the server that the client wants to send data to create a new resource at the specified URL (e.g.,/api/user). - Request Body: This is where the data for the new user lives. When a client (like a frontend application or Postman) sends a
POSTrequest, it includes the data for the new user, usually formatted as JSON. - Middleware for Parsing: Express doesn't automatically understand the JSON in the request body. We need to use the
express.json()middleware, which you likely set up in your mainindex.jsfile. This middleware intercepts the request, parses the JSON body, and makes it available in your controller asreq.body.
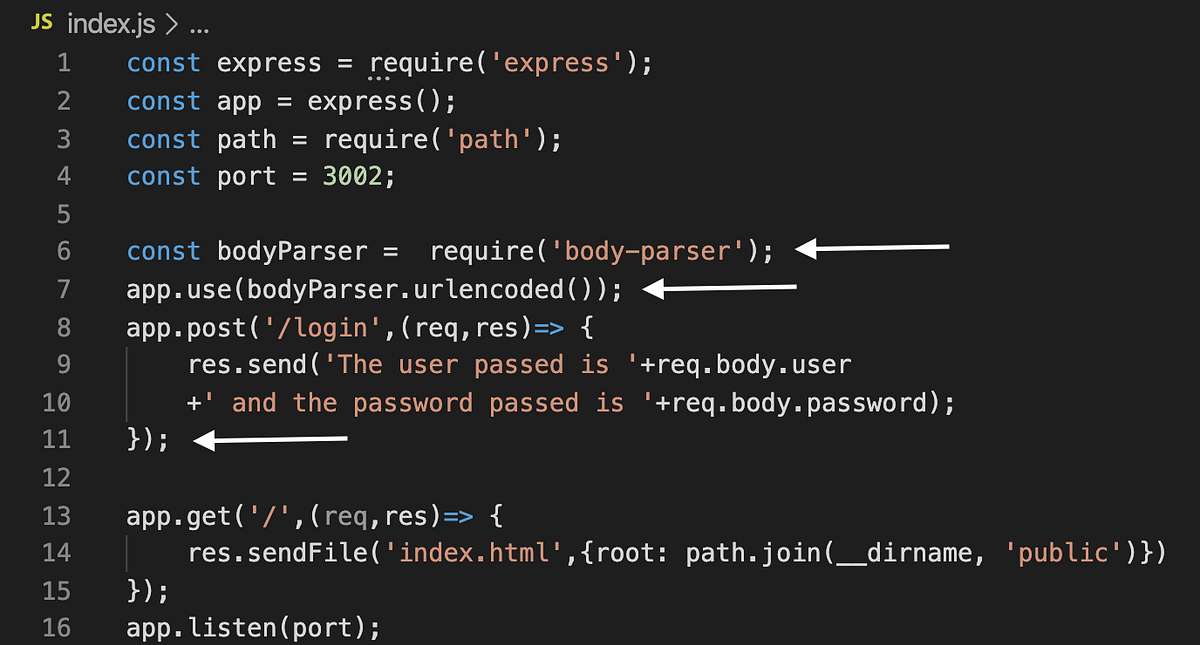
Let's implement this step-by-step in our project.
Step 1: Defining the POST Route
First, we need to add a new route definition that listens for POST requests on the /api/user path.
Build a CRUD Rest API with Node.js, Express, PostgreSQL & Docker
We'll start by adding the route definition to your userRoutes.js file. We can refer back to the video by Dipesh Malvia where all the routes were initially laid out.
Watch from 22:33 to 25:04. You've already done this for your GET routes, but now focus on or add this line to your routes/userRoutes.js file: router.post('/user', createUser); This tells the Express router to direct any POST requests for /api/user to a controller function named createUser, which we will build next.
Step 2: The Service: Inserting Data with SQL
Now for the database logic. Our service function will take the new user's data, construct a SQL INSERT query, and execute it. We'll continue to use parameterized queries to prevent SQL injection.
The SQL syntax for creating a record is INSERT INTO table_name (column1, column2) VALUES ($1, $2);.
A powerful feature of PostgreSQL is the RETURNING clause. By adding RETURNING * to our INSERT statement, we can make the database return the complete row that was just created, including its new, auto-generated id. This is incredibly useful because the client often needs to know the ID of the resource it just created.
Build a CRUD Rest API with Node.js, Express, PostgreSQL & Docker
Let's build the createUserService function. This video clip shows exactly how to write the service that handles the SQL INSERT operation.
Watch from 29:53 to 31:00. Pay close attention to these key elements: The Function Signature: The service takes name and email as arguments. The SQL Query: INSERT INTO users (name, email) VALUES ($1, $2) RETURNING *. Parameterized Values: The [name, email] array is passed to pool.query() to safely substitute the values for $1 and $2. The Return Value: The function returns the result of the query, which, thanks to RETURNING *, will be the newly created user object.
For a quick text reference, the core function for creating a user looks like this. Notice how the name and email are extracted from the request body and then passed as parameters to the query.
CRUD REST API with Node.js, Express, and PostgreSQL
The LogRocket article "CRUD REST API with Node.js, Express, and PostgreSQL" provides a concise text example of this same INSERT logic.
Read the short subsection titled POST a new user. It shows how to extract name and email from request.body and use them in an INSERT statement. This reinforces the concept shown in the video.
Step 3: The Controller: Handling the Request and Response
The controller ties everything together. It extracts data from req.body, calls the service, and sends back the correct response.
For a successful creation, the standard HTTP status code is 201 Created. It's better than a generic 200 OK because it's more specific. We'll send this status along with the data for the newly created user (which we get back from our service thanks to RETURNING *).
Build a CRUD Rest API with Node.js, Express, PostgreSQL & Docker
Now, let's create the createUser controller function that orchestrates the process.
Watch from 34:16 to 35:37. This segment demonstrates how to: Destructure Data: Get name and email from req.body. Use a try...catch Block: A best practice for handling potential errors from asynchronous operations like database queries. Call the Service: await createUserService(name, email). Send the Response: Use your handleResponse function (or res.status(201).json(...)) to send a 201 Created status and the new user data back to the client.
Test your understanding!
What do you think would happen if you forgot to include app.use(express.json()); in your main index.js file and then tried to create a user? What would the value of req.body be inside your controller?
Show answer
If you forget app.use(express.json());, the req.body object would be undefined. When your controller tries to destructure name and email from undefined, your application would throw a TypeError. This is a common bug, and it highlights the crucial role of middleware in an Express application.
Step 4: Testing Your New Endpoint
You can't test a POST request with a web browser's address bar. You need an API client like Postman or Thunder Client.
To test your new endpoint:
- Open your API client.
- Set the HTTP method to POST.
- Enter the URL:
http://localhost:5001/api/user. - Go to the "Body" tab and select "JSON".
- Enter the data for your new user, like this:
{ "name": "Ada Lovelace", "email": "ada@example.com" } - Send the request. You should get a
201 Createdstatus back, along with the full user object, including its new ID.
Build a CRUD Rest API with Node.js, Express, PostgreSQL & Docker
This clip demonstrates exactly how to test your new POST endpoint using an API client.
Watch from 43:56 to 44:43. The presenter uses Thunder Client to send a POST request with a JSON body. Replicate this process to create a few new users with your own API.
After creating a user, you can also use your GET /api/users endpoint from the previous lesson to verify that the new user now appears in the full list!
Level Up: Server-Side Input Validation
What if a user tries to register with an empty name or an invalid email address? Our current code would happily insert that "bad" data into our database. This is where server-side validation comes in. It's a critical practice for ensuring data integrity and security.
A popular library for this is Joi. It allows you to define a "schema" for your expected data and validates the incoming req.body against it before your controller logic even runs.
Build a CRUD Rest API with Node.js, Express, PostgreSQL & Docker
This is an important concept for building professional, robust applications. Let's look at how you can add validation to your create user endpoint.
Watch from 47:13 to 52:01. You don't have to implement this right now, but understand the concept: Define a Schema: A schema is created using Joi that specifies the rules (e.g., name must be a string with a minimum length, email must be a valid email format). Create a Middleware: The validation logic is wrapped in an Express middleware function. Apply the Middleware: This middleware is added to the route definition, right before the controller function. If validation fails, the middleware sends a 400 Bad Request error and stops the request from ever reaching the controller. If it passes, it calls next() to proceed to the controller.
Adding validation makes your API much more robust and is a standard expectation in professional software engineering.
Conclusion
Fantastic! You have now implemented the "Create" and "Read" operations for your API. You can list all users, get a specific user, and now, add new users to the system.
Key Takeaways:
POSTMethod: Used to send data to a server to create a new resource.req.body: Contains the data payload of an incomingPOSTrequest, parsed by middleware likeexpress.json().INSERT INTO: The SQL command for adding a new row to a database table.RETURNING *: A useful PostgreSQL clause to get the newly created record back in one step.201 Created: The standard, more specific HTTP status code for a successful creation.- Validation: Server-side validation is crucial for maintaining data integrity and is a professional best practice.
Preview of the Next Lesson:
We've covered 'C' and 'R' in CRUD. Next, we'll tackle 'U'—Update. You will learn how to implement a PUT/PATCH endpoint to update an existing record, allowing you to modify user information through the API.