Hello! Welcome to the final lesson of our "Deep Learning Foundations" module.
In our last lesson, we covered the essential skill of saving, loading, and checkpointing models. We ended by discussing how to load models onto different devices, like a GPU-trained model onto a CPU, using the map_location argument. That discussion was a perfect setup for today's topic.
This lesson is all about speed. Training deep neural networks, especially on large datasets, can be incredibly slow on a standard CPU. We will learn how to use GPU acceleration for training deep learning models, a technique that is fundamental to modern AI development. By the end of this lesson, you'll understand why GPUs are so effective and how to modify your PyTorch code to take advantage of them.
1. Why Use a GPU? CPU vs. GPU Architecture
At the heart of your computer is a Central Processing Unit (CPU), a marvel of engineering designed to be a flexible, powerful taskmaster. A GPU, or Graphics Processing Unit, is a different kind of beast. While a CPU has a few highly capable cores that execute tasks sequentially at great speed, a GPU has thousands of simpler cores designed to perform the same operation simultaneously on many different pieces of data.
To understand the difference, let's start with a short, conceptual video.
CUDA Simply Explained - GPU vs CPU Parallel Computing for Beginners
This video from Python Simplified provides an excellent, beginner-friendly explanation of what CUDA is and the fundamental architectural differences between CPUs and GPUs.
Watch the video from the beginning to 05:44. Focus on: The role of the CPU as a manager for sequential tasks. The role of the GPU as a parallel processor with thousands of cores. Why the massive parallelism of GPUs is so well-suited for tasks like machine learning.
The key takeaway is that the core mathematical operations in deep learning, like matrix multiplications and convolutions, are inherently parallel. A GPU can perform these operations across an entire batch of data at once, leading to massive speedups compared to a CPU, which would have to process them one by one. CUDA is the platform created by NVIDIA that allows us to write code that runs on their GPUs.
2. Setting Up Your Code for GPU Execution
Before you can use a GPU, your code needs a way to detect if one is available and direct computations to it. The best practice is to write device-agnostic code that can run on systems with or without a GPU.
This is achieved with a simple but powerful pattern in PyTorch.
How to use GPU acceleration in PyTorch?
This article from GeeksforGeeks provides a clear, concise guide on the setup process. We'll focus on the initial steps for checking compatibility and configuring the device.
Read the section 'Setting Up PyTorch for GPU Acceleration'. Pay close attention to the code snippets for checking GPU availability with torch.cuda.is_available() and for configuring the device object.
The standard convention is to create a device object at the beginning of your script. This object will represent either the GPU (if available) or the CPU.
import torch


# Set device to GPU if available, otherwise CPU
device = torch.device("cuda" if torch.cuda.is_available() else "cpu")

print(f"Using device: {device}")


# If you have a compatible NVIDIA GPU and the correct PyTorch version,
# this will print: "Using device: cuda"
# Otherwise, it will print: "Using device: cpu"
By defining device this way, the rest of your code doesn't need to have hardcoded references to "cuda" or "cpu". You can simply use this device variable, making your code portable and robust.
3. Moving Models and Data to the Device
Now that we have our device object, we need to tell PyTorch to use it. The fundamental rule of GPU computing in PyTorch is:
All data and model parameters involved in a single operation must reside on the same device.
If you try to perform an operation between a tensor on the CPU and a tensor on the GPU, PyTorch will raise a RuntimeError.
The .to() method is your tool for moving objects to the correct device.
my_tensor.to(device)returns a copy ofmy_tensoron the target device.my_model.to(device)moves all of the model's parameters and buffers to the target device in-place.
Let's see this in action.
PyTorch on the GPU - Training Neural Networks with CUDA
This deeplizard video gives a fantastic, hands-on demonstration of moving tensors and models between the CPU and GPU. It clearly shows the errors that occur when devices are mismatched.
Watch the segments from 01:02 to 08:35. Pay close attention to: How to move a tensor and a network to the GPU using .to('cuda') or .cuda(). The error that occurs when you try to add two tensors on different devices. The explanation that moving a 'network' really means moving its underlying parameter tensors. The error that happens when you pass CPU data to a GPU model.
This is one of the most common sources of bugs for beginners using GPUs. Always remember to check that your model and the data you're feeding it are on the same device. The article "Mastering PyTorch .to(device)" (LINK) has a useful debugging tip:
# Assuming 'data' is your input tensor and 'model' is your network
assert data.device == next(model.parameters()).device, "Data and model are on different devices!"
Using an assertion like this can save you hours of debugging.
4. Modifying the Training Loop for GPU Acceleration
We now have all the pieces to adapt our training loop. The process is straightforward:
- Define the
deviceat the start of your script. - Move your model to the
deviceonce, before the training loop begins. - Inside the training loop, for every batch of data you get from your
DataLoader, move the data and corresponding labels to thedevice.
Let's see a full demonstration of modifying a training script and the performance benefits it brings.
PyTorch on the GPU - Training Neural Networks with CUDA
The deeplizard video continues with a perfect walkthrough of modifying a complete training loop and running a performance test.
Watch from 08:35 to 14:57. This is the most crucial part of the lesson. Observe: How the device is determined dynamically using torch.cuda.is_available(). Where the model is moved to the device (network.to(device)). How the images and labels tensors are moved to the device inside the loop. The significant difference in epoch duration between the CPU and GPU runs.
Here is a summary of the code structure for a GPU-enabled training loop:
import torch
import torch.nn as nn
from torch.utils.data import DataLoader


# 1. Define device
device = torch.device("cuda" if torch.cuda.is_available() else "cpu")


# ... (Define your dataset and model class) ...
dataset = ...
model = YourModelClass()


# 2. Move model to device
model.to(device)


# ... (Define optimizer and loss function) ...
optimizer = torch.optim.Adam(model.parameters(), lr=0.001)
criterion = nn.CrossEntropyLoss()
dataloader = DataLoader(dataset, batch_size=64)


# --- Training Loop ---
for epoch in range(num_epochs):
    for data, labels in dataloader:


        # 3. Move data batch to device
        data = data.to(device)
        labels = labels.to(device)


        # Forward pass
        outputs = model(data)
        loss = criterion(outputs, labels)


        # Backward and optimize
        optimizer.zero_grad()
        loss.backward()
        optimizer.step()

    print(f'Epoch [{epoch+1}/{num_epochs}], Loss: {loss.item():.4f}')
This pattern is the foundation for almost all deep learning training scripts.
5. Performance and Memory Optimization
Simply moving your training to the GPU is a huge step. However, for more demanding tasks, you might find that the GPU is waiting for the CPU to load and preprocess data. This is known as a data bottleneck. PyTorch's DataLoader has parameters to help with this.

Two key DataLoader arguments to be aware of are:
num_workers: This spawns multiple subprocesses to load data in parallel, so it doesn't block the main training process. A good starting value is the number of CPU cores you have.pin_memory=True: When set toTrue, this places the data from theDataLoaderinto a special "pinned" memory region on the CPU. This allows for much faster, asynchronous data transfer to the GPU. When usingpin_memory=True, you can also setnon_blocking=Truein your.to(device)call (e.g.,data.to(device, non_blocking=True)) to overlap data transfer with computation.
dataloader = DataLoader(
    dataset,
    batch_size=64,
    num_workers=4,  # Use 4 parallel workers for data loading
    pin_memory=True # Speeds up host-to-device transfer
)
Finally, if you have multiple GPUs, you can use techniques like DataParallel to train on them simultaneously, further speeding up the process.
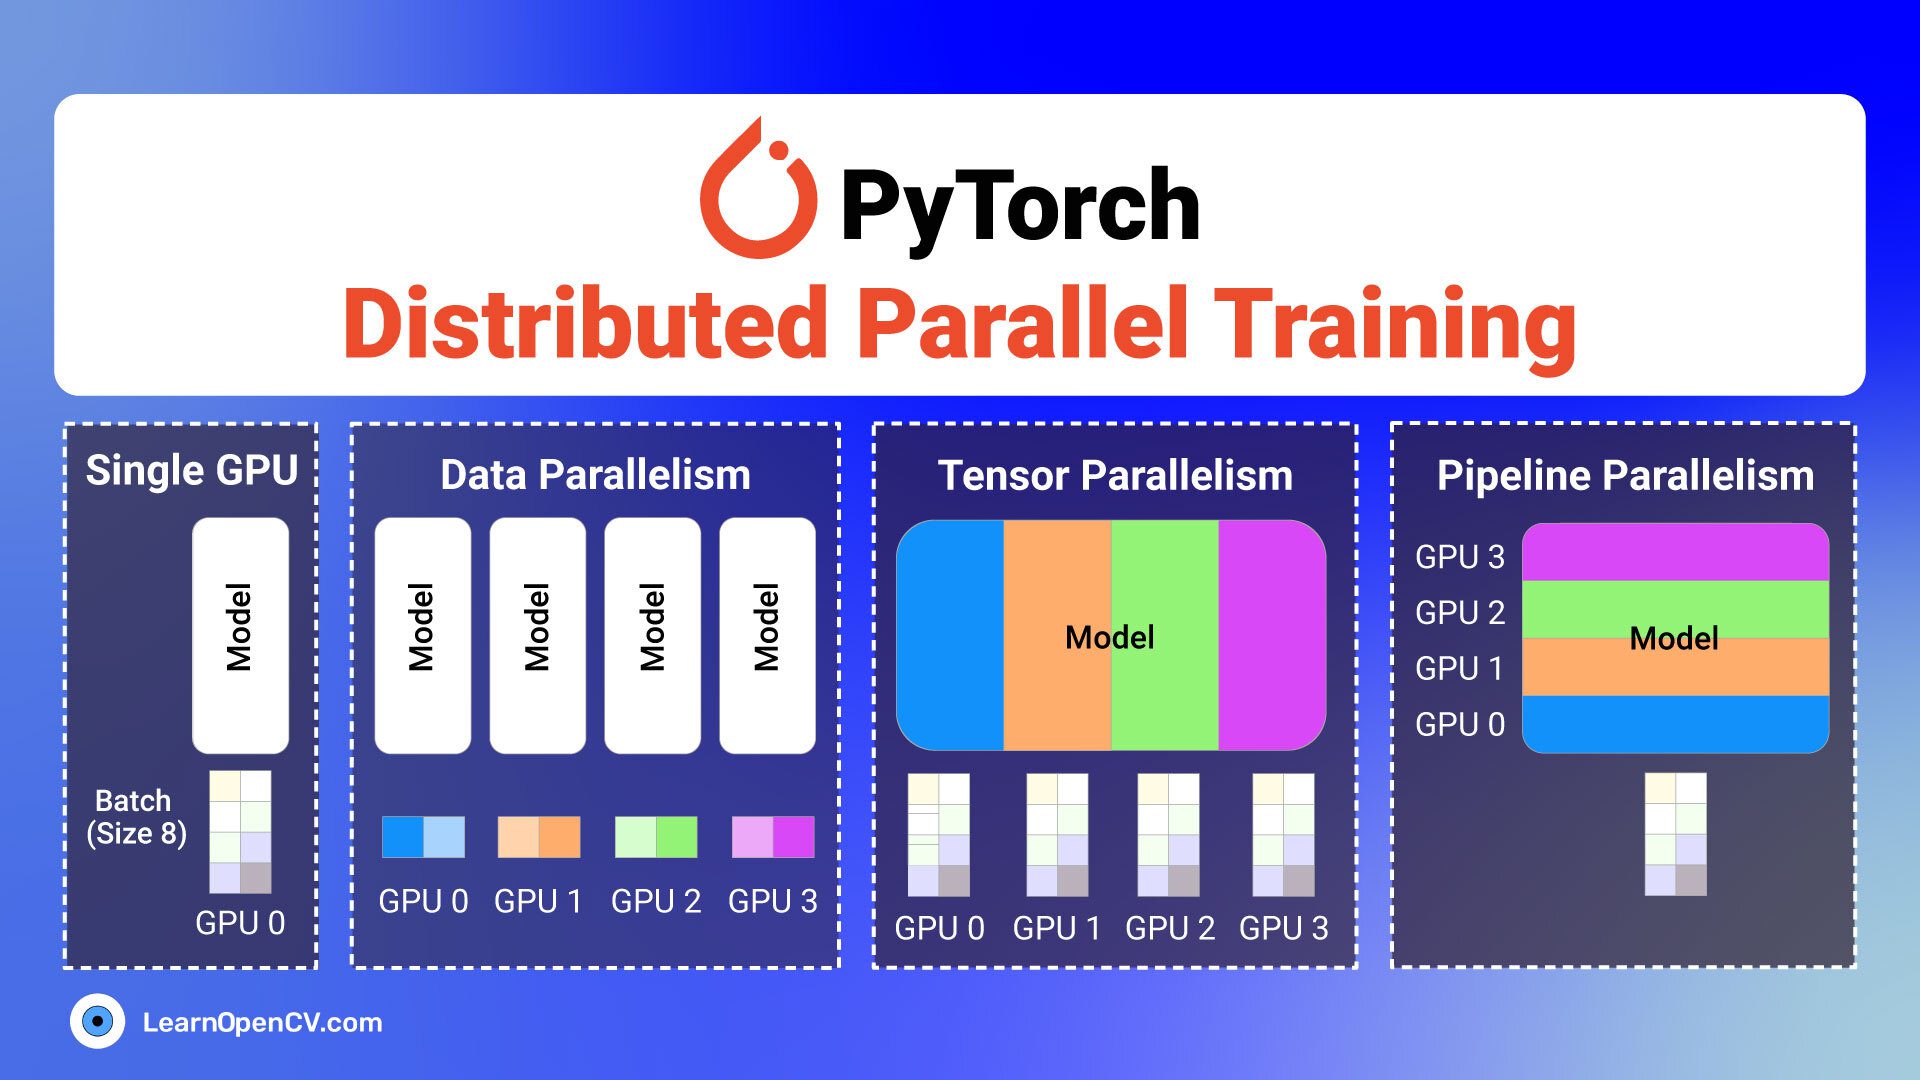
While we won't implement multi-GPU training today, it's an important concept to be aware of as you scale your projects.
Conclusion
Congratulations on completing the "Deep Learning Foundations" module! You've gone from the basic building blocks of neural networks to advanced techniques like regularization and now, hardware acceleration. Using a GPU is not just a trick; it's a necessity for any serious deep learning practitioner.
Key Takeaways:
- GPUs accelerate deep learning because their massively parallel architecture is a perfect match for the matrix and vector operations in neural networks.
- Write device-agnostic code by defining a
deviceobject usingtorch.device("cuda" if torch.cuda.is_available() else "cpu"). - The core rule is that all tensors in an operation must be on the same device.
- Use the
.to(device)method to move your model to the GPU (once, before training) and each batch of data (inside the training loop). - You can optimize data loading pipelines using
DataLoaderparameters likenum_workersandpin_memoryto keep your GPU busy.
Preview of the Next Module:
You are now fully equipped to tackle more complex and exciting domains. In our next module, "Computer Vision with CNNs," you will apply everything you've learned. We will build and train Convolutional Neural Networks for image classification, a task where GPU acceleration is indispensable. You will get to put today's lesson into practice immediately on real-world image datasets.