Hello! Welcome back to your journey into React.
In our last lesson, you successfully set up a new React project with Vite, explored the file structure, and got the development server running. You even made your first change to the App.jsx file and saw it update instantly in the browser.
When you opened App.jsx, you probably noticed the HTML-like syntax mixed directly with JavaScript. This is JSX, and it's the focus of today's lesson. Our goal is to write JSX syntax, embedding JavaScript expressions and applying rules like className. Mastering JSX is fundamental to building UIs in React, as it allows you to describe what your interface should look like in a declarative and familiar way.
What is JSX?
JSX stands for JavaScript XML. It's a syntax extension that lets you write markup that looks like HTML directly inside your JavaScript files. While it might feel strange at first to mix markup and logic, you'll soon find it makes building and maintaining UI components much more intuitive.
It's important to know that browsers don't understand JSX natively. Your code goes through a compilation step (handled automatically by Vite) that transforms your JSX into regular JavaScript function calls.
Let's start with a clear explanation from the official React documentation on why JSX exists and how it differs from HTML.
Read the introduction and the short section 'JSX: Putting markup into JavaScript'. This will give you the core idea behind mixing markup and rendering logic in React components.
The Rules of JSX
JSX is stricter than HTML. To avoid errors, you need to follow a few key rules. This video from Codevolution provides a fantastic, clear breakdown of these rules. We'll watch it in parts as we cover each rule.
React 19 Tutorial - 7 - Rules of JSX
This video clearly explains the fundamental rules you must follow when writing JSX.
Watch the video from 00:18 to 08:31. The video is divided into three parts, each covering one of the main rules we'll discuss below.
Let's review these rules.
Rule 1: Return a Single Root Element
A React component must return a single "chunk" of JSX. You cannot return multiple elements side-by-side.
Incorrect (Adjacent elements):
// This will cause an error!
return (
  <h1>About</h1>
  <p>Some text about me.</p>
);
To fix this, you must wrap them in a single parent element. You have two options:
- A wrapper
div: This is a common solution, but it adds an extra element to the HTML DOM, which can sometimes affect your CSS styling.return ( <div> <h1>About</h1> <p>Some text about me.</p> </div> ); - A Fragment: If you don't want to add an extra
div, you can use a React Fragment. It groups the elements without adding any extra node to the DOM. The shorthand for a fragment is an empty tag:<> ... </>.return ( <> <h1>About</h1> <p>Some text about me.</p> </> );
Rule 2: Close All Tags
In HTML, some tags, like <br> or <img>, can be left unclosed. JSX is stricter: every tag must be closed.
Tags that don't have content (void elements) must be self-closing.
-
HTML:
<img src="profile.jpg"> -
JSX:
<img src="profile.jpg" />(Notice the/) -
HTML:
<input type="text"> -
JSX:
<input type="text" />
Rule 3: Use camelCase for Most Attributes
Since JSX is JavaScript, attributes that would conflict with JavaScript's reserved words are renamed. The most common example is class, which is a reserved word for creating classes in JavaScript.
- In HTML, you use
class:<div class="card"> - In JSX, you must use
className:<div className="card">
Similarly, multi-word HTML attributes like for (on a <label>) or tabindex are written in camelCase.
forbecomeshtmlFortabindexbecomestabIndexonclickbecomesonClick
If you ever forget, React will usually give you a helpful warning in the browser console suggesting the correct attribute name.
This table provides a great visual summary of the key differences:

The Power of JSX: Embedding JavaScript
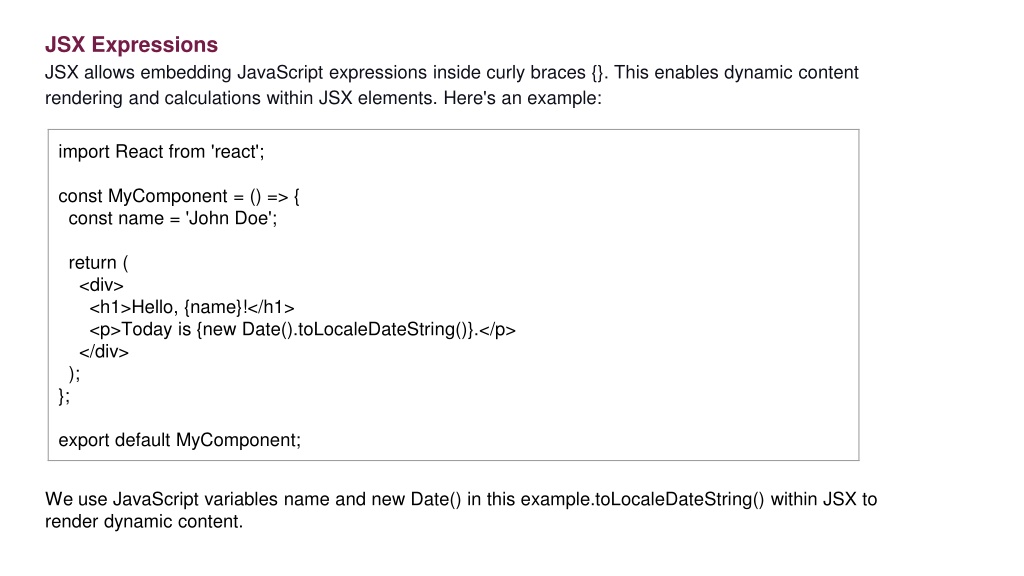
Now for the most powerful feature of JSX: you can embed any valid JavaScript expression directly inside your markup using curly braces {}. This is how you make your components dynamic.
This can be a variable, a function call, an arithmetic operation, or anything that produces a value.
Let's watch the final part of the Codevolution video, which demonstrates this superpower.
React 19 Tutorial - 7 - Rules of JSX
This segment shows you how to bring your components to life by embedding JavaScript variables, calculations, and even function calls within your JSX.
Watch from 08:31 to the end (12:03).
Let's Practice!
Time to apply what you've learned. Open the react-essentials-app project you created in the last lesson.
- Run the development server if it's not already running:
npm run dev. - Open the
src/App.jsxfile in your code editor. - Delete all the boilerplate code inside the
Appfunction and replace it with a basic structure, so it looks like this:
import './App.css'

function App() {
  return (
    <>
      <h1>My First JSX</h1>
    </>
  )
}

export default App
Now, let's make it dynamic.
Inside the App function, just before the return statement, define a few JavaScript variables:
function App() {
  const tech = "React";
  const user = {
    firstName: "Alex",
    lastName: "Dev"
  };

  // The return statement comes next...
Now, modify your JSX to use these variables. You can also add calculations and comments.
function App() {
  const tech = "React";
  const user = {
    firstName: "Alex",
    lastName: "Dev"
  };

  return (
    <>
      {/* This is a JSX comment! */}
      <h1 className="main-title">
        Hello, {user.firstName}! Welcome to {tech}.
      </h1>
      <p>The current year is {new Date().getFullYear()}.</p>
      <p>Just for fun, 2 + 2 = {2 + 2}.</p>
    </>
  );
}
Save your App.jsx file and look at the result in your browser. You'll see the JavaScript expressions evaluated and rendered as text. Notice we're also using className for the <h1> tag.
Challenge: Convert HTML to JSX
To solidify your understanding, try converting the following HTML snippet into valid JSX. This snippet contains several common errors.
Copy the code below, paste it into your App.jsx (replacing the current content inside the return), and fix it so that it renders without errors.
Invalid Code to Fix:
// Paste this inside the return ()
<div class="profile">
  <h1>Scientist Profile</h1>
</div>
<p class="summary">
  A brief bio.
  <br><br>
  You can also see a picture below.
  <img src="https://i.imgur.com/yXOvdOSs.jpg">
</p>
Hints:
- How many root elements are there?
- Check the attribute names.
- Are all tags properly closed?
Click here to see the solution
return (
  <>
    <div className="profile">
      <h1>Scientist Profile</h1>
    </div>
    <p className="summary">
      A brief bio.
      <br />
      <br />
      You can also see a picture below.
      <img src="https://i.imgur.com/yXOvdOSs.jpg" />
    </p>
  </>
);
Conclusion
In this lesson, you've taken a deep dive into JSX, the syntax at the heart of React. You now have the foundational skills to describe the structure and content of your UI components.
Key Takeaways:
- JSX is a JavaScript syntax extension that lets you write HTML-like markup in your JS files.
- It has three main rules:
- Always return a single root element (often using a Fragment
<>...</>). - Close all tags, including self-closing ones like
<img />. - Use
camelCasefor attributes, most notablyclassNameinstead ofclass.
- Always return a single root element (often using a Fragment
- You can embed any JavaScript expression in JSX by wrapping it in curly braces
{}.
Next Up:
You've now learned how to write the markup for a single component. But the power of React comes from combining multiple components. In our next lesson, we will learn how to create and export your own functional components, allowing you to start building more complex user interfaces.