Hello! Let's complete our deep dive into React forms.
In our last lesson, you did an excellent job implementing form validation. We made sure that our form only processes data when the user's input is valid. In the practice exercise, you even added a line to clear the form after a successful submission: setFormData(initialFormState).
Today, we're going to formalize that final, crucial step. You will learn the common patterns to reset form fields after a successful submission. A clean form provides clear feedback to the user that their action was completed and that they can now make another entry. We'll explore the most direct method and a powerful alternative using a core React concept.
1. The Standard Method: Resetting State
The most straightforward way to reset a controlled form is the one you've already seen: update the state that controls the inputs back to its initial values.
Since the value of each input is tied directly to a piece of state, telling React to change that state will cause a re-render, and the inputs will automatically display their new, empty values.
The common pattern is to define an initialState object outside your component. You use it to initialize your state, and you use it again to reset the state.
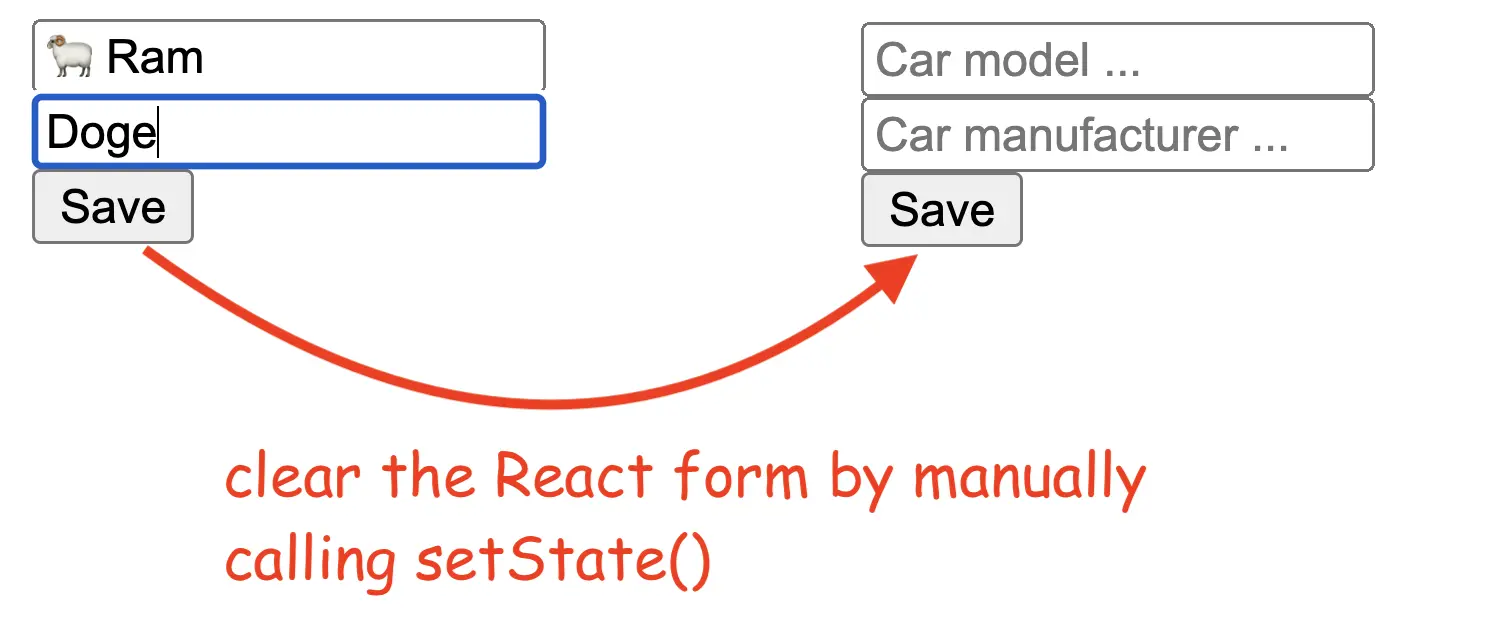
This approach is clean, predictable, and easy to understand. The following discussion on Stack Overflow provides a perfect example of this pattern in action.
Reset to Initial State with React Hooks
Please read the accepted answer in this Stack Overflow thread. It provides a clear, runnable example of using an initialState object to both initialize and reset the form state.
Focus on the code block in the top-voted answer. Notice how initialState is defined, used in useState(initialState), and then used again in the clearState function with setState({ ...initialState }). You can ignore the other answers for now.
Here's how this logic fits into the handleSubmit function we built in the previous lesson:
import { useState } from 'react';

// Define initial state outside the component so it's not recreated on every render
const initialFormState = {
  email: '',
  password: '',
  plan: 'free', // for a <select> dropdown
  agreedToTerms: false // for a checkbox
};

function MyForm() {
  const [formData, setFormData] = useState(initialFormState);
  const [errors, setErrors] = useState({});

  const handleSubmit = (e) => {
    e.preventDefault();
    const validationErrors = validate(formData); // Your validation function
    setErrors(validationErrors);

    if (Object.keys(validationErrors).length === 0) {
      // 1. Validation passed
      console.log('Form Submitted:', formData);
      alert('Success!');

      // 2. Reset the form state to its initial values
      setFormData(initialFormState);
    }
  };

  // ... the rest of your component (handleChange, validate, JSX)
  return (
    //... your form JSX
  );
}
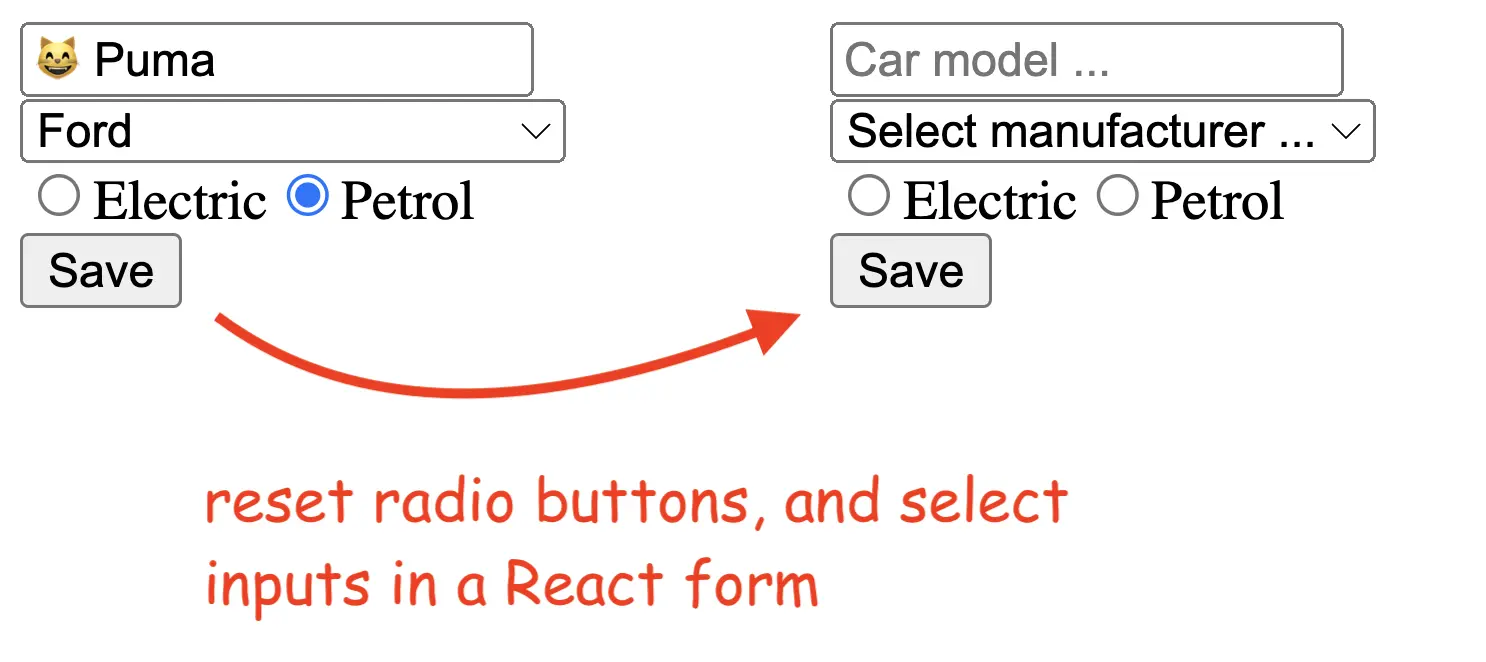
This pattern works for all types of controlled inputs, including text fields, dropdowns, and checkboxes, as they are all just reflections of your component's state.
2. An Alternative: Resetting State with a key
There is another, very powerful technique in React for resetting a component's entire state. Instead of manually clearing the state from within the component, you can tell its parent to destroy the old component and create a completely new one in its place.
How do you do that? By changing its key prop.
You've already seen key props when rendering lists. They help React identify which item is which. But you can use a key on any component. When React sees a component with a different key than before, it treats it as a brand-new component. It will unmount the old instance (destroying its state) and mount a new one (with a fresh, initial state).
The official React documentation has an excellent explanation of this concept.
Preserving and Resetting State
The official React documentation explains this concept beautifully. Please read the following sections to understand how and why this works.
Read the sections titled 'Option 2: Resetting state with a key' and 'Resetting a form with a key'. Pay close attention to the chat app example. It demonstrates perfectly how changing the key on the <Chat> component forces it to reset.
To implement this pattern, you typically have a parent component that "wraps" your form.
- The parent component holds a piece of state that will serve as the form's key (e.g., a number).
- The parent passes this state down to the form component as the
keyprop. - The form component does its job. When it submits successfully, it calls a function passed down from the parent.
- The parent component, in response, updates its key state (e.g., by incrementing the number). This change in
keyforces React to re-create the form component, resetting it completely.
Here is what that structure looks like in code:
import { useState } from 'react';

// Your existing form component, but it now calls a prop on success
function SignUpForm({ onSuccessfulSubmit }) {
  const [formData, setFormData] = useState({ email: '', password: '' });
  // ... other states like errors ...

  const handleSubmit = (e) => {
    e.preventDefault();
    // ... validation logic ...
    if (Object.keys(validationErrors).length === 0) {
      console.log('Submitting:', formData);
      // Instead of resetting state here, we notify the parent
      onSuccessfulSubmit();
    }
  };

  return (
    // ... your form JSX
  );
}

// A new wrapper component to manage the reset logic
function FormWrapper() {
  // 1. State to hold the key
  const [formKey, setFormKey] = useState(0);

  // 4. This function will be called by the child on success
  const handleSuccess = () => {
    alert('Sign-up successful!');
    // To reset the form, we just change the key
    setFormKey(prevKey => prevKey + 1);
  };

  return (
    // 2. Pass the key and the callback to the form
    <SignUpForm
      key={formKey}
      onSuccessfulSubmit={handleSuccess}
    />
  );
}
When to use which method?
- State Reset: This is the default and most common method. It's simple, efficient, and perfect for the vast majority of forms.
- Key Reset: This is a more powerful, "bigger hammer" approach. It's especially useful when a component has multiple, complex pieces of state that would be tedious to reset manually. It resets everything within the component cleanly.
Practice Exercise
Let's refactor the SignUpForm from our previous lesson to use the key reset pattern.
Goal: Create a FormWrapper component that manages resetting the SignUpForm by changing its key after a successful submission.
Instructions:
- Start with the solution code from the previous lesson's practice exercise. Rename the component from
SignUpFormtoSignUpForm_Child. - Modify
SignUpForm_Childso that it accepts anonSuccessfulSubmitfunction as a prop. - Inside its
handleSubmitfunction, instead of callingsetFormData(initialFormState), callonSuccessfulSubmit()when validation is successful. - Create a new component called
SignUpForm(this will be our wrapper). - Inside
SignUpForm, create a state variable for theformKey, initialized to0. - Create a
handleSuccessfunction that increments theformKey. - Render the
SignUpForm_Childcomponent from withinSignUpForm, passing it theformKeyas itskeyandhandleSuccessas itsonSuccessfulSubmitprop.
Click to see a possible solution
import { useState } from 'react';

const initialFormState = {
  email: '',
  password: '',
};

// 1. Renamed and modified to accept a prop
function SignUpForm_Child({ onSuccessfulSubmit }) {
  const [formData, setFormData] = useState(initialFormState);
  const [errors, setErrors] = useState({});

  const handleChange = (e) => {
    const { name, value } = e.target;
    setFormData(prev => ({ ...prev, [name]: value }));
  };

  const validate = (data) => {
    const newErrors = {};
    if (!data.email) {
      newErrors.email = 'Email is required';
    } else if (!/^[A-Z0-9._%+-]+@[A-Z0-9.-]+\.[A-Z]{2,}$/i.test(data.email)) {
      newErrors.email = 'Invalid email address';
    }
    if (!data.password) {
      newErrors.password = 'Password is required';
    } else if (data.password.length < 8) {
      newErrors.password = 'Password must be at least 8 characters';
    }
    return newErrors;
  };

  const handleSubmit = (e) => {
    e.preventDefault();
    const validationErrors = validate(formData);
    setErrors(validationErrors);

    if (Object.keys(validationErrors).length === 0) {
      console.log('Form Submitted:', formData);
      // 3. Call the parent's function instead of resetting here
      onSuccessfulSubmit();
    }
  };

  return (
    <form onSubmit={handleSubmit} noValidate>
      <h3>Sign Up</h3>
      <div>
        <label htmlFor="email">Email</label>
        <input type="email" id="email" name="email" value={formData.email} onChange={handleChange} />
        {errors.email && <p style={{ color: 'red' }}>{errors.email}</p>}
      </div>
      <div>
        <label htmlFor="password">Password</label>
        <input type="password" id="password" name="password" value={formData.password} onChange={handleChange} />
        {errors.password && <p style={{ color: 'red' }}>{errors.password}</p>}
      </div>
      <button type="submit">Sign Up</button>
    </form>
  );
}

// 4. This is our new wrapper component
function SignUpForm() {
  // 5. State for the key
  const [formKey, setFormKey] = useState(0);

  // 6. Function to handle success and update the key
  const handleSuccess = () => {
    alert('Sign-up successful! The form will now reset.');
    setFormKey(prevKey => prevKey + 1);
  };

  return (
    // 7. Render the child with the key and callback
    <SignUpForm_Child
      key={formKey}
      onSuccessfulSubmit={handleSuccess}
    />
  );
}

export default SignUpForm;
Conclusion
Congratulations on completing this module on React forms! Providing a good user experience is key, and properly resetting a form is a big part of that.
Key Takeaways:
- The most common way to reset a controlled form is to set its state back to its initial value after a successful submission.
- An alternative and powerful method is to change the component's
keyprop from a parent, which forces React to unmount the old instance and mount a new one with a fresh state. - The
keyreset is best for complex components where resetting state manually would be cumbersome.
Next Up:
Our forms journey has focused on user-driven updates within the component. But what happens when a component needs to interact with the "outside world"—for instance, fetching data from a server when it loads, or cleaning up a connection when it disappears? These actions are called side effects. In our next module, we will explore the useEffect hook, the primary tool in React for managing these crucial interactions.