Hello! Welcome to the first lesson in our new module, "Python Fundamentals for Algorithmic Trading."
In the previous modules, you've built a strong foundation in manual ICT trading, culminating in the ability to create a precise trade plan for an Optimal Trade Entry (OTE) setup. You've learned the "what" and "why" behind institutional price action. Now, we begin the journey of learning the "how" to automate and analyze these concepts using code. This marks a significant and exciting step towards your goal of developing trading bots.
Today's lesson is all about laying the groundwork. Just as a trader needs a properly set up charting platform and broker connection, a developer needs a reliable and efficient workspace. Our goal is to set up a Python development environment. By the end of this lesson, you will have installed and configured the necessary tools to start writing the code that will eventually power your trading strategies.
Why Visual Studio Code (VS Code)?
We will be using Visual Studio Code (VS Code) as our primary code editor. It is a modern, professional tool used by developers worldwide for many reasons:
- Lightweight and Fast: It starts quickly and runs efficiently.
- Highly Extensible: It has a massive library of extensions that add new features. We will use this to get powerful support for Python.
- Integrated Tools: It includes a built-in terminal, which streamlines the process of running scripts and managing project packages.
- Excellent Jupyter Notebook Support: As you'll see, it handles interactive data analysis notebooks seamlessly, which is perfect for developing and testing trading ideas.
This combination makes VS Code an ideal choice for building everything from simple analysis scripts to complex trading bots.
The Three Core Components of Your Environment
Setting up your environment involves three key pieces. It's important to understand the role of each:
- The Python Interpreter: This is Python itself. It's the engine that reads and executes your Python code. Without it, your
.pyfiles are just text. - Visual Studio Code (The Editor): This is your workshop. It's where you'll write, view, and organize your code files.
- VS Code Extensions (The Special Tools): These are add-ons for VS Code that "teach" it how to work specifically with Python. They provide features like code completion (IntelliSense), error highlighting (linting), and debugging tools, making your life as a developer much easier.
Let's get these components installed and configured.
Step 1: Install Python and VS Code
Your first task is to install the Python interpreter and the VS Code editor on your computer.
For a clear, guided walkthrough of this initial setup, please watch the first part of the official video from the Visual Studio Code team.
Getting Started with Python in VS Code (Official Video)
This video, 'Getting Started with Python in VS Code', will guide you through installing the Python interpreter and the essential VS Code Python extension.
Watch from the beginning until 02:24. Pay close attention to the distinction between the Python interpreter and the VS Code extension. If you are on Windows, be sure to note the instruction to check the 'Add Python to Path' box during installation.
Key Installation Points:
- Download Python from the official python.org website. The video shows this process.
- During Python installation on Windows, make sure to check the box that says "Add Python to PATH". This is a critical step that allows you to run Python from any terminal window.
- Download VS Code from the official code.visualstudio.com website.
- Install the Python Extension in VS Code as shown in the video. This extension is what makes VS Code "Python-aware."
Step 2: Creating a Workspace and a Virtual Environment
With the main tools installed, we now need to create an organized and isolated workspace for our trading bot projects. We do this using a virtual environment.
A virtual environment is like creating a separate, clean toolbox for each project. It ensures that the specific versions of libraries you use for one trading strategy (e.g., for analyzing cryptocurrencies) don't conflict with the libraries you use for another (e.g., for forex). This is a fundamental best practice in professional software development.
The next segment of the video you just started explains this concept and shows you how to create one.
Getting Started with Python in VS Code (Official Video)
Continuing with the 'Getting Started with Python in VS Code' video, this section demonstrates how to create and activate a virtual environment.
Watch from 02:24 to 04:40. Follow the steps to create a simple demo.py file and then use the Command Palette (Ctrl+Shift+P or Cmd+Shift+P) to create a virtual environment.
To summarize the process:
- Create a new folder on your computer for your project (e.g.,
ICT_Automation). - Open this folder in VS Code (
File > Open Folder...). - Create a new file named
test.py. - Open the Command Palette (
Ctrl+Shift+Pon Windows/Linux,Cmd+Shift+Pon Mac). - Type
Python: Create Environmentand select it. - Choose
Venv. - Select the Python interpreter you installed.
VS Code will create a new folder inside your project (usually .venv). You'll see the name of the active environment in the bottom-right status bar. When you open a new terminal in VS Code (Terminal > New Terminal), you will see its name in the prompt (e.g., (.venv)), confirming it's active.
Step 3: Setting Up for Interactive Analysis with Jupyter Notebooks
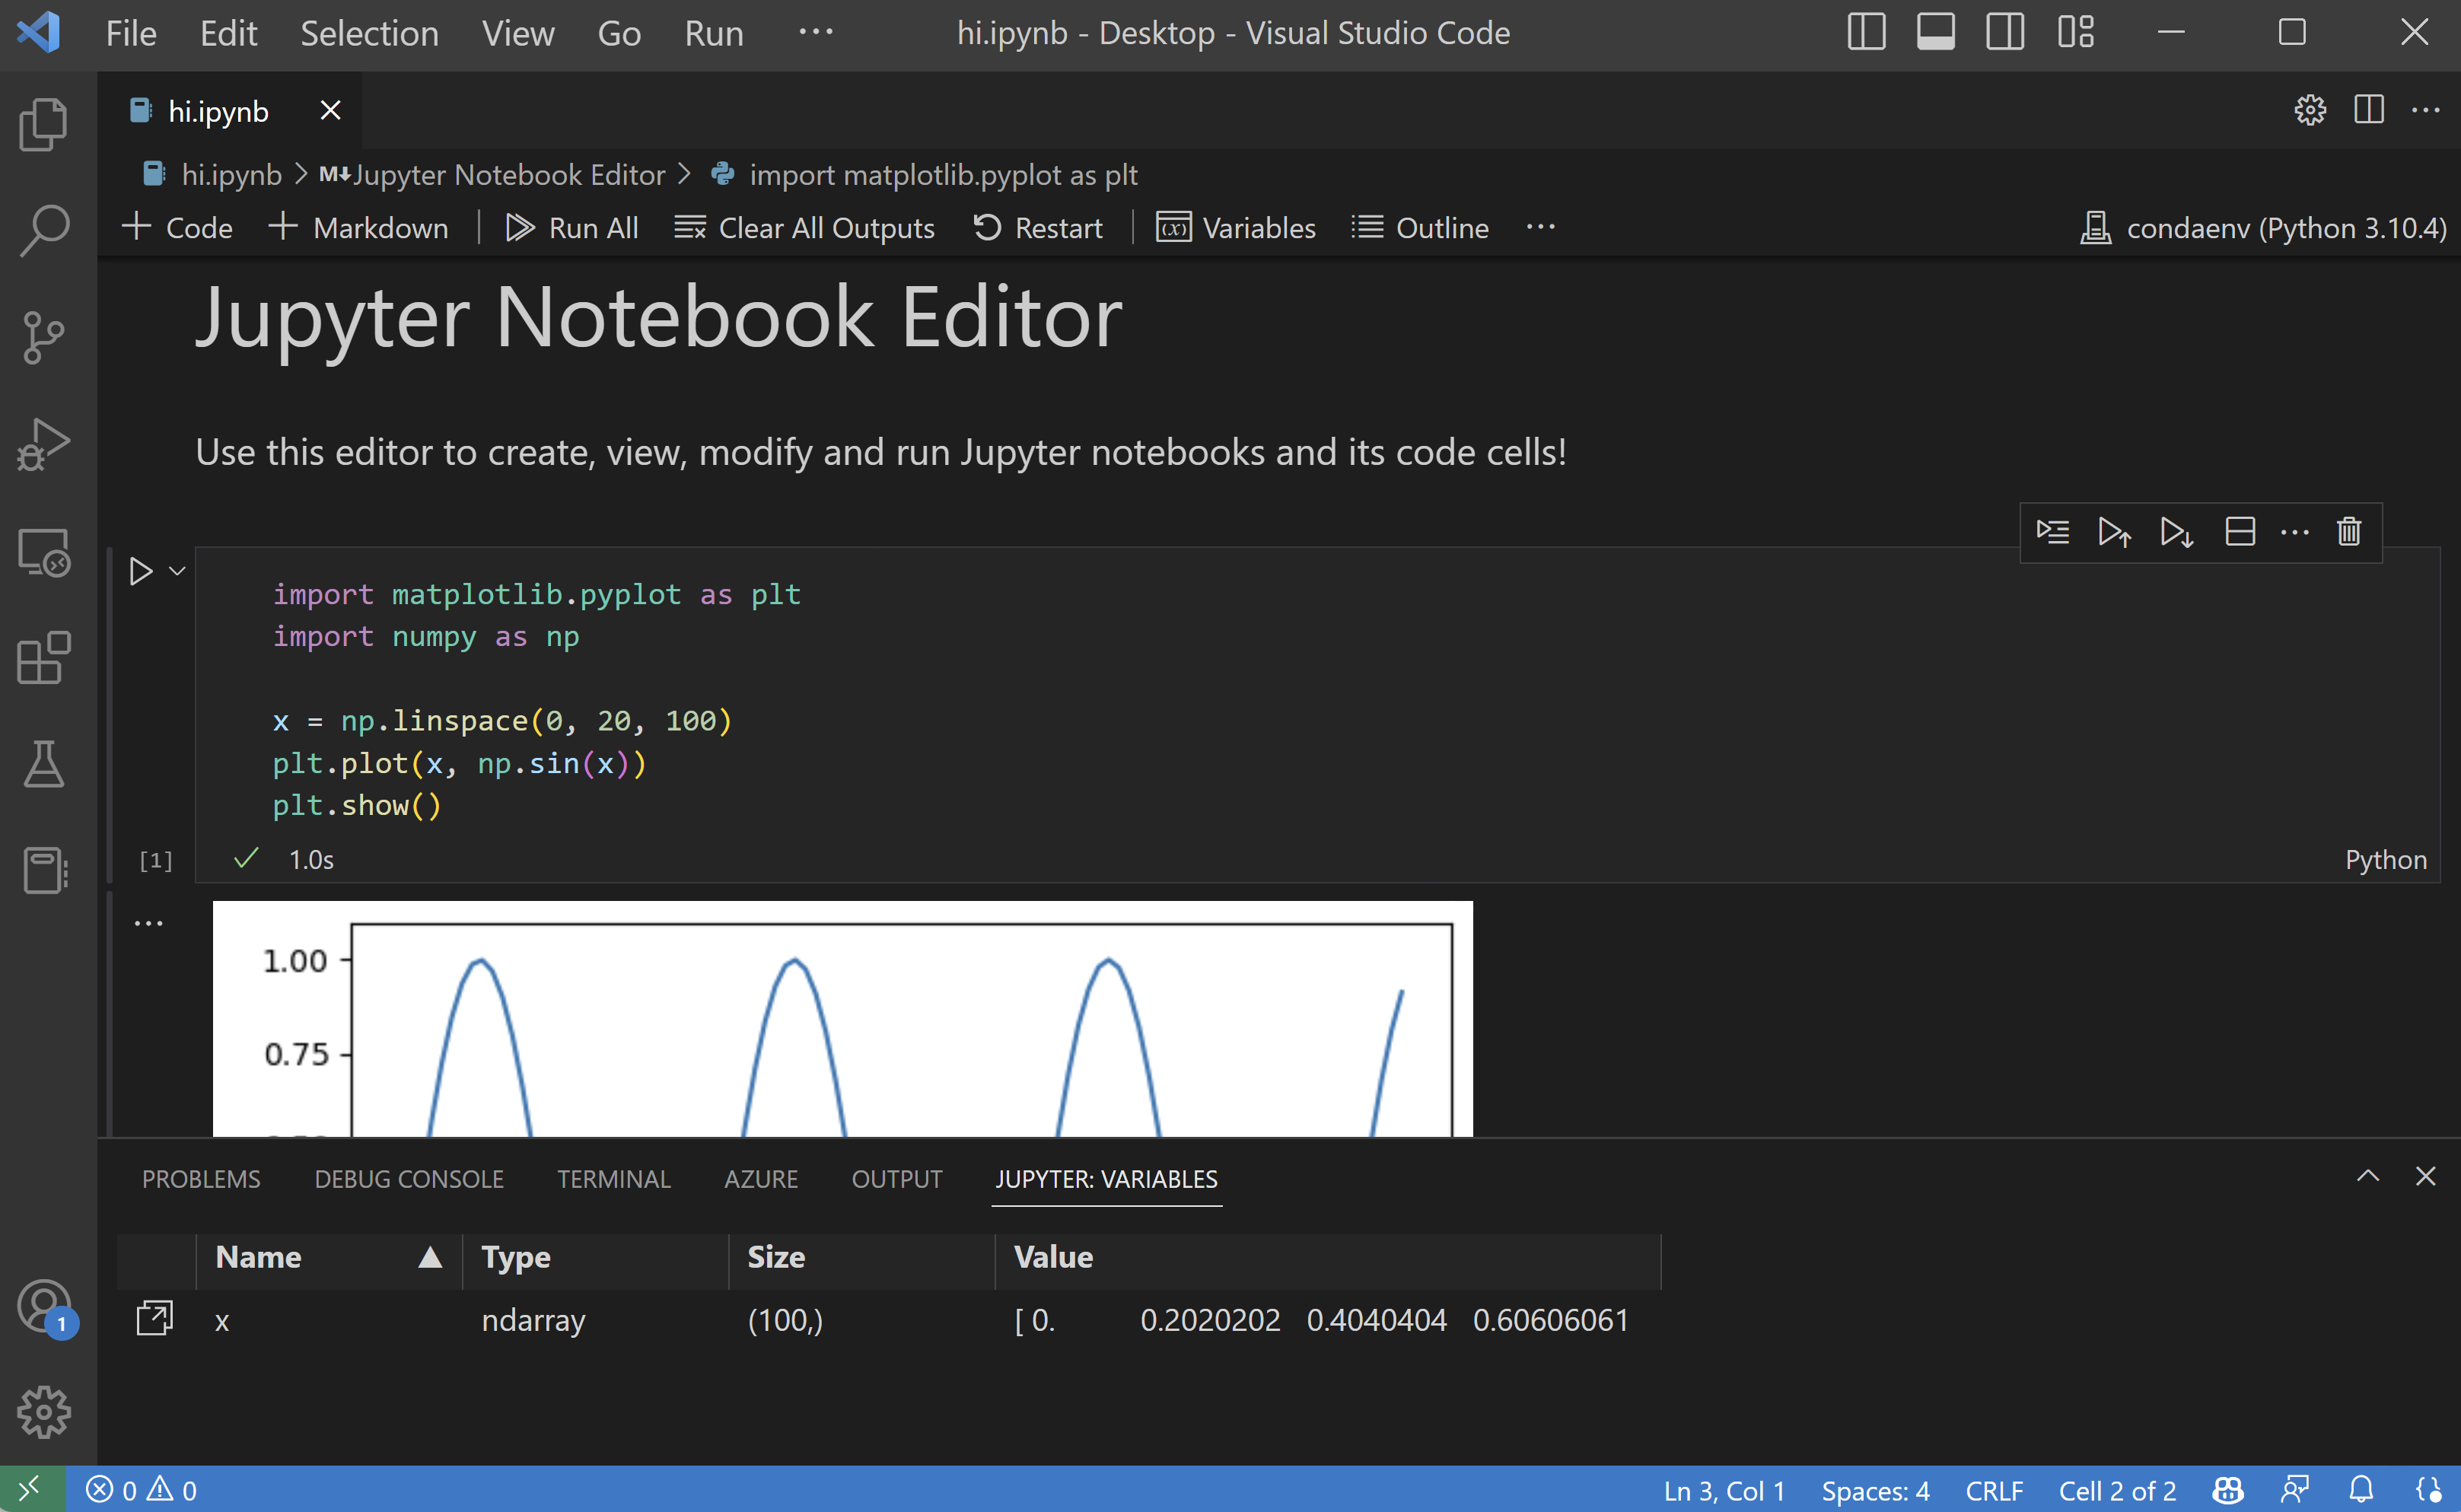
For a quantitative trader, not all work happens in final, polished scripts. Much of the development process involves exploration, data visualization, and quick tests. This is where Jupyter Notebooks excel. They allow you to write and run code in individual "cells," see the output immediately, and mix code with notes and charts.
VS Code has excellent built-in support for Jupyter Notebooks. Let's set that up.
Getting Started with Jupyter Notebooks in VS Code
The video 'Getting Started with Jupyter Notebooks in VS Code' will show you how to install the necessary extension and create your first notebook.
Watch from the beginning to 03:07. Follow the instructions to install the Jupyter extension, create a new notebook file (.ipynb), and select a kernel.
Key Setup Points for Jupyter:
- Install the Jupyter Extension from the VS Code marketplace.
- Create a New Notebook: Open the Command Palette (
Ctrl+Shift+P) and typeCreate: New Jupyter Notebook. - Select a Kernel: The "kernel" is the Python engine that runs the notebook's code. In the top-right corner, click "Select Kernel." Crucially, you should select the Python interpreter that is associated with the virtual environment you just created (
.venv). This ensures your notebooks use the same isolated set of tools as your scripts.
Test your understanding!
You've been asked to start a new project to analyze the S&P 500. Based on what you've just learned, what are the first three steps you should take after opening VS Code to ensure your project is set up correctly?
Show answer
- Create a new project folder (e.g.,
sp500_analysis) and open it in VS Code. This keeps all your project files in one place. - Create a virtual environment using the
Python: Create Environmentcommand. This isolates the project's dependencies. - Select this new environment's interpreter for your workspace. This ensures that any terminal you open or script you run uses the isolated environment.
Conclusion
Congratulations on taking the first, most crucial step into the world of algorithmic trading development! You have successfully transitioned from being a user of trading software to a creator of your own trading tools.
Key Takeaways:
- A development environment consists of the Python interpreter (the engine), VS Code (the editor), and extensions (the tools).
- Virtual environments (
venv) are essential for keeping your project dependencies organized and avoiding conflicts. Always use one. - You now have two ways to work with Python in VS Code:
- Python Scripts (
.pyfiles): For building reusable, standalone programs like a trading bot. - Jupyter Notebooks (
.ipynbfiles): For interactive data analysis, visualization, and strategy prototyping.
- Python Scripts (
Preview for the Next Lesson:
With your environment fully configured, you are ready to start coding. In the next lesson, you will learn the absolute fundamentals of the Python language: how to use variables to store information (like prices or dates), work with different data types (numbers, text), and perform basic operations. We will write our very first lines of functional code in the environment you set up today.