Hello! Welcome to the second lesson in our module on building a hacking lab.
In our last session, we outlined the professional methodology of a penetration test, covering the phases from planning and reconnaissance all the way to reporting. This gave you a mental roadmap for how ethical hacking is done in the real world.
Today, we'll address the learning outcome: Explain the components and purpose of a virtual hacking lab, including the hypervisor, attacker VM, and target VM. We are moving from the process of hacking to the place where you will learn to do it. A virtual lab is your personal, safe, and legal sandbox to practice the very phases we just discussed. This lesson will focus on the "what" and "why" of the lab's architecture before we get hands-on with the "how" in the next lesson.
1. What is a Virtual Hacking Lab?
At its core, a hacking lab is an isolated environment where you can safely attack intentionally vulnerable systems without breaking the law or damaging your own computer. The magic that makes this possible is virtualization.
Let's start with a foundational video that explains what a virtual machine (VM) is and why it's so crucial for anyone learning hacking.
you need to learn Virtual Machines RIGHT NOW!! (Kali Linux VM, Ubuntu, Windows)
This video from NetworkChuck offers a fantastic, high-energy introduction to the concept of a virtual machine and its direct relevance to hacking.
Watch the segments from 00:45 to 02:08 and 06:17 to 07:05. Focus on the core idea of a VM as a 'computer inside a computer' and the three key reasons why this is the perfect environment for learning to hack.
As the video highlighted, using VMs provides three massive advantages:
- Safety and Security: Your hacking activities are contained within the VMs. This isolates them from your main operating system (your Arch Linux host) and your home network, preventing accidental damage or exposure.
- Learning Diverse Systems: You can run any operating system you want—different Linux distributions, various Windows versions, etc.—without needing separate physical machines.
- Freedom to Experiment: You can "break stuff" without consequences. If you accidentally crash a target system or your attacker machine, you can delete it and start over, or even better, restore it to a previous state in seconds.
2. The Three Core Components of a Hacking Lab
A functional hacking lab is built from three essential components working together. This is the fundamental architecture you will use for the majority of your training.
How to Build a Cybersecurity Practice Lab
The article 'How to Build a Cybersecurity Practice Lab' from CyberDesserts provides a concise definition of the lab's architecture. It's a great textual summary of the core components.
Read the section titled 'Understanding Lab Architecture'. It clearly outlines the Host System, Attacker VM, and Target VMs, and introduces the critical concept of network isolation.
This diagram visually represents the relationship between these components.
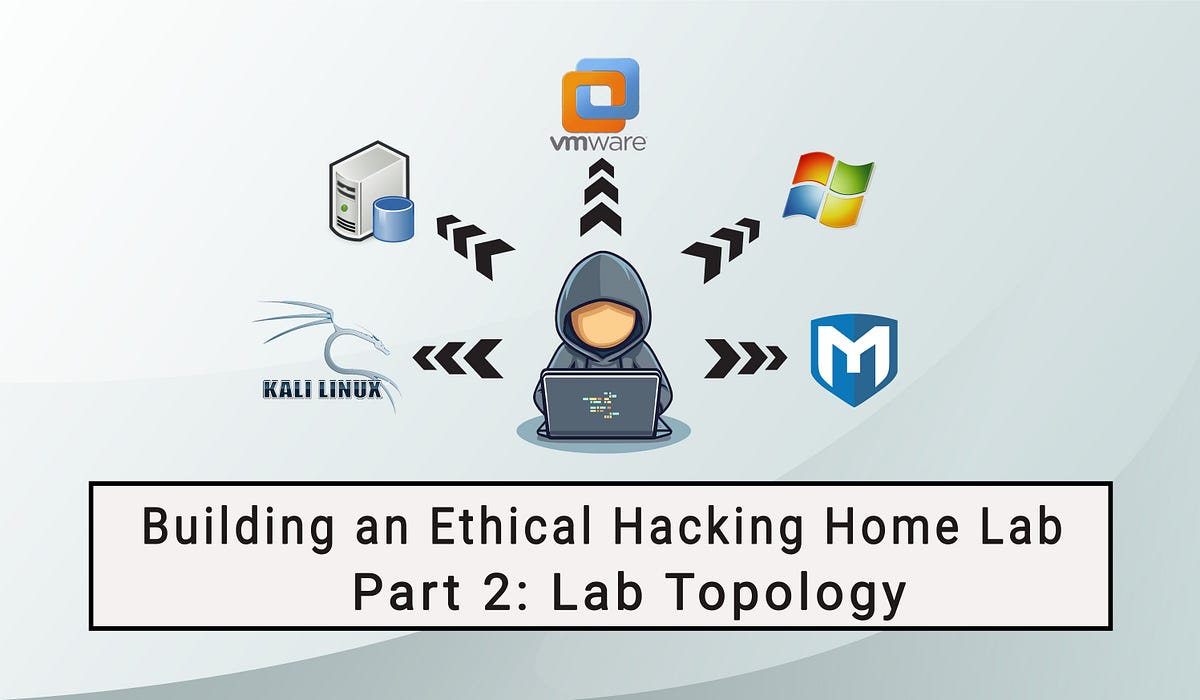
Let's break down each of these components.
Component 1: The Hypervisor (The "Stage Manager")
The hypervisor is the software that makes virtualization possible. It's an application that runs on your host machine (your computer running Arch Linux) and is responsible for creating, managing, and running your virtual machines. It carves out and allocates your physical hardware resources—CPU cores, RAM, and storage—to each VM.
There are two main types of hypervisors.

- Type 1 (Bare-metal): This hypervisor is installed directly onto the computer's hardware, acting as the operating system itself. It's highly efficient and is the standard in enterprise data centers (e.g., VMware ESXi, Microsoft Hyper-V).
- Type 2 (Hosted): This hypervisor runs as a standard application on top of your existing operating system (e.g., Windows, macOS, or in your case, Arch Linux). This is what we will use. The most popular choices are Oracle VirtualBox (free and open-source) and VMware Workstation Player/Pro.
Given your experience with system configuration on Arch, you'll appreciate the distinction: you are simply installing another piece of software (the hypervisor) that manages other self-contained operating systems.
How To Setup A Virtual Penetration Testing Lab
Let's watch a clip that discusses the most common hypervisors used for building a lab.
Watch the section from 02:56 to 05:18. The presenter discusses VMware and VirtualBox, explaining that both are viable options for beginners.
Component 2: The Attacker VM (Your "Toolkit")
This is your offensive platform. It's a virtual machine running a specialized operating system—almost always a Linux distribution—that comes pre-installed with hundreds of penetration testing tools.
- Common Choices: The two industry standards are Kali Linux and Parrot Security OS. Both are Debian-based and contain a vast array of tools for reconnaissance, scanning, exploitation, and more.
- Purpose: Using a dedicated attacker VM keeps your tools organized and separate from your host system. It also allows you to download pre-configured VM images, saving you the significant effort of installing and configuring hundreds of tools manually.
How To Setup A Virtual Penetration Testing Lab
This clip from the HackerSploit video discusses the choice of an attacker VM and the convenience of using pre-built images.
Watch from 06:18 to 10:51. Pay attention to the advice about not downloading the ISO file but instead using the pre-built VM image for your chosen hypervisor. This is a crucial time-saving tip.
Component 3: The Target VM (The "Practice Dummy")
This is a virtual machine that has been intentionally designed to be insecure. It contains known vulnerabilities for you to discover and exploit legally and safely.
- Classic Example: The most common starting point is Metasploitable2, a Linux-based VM riddled with misconfigurations and vulnerable services.
- Other Sources: Websites like VulnHub host hundreds of community-created vulnerable VMs, offering a range of challenges from beginner to expert.
- Purpose: These VMs provide a safe and legal way to practice the entire penetration testing lifecycle. You can scan them, exploit them, and gain access without any real-world consequences.
How To Setup A Virtual Penetration Testing Lab
The HackerSploit video also introduces our primary target VM, Metasploitable2.
Watch from 13:43 to 15:42. This section explains what Metasploitable is and how to get it. Notice that it's also a pre-built VM, making setup easy.
3. The Power of a Virtual Lab: Isolation and Snapshots
Understanding the components is one thing; understanding why this setup is so powerful is another. Two key features of virtualization make these labs incredibly effective for learning: network isolation and snapshots.
Network Isolation
The single most important function of your lab is to keep your practice attacks isolated. You never want to accidentally scan or attack your own home network, or worse, systems on the public internet. Hypervisors allow you to create private virtual networks that your VMs can communicate on, completely separated from your physical network.
A common mistake is using a "Bridged" network setting, which connects the VM directly to your home network as if it were a separate physical device. This breaks isolation. For lab work, you will almost always use a "NAT Network" or "Host-Only" configuration to create a private sandbox.
How To Setup A Virtual Penetration Testing Lab
Let's watch a critical segment explaining how to configure the network for proper isolation. Getting this wrong is a common and dangerous mistake for beginners.
Watch from 19:11 to 20:24. The presenter explains the problem with the default NAT setting and why 'Bridged' networking is necessary to give each VM a unique IP address on the local network. Crucially, while this works for his demonstration, for a truly isolated lab, we will later use a different setting (NAT Network). The key takeaway here is understanding that network settings control how VMs communicate.
Snapshots: Your "Save Game" Feature
Snapshots are one of the most powerful features of virtualization for a penetration tester. A snapshot captures the exact state of a VM at a specific point in time—its memory, disk, and settings.
Imagine you successfully exploit a web server on a target VM. The exploit might be "destructive," meaning it crashes the service or makes the system unstable. Without snapshots, you'd have to rebuild the VM. With snapshots, you can simply:
- Take a snapshot of the clean, running target VM before you attack.
- Launch your exploit.
- When you're done, revert the VM to the clean snapshot. The machine is instantly reset to its pre-attack state, ready for you to try a different technique.
you need to learn Virtual Machines RIGHT NOW!! (Kali Linux VM, Ubuntu, Windows)
NetworkChuck provides an excellent, practical demonstration of taking a snapshot, making a change to a VM, and then reverting it.
Watch the segment from 21:42 to 22:50. This perfectly illustrates the power of snapshots as a way to experiment without fear of permanently breaking your target system.
Conclusion
You now have a solid theoretical understanding of the architecture of a virtual hacking lab. This is the environment where all your practical skills will be developed.
Key Takeaways:
- A virtual lab uses a hypervisor (like VirtualBox or VMware) to run multiple operating systems on a single physical machine.
- The lab consists of three main components: your host system (your computer), an attacker VM (like Kali Linux), and one or more target VMs (like Metasploitable2).
- The primary purpose of the lab is to provide a safe, isolated, and legal environment for practicing hacking skills.
- Key virtualization features like network isolation prevent you from attacking real systems, while snapshots allow for consequence-free experimentation and repeatable practice.
Next Lesson Preview:
In the next lesson, we will transition from theory to practice. You will install your chosen hypervisor on your Arch Linux system and perform the initial network configuration. This will be the first hands-on step in building your personal penetration testing lab.