Hello! Welcome to the fourth lesson in the "Building a Hacking Lab" module.
In our last session, you laid the groundwork for our lab by installing VirtualBox on your Arch Linux system and creating a private, isolated Host-only network. The stage is set, but the actors have not yet arrived.
Today, we will bring your lab to life. Our goal is to download and import a Kali Linux VM and a vulnerable target VM (Metasploitable2). By the end of this lesson, you will have a fully populated virtual environment, with an attacker machine and a target machine ready for you to begin your hands-on practice.
Let's get started.
1. The Attacker: Setting Up Kali Linux
First, we'll set up your "attacker" machine. We will use Kali Linux, a Debian-based distribution that is the de facto standard for penetration testing. It comes pre-loaded with hundreds of security tools, saving you the effort of finding and installing them individually.
There are two main ways to get Kali Linux running in VirtualBox:
- Using an ISO file: This is like installing a fresh operating system from a CD. It's fully customizable but takes more time and configuration.
- Using an OVA file: An Open Virtualization Appliance (OVA) is a pre-installed, pre-configured virtual machine packaged into a single file. You simply import it, and it's ready to go.
For speed and convenience, we'll use the OVA method.
The following guide explains this process clearly. It will show you where to download the official Kali Linux OVA and how to import it into VirtualBox.
Install Kali on VirtualBox: The quickest way
The article 'Install Kali on VirtualBox: The quickest way' from Cybr provides a concise guide to setting up Kali using the OVA method. This is the most efficient way to get our attacker VM running.
Read the sections 'Download the latest version of Kali Linux', 'Import and install Kali in VirtualBox', 'Disable USB 2.0', and 'Changing the default password'. You can skip the 'Download VirtualBox' section since you've already done that. Pay close attention to the instructions for importing the OVA file and, most importantly, for changing the default password after the first login.
After importing the Kali VM, a crucial security step is to change the default credentials. The default username is kali and the password is kali. As the article mentions, you can do this by opening a terminal in your new Kali VM and running the passwd command.
2. The Target: Setting Up Metasploitable2
With our attacker machine ready, we need a target to practice on. For this, we'll use Metasploitable2. This is a Linux virtual machine created by Rapid7 (the company behind the Metasploit Framework) that is intentionally designed to be full of security holes. It serves as a safe and legal "punching bag" for you to test tools and practice exploitation techniques.
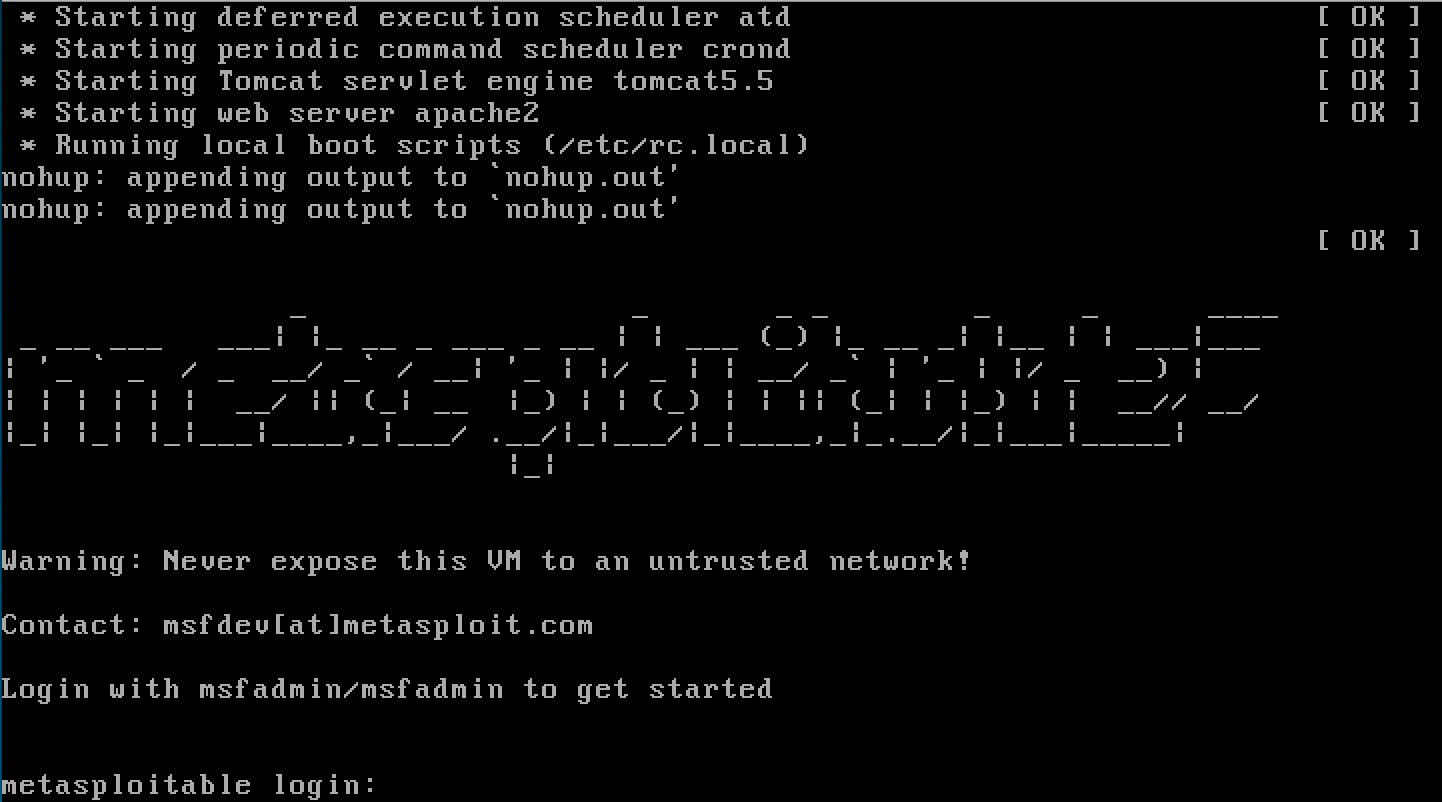
The warning shown in the image is not to be taken lightly. Because it is deliberately insecure, connecting Metasploitable2 to the internet or any public network would be extremely dangerous. This is precisely why we created the isolated host-only network in the last lesson.
The setup process is similar to Kali's, but instead of an OVA, you'll download a ZIP file containing a virtual disk (.vmdk). You will create a new VM in VirtualBox and instruct it to use this existing disk.
This guide provides a clear, step-by-step walkthrough.
The 'Install Metasploitable 2' guide from GeeksforGeeks details how to download, extract, and set up the Metasploitable2 VM in VirtualBox. It correctly advises using an isolated network, which aligns perfectly with our lab design.
Follow 'Step 1: Get the Metasploitable 2 VM' and 'Step 2: Import it into VirtualBox'. This will guide you through downloading the file, extracting the virtual disk, creating a new VM, and pointing it to the existing disk file. We will handle the networking part in the next section, so you can pause after Step 2.

3. Connecting Your Lab
Now that you have both VMs imported, we need to connect them to the private network you created in the last lesson. This step ensures they can communicate with each other but remain isolated from your main network and the internet.
You will need to perform these steps for both your Kali Linux VM and your Metasploitable2 VM.
- In the main VirtualBox window, select one of the virtual machines (e.g., Kali Linux).
- Click on Settings.
- Go to the Network tab.
- By default,
Adapter 1is likely set toNAT. Change the "Attached to:" dropdown menu to Host-only Adapter. - In the "Name" dropdown below it, select the host-only network you created in the previous lesson (it will be named something like
vboxnet0or the custom name you gave it, likeHackingLabNet). - Click OK.
- Repeat these exact steps for the other virtual machine (Metasploitable2).
By attaching both VMs to the same host-only network, you have placed them in your secure, virtual sandbox.
Conclusion
Excellent work. Your virtual hacking lab is no longer just an empty framework. It's now a fully functional environment with an attacker machine and a designated target.
Key Takeaways:
- Kali Linux is your attacker OS, and using a pre-built OVA file is the fastest way to set it up.
- Metasploitable2 is your intentionally vulnerable target VM. It must always be kept on an isolated network for safety.
- To enable communication within the lab, both the attacker and target VMs must be configured to use the same Host-only Network Adapter.
Next Lesson Preview:
In our next lesson, we will perform the first official act in our new lab: verifying network connectivity. We'll power on both machines, find their IP addresses, and use the ping command from Kali to confirm that it can reach Metasploitable2. This simple test is the final check to ensure your lab is correctly configured and ready for the reconnaissance phase.