Hello! Welcome to the final lesson in our module on practical network analysis.
In our previous lessons, we've used tools like curl to download data from a server and tcpdump to inspect the traffic. Today, we'll focus on another critical task: securely moving files between two machines you control. This is a fundamental skill you'll use constantly, whether you're deploying a configuration file, uploading hacking tools to a target, or exfiltrating data you've found.
This lesson will cover the learning outcome: Transfer files securely between machines using scp. The scp command, which stands for Secure Copy, is a workhorse for command-line file transfers because it leverages the encryption and authentication of SSH.
1. What is scp and Why is it Secure?
At its core, scp is like the cp (copy) command, but for networks. The "Secure" part of its name comes from the fact that it operates over an SSH (Secure Shell) connection. This means that both your credentials (like your password) and the file data itself are encrypted during transit, protecting them from anyone eavesdropping on the network.
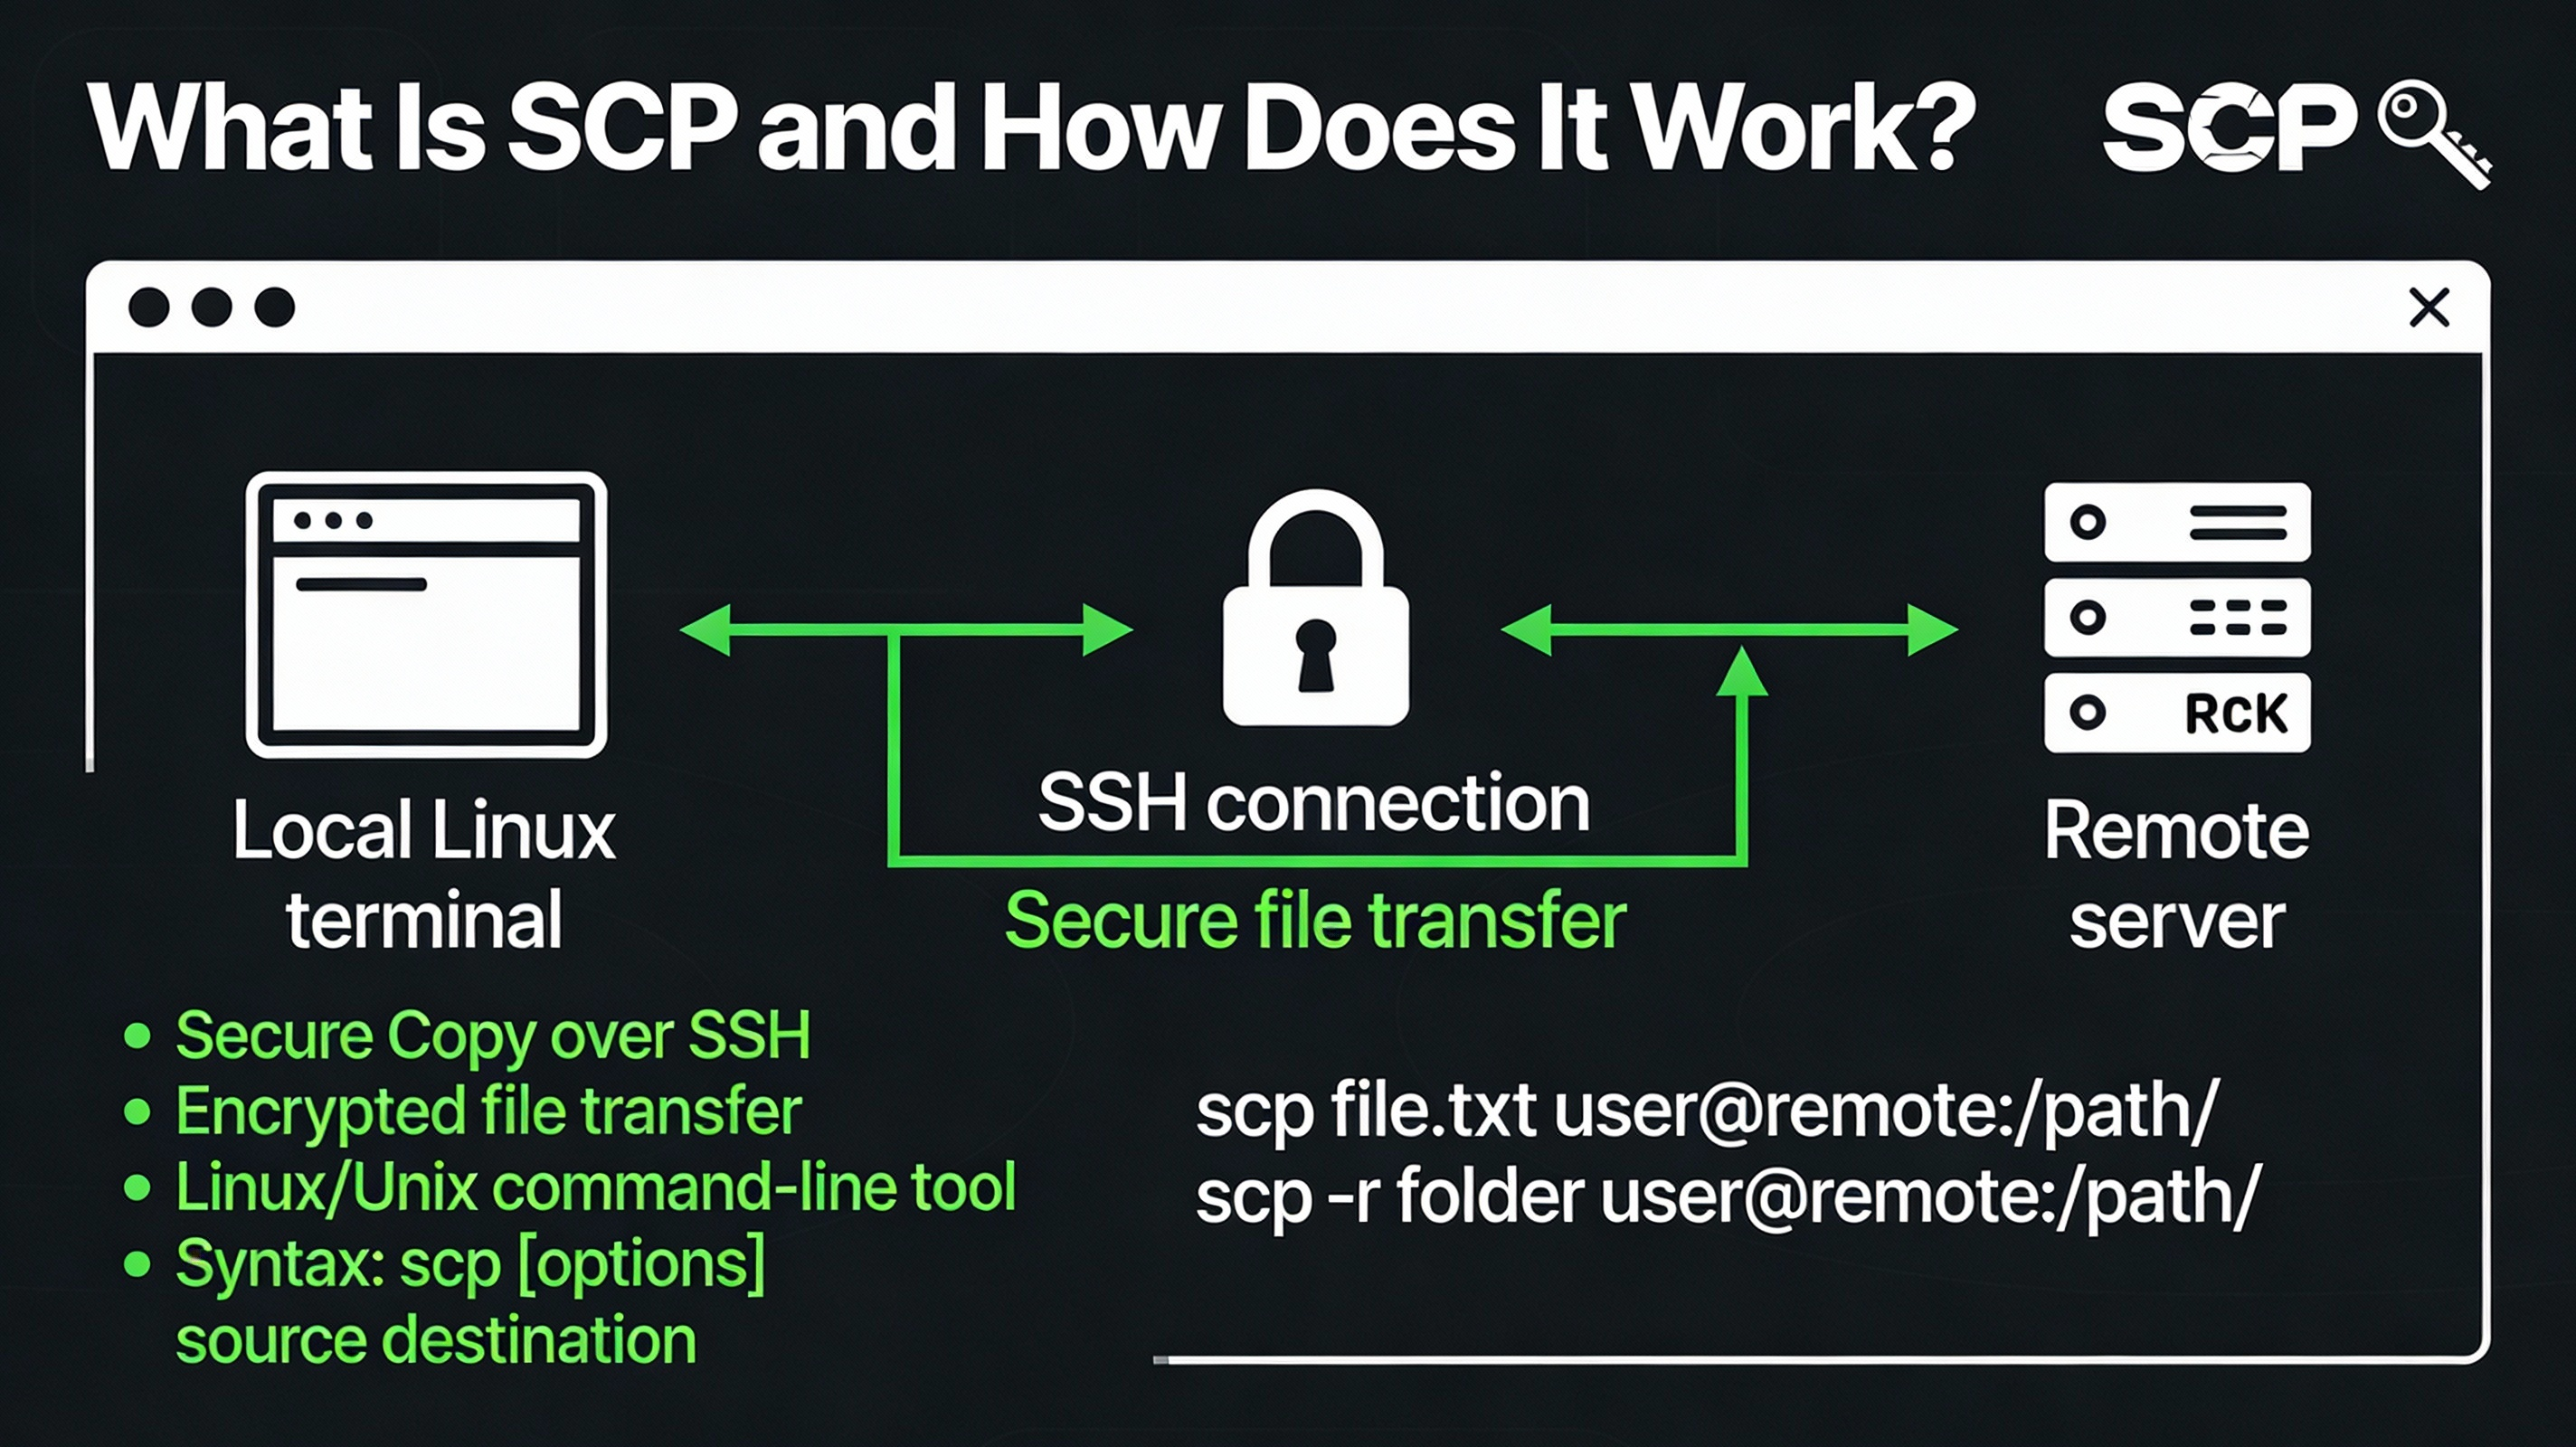
Before we start using the command, let's get a solid theoretical understanding of what scp is and how it fits in with other file transfer tools.
How to Transfer Files With the scp Command on Linux
This article from Linode Docs provides an excellent introduction to SCP, explaining how it works and how it compares to a similar tool, SFTP.
Please read the sections titled 'An Introduction to SCP' and 'The Differences Between SCP and SFTP'. This will clarify why scp is secure and help you understand when to use it versus other tools.
The key takeaway is that scp is designed for quick, non-interactive file transfers, making it perfect for scripting and simple copy jobs. For scp to work, the remote system must be running an SSH server, which is standard on almost all Linux systems.
2. The scp Command: Syntax and Basic Usage
The syntax for scp is straightforward and extends the logic of the local cp command.
The basic format is:scp [options] <source> <destination>
The main difference is how you specify a remote location. A remote path is defined using the format: user@host:path
user: The username you are logging in as on the remote machine.host: The IP address or hostname of the remote machine.path: The absolute or relative path on the remote machine.
Let's watch a demonstration of the two most common operations: uploading a file (local to remote) and downloading a file (remote to local).
Uploading a File (Local to Remote)
This is the most common use case: copying a file from your machine to a remote server.
Transferring files with the scp Command (Linux Crash Course Series)
Now for the practical part. Jay from Learn Linux TV provides a very clear, hands-on demonstration of the basic scp command. Pay close attention to the syntax for the remote destination.
Watch from 02:53 to 07:16. This segment covers the prerequisite of having SSH access and the fundamental command for copying a file from your local machine to a remote one.
As you saw, the command looks like this:scp /path/to/local/file.txt user@remote_ip:/path/on/remote/server/
Downloading a File (Remote to Local)
To download a file, you simply swap the source and destination in the command.
Transferring files with the scp Command (Linux Crash Course Series)
The process is easily reversed to download files from a remote server to your machine.
Now watch from 08:15 to 09:08. This shows how to specify the remote file as the source and a local directory as the destination.
The command for downloading is:scp user@remote_ip:/path/to/remote/file.txt /path/on/local/machine/
3. Essential scp Options
While the basic command is powerful, a few options make scp much more versatile.
-r(recursive): Copies entire directories and their contents. Without this,scpwill give you an error if you try to copy a directory.-P port(uppercase P): Specifies the port to connect to on the remote host. This is crucial because many administrators change the default SSH port (22) for security.-p(lowercase p): Preserves the modification times, access times, and modes (permissions) from the original file. This is useful for maintaining metadata.-i /path/to/key(identity file): Specifies the private SSH key to use for authentication, which is an alternative to using a password. We will cover this in detail in the next module.
Let's see these options in action.
Transferring files with the scp Command (Linux Crash Course Series)
Let's expand our toolkit with these essential options for copying directories, specifying different ports, and preserving file details.
Watch from 14:19 to 19:08. This covers: Copying directories with -r (recursive). Preserving file attributes with -p. Specifying a non-default SSH port with -P.
4. Hands-On Lab
It's time to put this into practice. For this lab, you'll need access to two Linux machines that can communicate with each other over the network (e.g., your host machine and a VM, or two VMs). Let's call them Machine A (your local/attacker machine) and Machine B (your remote/target machine).
Make sure you know the IP address and a valid username/password for Machine B.
1. Create Test Files on Machine A
In a terminal on Machine A, run the following commands to set up your test files.
# Navigate to your home directory
cd ~


# Create a test file
echo "This is a secret message." > secret_note.txt


# Create a directory with a few files
mkdir tools
touch tools/tool1.sh
touch tools/tool2.py
2. Upload a Single File to Machine B
From Machine A, use scp to copy secret_note.txt to the home directory of the user on Machine B. Replace user and machine_b_ip with your actual values.
scp ~/secret_note.txt user@machine_b_ip:~/
After running the command, log in to Machine B (or use another terminal) and run ls ~ to verify that secret_note.txt has arrived.
3. Upload a Directory to Machine B
Now, use the -r flag to copy the entire tools directory from Machine A to the home directory on Machine B.
scp -r ~/tools user@machine_b_ip:~/
Again, verify on Machine B that the tools directory and the files inside it were copied correctly.
4. Download a File from Machine B
Let's practice the reverse. First, create a new file on Machine B.
# On Machine B
echo "This file was created on the remote server." > remote_file.txt
Now, from Machine A, download this file into your local home directory.
# On Machine A
scp user@machine_b_ip:~/remote_file.txt ~/
Verify with ls ~ on Machine A that remote_file.txt is now present.
5. Challenge Question
Imagine a system administrator has changed the SSH port on Machine B to 2222 for security. What exact scp command would you use to upload the secret_note.txt file now? (You don't have to actually change the port, just write out the command).
Click to see the answer
scp -P 2222 ~/secret_note.txt user@machine_b_ip:~/
The key is using the uppercase -P to specify the custom port.
Conclusion
Great job! You can now securely and efficiently transfer files and directories between Linux systems from the command line. This is an indispensable skill for system administration and ethical hacking.
Key Takeaways:
scpprovides secure, encrypted file transfers by using SSH as its transport layer.- The basic syntax is
scp [options] source destination. - A remote path is specified as
user@host:path. - Essential options include
-rfor recursive directory copying,-Pfor specifying a non-default port, and-pfor preserving file attributes.
For a comprehensive reference and to learn about troubleshooting common issues, the following guide is an excellent resource to bookmark.
How to Use SCP Command to Securely Transfer Files
The guide from Linuxize is a fantastic resource that includes a quick reference table and a troubleshooting section for common errors.
Quickly review the sections 'Before You Begin', 'SCP Command Syntax', 'Troubleshooting', and the 'Quick Reference' table. You don't need to memorize it, but it's a great cheat sheet to have for the future.
Next Lesson Preview:
This entire lesson depended on SSH. It's the engine that makes scp secure. In our next module, "Security Principles and Defensive Measures," we will dive deep into SSH. You'll learn not only how to connect to remote machines but also how to set up highly secure key-based authentication, which eliminates the need for passwords and is the professional standard for remote access.