Welcome to our third lesson on CSS! In the previous lesson, you learned how to target specific HTML elements using element, class, and ID selectors. You now have the power to tell the browser which elements to style. Today, we'll focus on the what—the specific CSS properties that bring your text to life.
This lesson is all about typography and color. We will explore the most common CSS properties for controlling fonts, setting colors, and adjusting text layout. By the end, you'll be able to change an element's font family, size, weight, color, alignment, and more, giving you the fundamental tools to define the visual identity of your website.
The Foundation: Inheritance
Before we dive into specific properties, we need to understand a core concept in CSS: inheritance. Many CSS properties, especially those related to text, are "inherited." This means that if you apply a style to a parent element, its child elements will automatically adopt that same style unless they are explicitly told otherwise. This is incredibly efficient. Instead of styling every single paragraph and list item, you can set a base font style on the <body> element, and your entire page will inherit it.
Let's start with a fantastic video from Kevin Powell that explains this concept and introduces many of the properties we'll cover today.
Beginner’s guide to styling text with CSS
This video provides an excellent introduction to styling text in CSS. We'll start by focusing on the crucial concepts of inheritance and browser default styles.
Please watch the first few minutes, from the introduction. Pay close attention to how a color property applied to the body selector affects all the text on the page. Then, jump to the section on debugging, from color and debugging. This segment explains why some styles, like the default color of links, don't seem to be inherited. You'll learn about "user agent stylesheets" (browser defaults) and how to use your browser's developer tools to see what styles are being applied. This is a critical skill for any web developer.
As you saw, the browser has its own default styles. Headings are bold, links are blue and underlined, etc. Our CSS rules can override these defaults. When our styles don't seem to work, the developer tools are our best friend for figuring out why.
1. The color Property and Its Values
The most basic way to style text is by changing its color using the color property. While you can use simple named colors like red or blue, you will almost always use more specific color codes in real projects to match a design. There are three main formats you should know.
CSS Layout, Position, and other Must-Know Properties for ...
This article from Fullstack Foundations provides a concise overview of the different ways to define colors in CSS.
Read the section titled Color Codes. Focus on understanding the syntax for these four methods: Named colors: green RGB: rgb(0, 255, 0) Hexadecimal (Hex): #00ff00 RGBA: rgba(0, 255, 0, 0.8) (The 'a' stands for alpha, which controls transparency)
Hex codes are the most common format you'll see. Don't worry about memorizing them; tools like the Adobe Color wheel mentioned in the article or color pickers built into code editors like VS Code make it easy to choose colors and get their codes.
2. Styling Fonts
Now let's move on to the properties that control the font itself. These typically start with font-.
font-family
This property sets the typeface. Since you can't be sure which fonts are installed on your user's computer, you should provide a "font stack": a comma-separated list of fonts. The browser will go down the list and use the first one it finds. It's a best practice to end the list with a generic family name like serif (fonts with small strokes on the ends of letters, like Times New Roman) or sans-serif (fonts without those strokes, like Arial or Helvetica).
font-size
This controls the size of the text. While you can use pixels (px), the modern standard is to use rem units. One rem is equal to the root font size of the browser, which is typically 16px. Using rem respects the user's browser settings, making your site more accessible. For example, a user with visual impairments might have their default font size set larger, and rem units will scale accordingly, whereas px values are absolute and will override their preference.
font-weight
This property controls the boldness of the text. It's often set using numeric values from 100 to 900. For most standard fonts:
font-weight: 400;is normal.font-weight: 700;is bold.
Some fonts offer more weights (e.g.,300for "light",900for "black" or "heavy").
font-style
This is most commonly used to make text italic.
font-style: italic;makes text italic.font-style: normal;removes any italic styling.
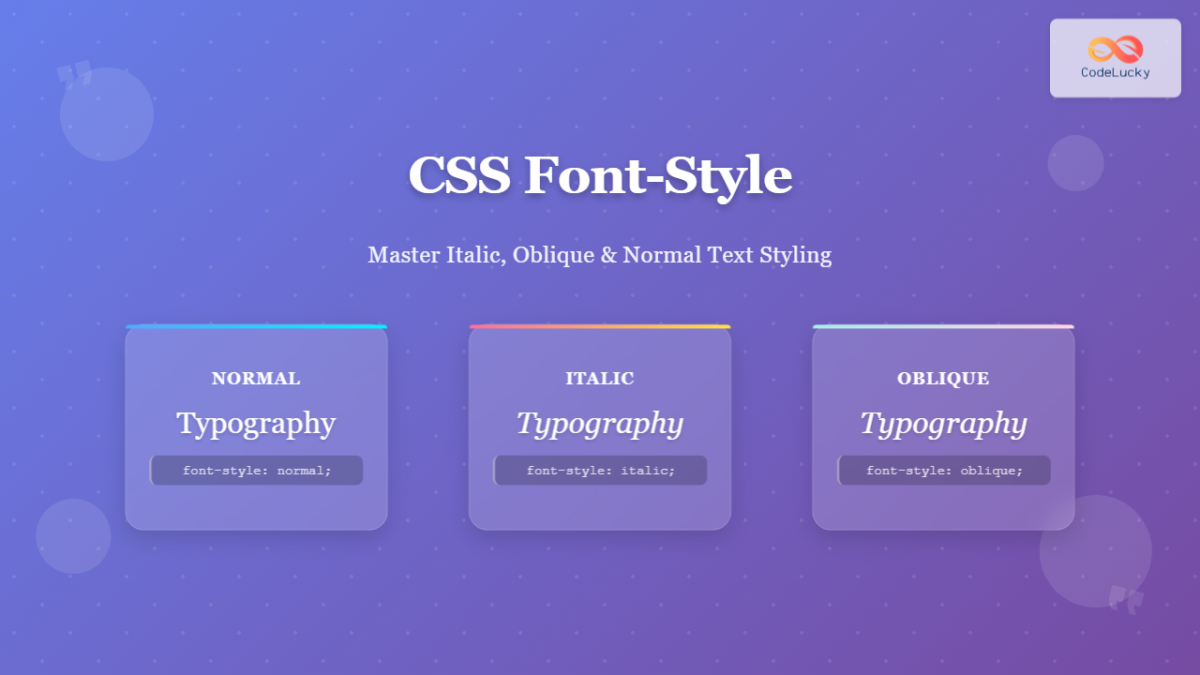
Let's return to the Kevin Powell video to see these font properties in action.
Beginner’s guide to styling text with CSS
This video provides clear, practical demonstrations of the fundamental font properties.
Please watch these three segments: Font Family: This section covers font-family, font stacks, and when to use quotation marks. Font Size: This part explains font-size and makes a strong case for using rem units. Font Weight & Style: This segment demonstrates font-weight and font-style.
3. Styling Text Layout and Decoration
The final group of properties controls how text is arranged and decorated within its element.
line-height
This property controls the vertical space between lines of text. For body text, a line-height of around 1.5 to 1.7 dramatically improves readability compared to the browser default. It's best to use a unitless value, which acts as a multiplier of the font-size.
text-align
This controls the horizontal alignment of text within its container. The common values are left, right, center, and justify.
text-transform
This allows you to change the case of the text without altering the HTML. The most useful values are uppercase, lowercase, and capitalize.
text-decoration
This property adds or removes lines from text. You'll most often use text-decoration: none; to remove the default underline from links, particularly in navigation menus. You can also add lines with underline, overline, or line-through.

A crucial piece of advice: avoid removing the underline from links within a paragraph or body of text. The underline is a universally recognized indicator that text is clickable. Removing it can harm your site's usability.
Let's watch the final segments of the video to see these text properties demonstrated.
Beginner’s guide to styling text with CSS
These clips demonstrate properties that control the layout and decoration of your text.
Please watch the following sections: Line Height: This clip explains the importance of line-height and why unitless values are best. Text Align & Transform: This part covers horizontal alignment and changing text case. Text Decoration: This final segment shows how to use text-decoration and gives important usability advice for links.
Practice Time
It's time to put theory into practice. Open your index.html and styles.css files. Let's transform the default browser text into something more refined.
-
Set Base Styles: In
styles.css, target thebodyelement. Let's set some inherited styles for the whole page. Choose a font from your computer (like Helvetica, Georgia, or Verdana) and create a font stack.body { font-family: Helvetica, Arial, sans-serif; /* A clean, modern font stack */ font-size: 1.125rem; /* This will compute to 18px in most browsers (16 * 1.125) */ line-height: 1.6; color: #333; /* A dark gray, softer than pure black */ } -
Style the Heading: Target your
<h1>. Let's make it stand out.h1 { font-family: Georgia, 'Times New Roman', serif; /* A different font for the heading */ font-weight: 700; /* Ensure it's bold */ color: #005a9c; /* The same blue from our last lesson */ text-align: center; text-transform: uppercase; } -
Style the Links: Target all anchor (
<a>) tags. Let's change their color but keep the underline for usability.a { color: #d9534f; /* A nice shade of red/coral */ } -
Create an "Emphasis" Class: In your CSS, create a new class for making text italic and a different color.
.emphasis {
  font-style: italic;
  color: #5bc0de; /* A light blue */
}
Now, go to your
index.htmland addclass="emphasis"to a<span>tag inside one of your paragraphs to style just a few words, or add it to an entire<p>tag. -
Save and Refresh: Save both files and look at your
index.htmlin the browser. You should see a dramatic change! Your page is starting to have a distinct personality. Experiment with different values to see what you can create.
Conclusion
You've just taken a huge step in learning CSS. You now have control over the core typographic and color elements of your website. These properties are the ones you will use constantly in every project you build.
Key Takeaways:
- Inheritance is a key CSS concept: styles on parent elements flow down to their children. Set base styles on the
body. - Use
remforfont-sizeand unitless values forline-heightto create flexible, accessible, and maintainable designs. - A font stack (
font-family) ensures your site looks acceptable even if the user doesn't have your preferred font. - Use specific color codes (like Hex or RGB) instead of generic names for professional designs.
- Don't remove underlines from links within body text. Usability first!
In our next lesson, we will move from styling the content within an element to styling the element's container itself. You'll learn about the CSS Box Model, which governs how we control an element's margin, padding, and border—the very building blocks of page layout.