Hello! Welcome back to your digital art journey.
In our last lesson, we started making marks by selecting brushes and controlling their size and opacity. This gave you the fundamental tools for adding pixels to the canvas.
Today, we'll explore the other side of that process: removing pixels. The learning outcome for this lesson is to use the Eraser tool effectively with different brush settings to make corrections and refine sketches. You'll discover that the Eraser is much more than a simple delete button—it's a versatile artistic tool in its own right. A key insight is that it behaves almost exactly like the Brush tool, meaning all the skills you just learned will apply directly here.
1. The Eraser Is a Brush
The most important concept to grasp is that in Procreate, the Paint, Smudge, and Erase tools all share the same brush library. This means you can erase with a soft airbrush, a textured pencil, or a sharp inking pen. This allows you to make corrections that blend seamlessly with your artwork.
Let's start with the official Procreate Handbook to solidify this concept.
Paint, Smudge, and Erase — Procreate Handbook
The Procreate Handbook provides the official explanation for its core tools. This section clarifies that the Paint, Smudge, and Erase tools are built on the same foundation.
Please read the sections titled 'Basics' and 'Erase'. Pay close attention to the idea that you select an eraser from the same Brush Library and that matching your eraser to your painting brush creates a seamless style.
To summarize, the Eraser tool doesn't just delete; it "paints away" pixels using the shape, texture, and properties of the selected brush.
- A hard-edged eraser is for clean, precise cuts.
- A soft-edged eraser is for fading, blending, and creating gradients.
- A textured eraser (like a pencil) helps maintain a consistent feel when correcting a textured sketch.

2. Controlling Your Eraser: Size, Opacity, and Workflow
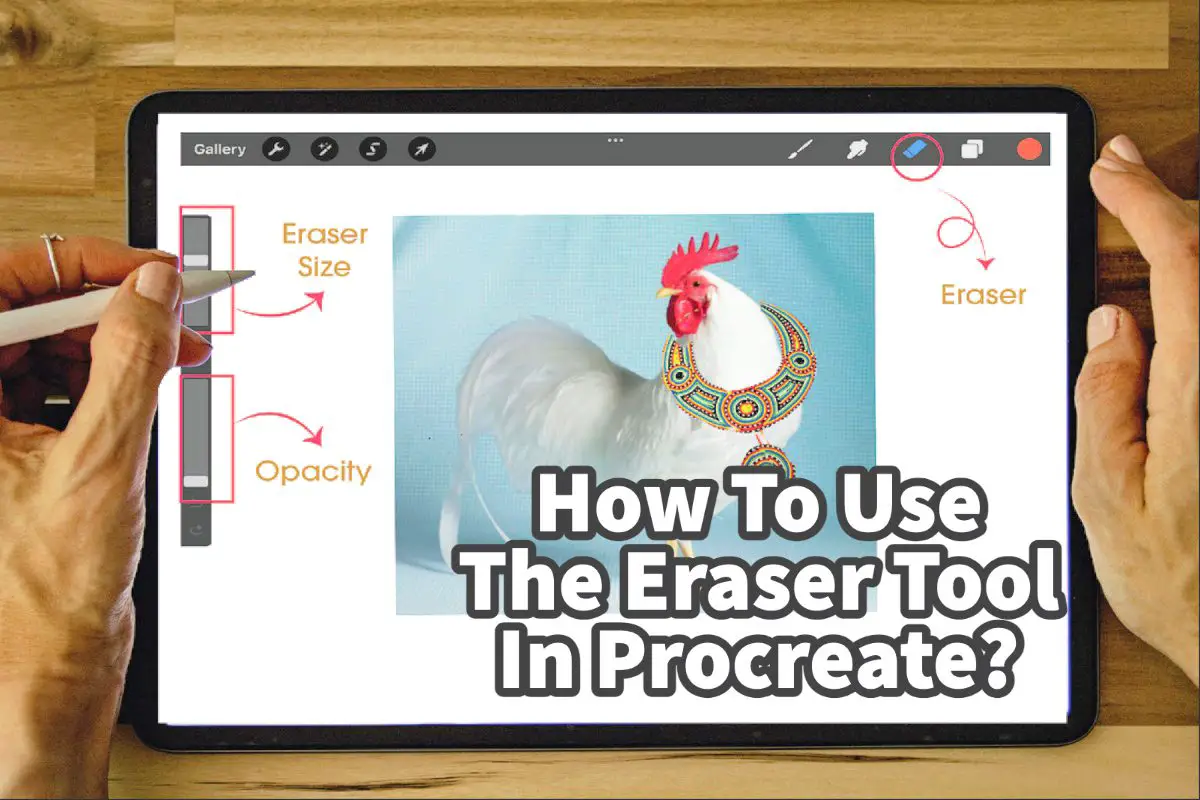
Since the Eraser is a brush, you control it with the same sidebar sliders for Size and Opacity.
- Size: Controls the diameter of the area you erase.
- Opacity: Controls how much you erase. At 100% opacity, you remove all pixels in one pass. At lower opacities, you only partially erase, making the area more transparent. This is perfect for gently lightening a section or creating a fade effect.
This video provides a clear, practical demonstration of the eraser in action, including a common workflow for cleaning up an image.
How To Erase In Procreate Using The Eraser Tool
This video from Make It Mobile gives a great visual walkthrough of the Eraser tool and its settings.
Please watch the following sections: Tool Location & Settings (0:00 - 1:45): Watch how to select the tool, open its brush library, and adjust the size and opacity sliders. Notice the difference between a full-opacity and a low-opacity erase. A Practical Workflow (1:45 - 3:42): Pay close attention to the strategy used: start with a small, precise eraser to clean up the edges, then switch to a larger eraser to clear out the big remaining areas. This is a very efficient technique.
3. Practical Exercise: Correcting and Refining
Time to put this into practice. Open Procreate and create a new canvas.
Part 1: Hard vs. Soft Erasure (5 mins)
- Select the Studio Pen from the Inking set.
- Draw a solid, filled-in square.
- Tap the Eraser tool icon (it looks like a block eraser) at the top right. Tap it again to open the Brush Library.
- Select the Hard Brush from the Airbrushing set.
- With the eraser's opacity at 100%, erase a corner of your square. Notice the crisp, clean edge.
- Now, select the Soft Brush from the Airbrushing set for your eraser.
- Erase another corner of the square. See how the edge is feathered and soft? This is ideal for blending.
Part 2: Using Opacity (5 mins)
- Draw another solid shape, perhaps a circle.
- Select the Soft Brush for your eraser.
- Move the Opacity slider (the bottom one) down to about 30%.
- Gently brush over one side of your circle. Notice that it doesn't disappear completely; it just becomes lighter.
- Make several passes over the same area. The effect builds up with each stroke, eventually erasing the area completely. This technique is fundamental for subtle shading and highlights in a process called "subtractive drawing."
Part 3: Refining a Sketch (15 mins)
This is the most common use case for the eraser in figure drawing.
- Select the 6B Pencil from the Sketching set.
- Create a quick, messy sketch of a simple object, like a cube or a coffee cup. Use multiple overlapping lines, just as you would when trying to find the right shape.
- Now, let's clean it up. Select the Eraser tool.
- Important: For your eraser brush, select the same 6B Pencil you drew with. This ensures that any partially erased areas will have the same texture as your drawing lines, making the corrections look natural.
- Zoom in on your sketch. Use a small eraser size to carefully carve away the unwanted construction lines, leaving only the clean final outline. Think of it as sculpting your line art from the rough initial sketch.
- Once the detailed work is done, increase your eraser's size to quickly clear away any larger stray marks.
This process of sketching loosely and then "carving out" the final lines with an eraser is a core skill in digital illustration.
A Pro Workflow Tip
To speed up your workflow, you can quickly switch between painting and erasing with the same brush. Simply press and hold the Eraser icon while you have the Brush tool active. This will temporarily make your current brush act as an eraser. The same works in reverse: press and hold the Brush icon to temporarily paint while using the Eraser tool. This is excellent for making quick, textural edits without navigating the menus.
And don't forget your most important correction tool: the two-finger tap to Undo. When you're erasing precise details, you'll inevitably make mistakes. A quick tap will instantly undo your last eraser stroke.
Conclusion
You've now mastered the two fundamental actions in digital drawing: adding and removing marks with intention and control.
Key Takeaways:
- The Eraser tool functions like a brush, using the same library of shapes and textures to remove pixels.
- For seamless corrections, match your eraser brush to your drawing brush.
- Adjusting the eraser's size and opacity gives you control over everything from sharp cuts to gentle fades.
- A common workflow for refining sketches is to use a small eraser to carve out final lines and a large eraser to clear away big areas.
In our next lesson, we will introduce a concept that is a cornerstone of digital art and will feel very familiar from your programming background: Layers. Learning to manage layers will allow you to keep different parts of your drawing separate—like keeping your sketch on one layer and your final lines on another. This enables a powerful, non-destructive workflow where you can make changes to one element without affecting the rest of the image.