Hello! Let's continue our journey into the world of HTTP.
In our last lesson, we unpacked HTTP status codes and saw how they serve as the server's official reply to a client's request. We also got a glimpse of how headers and status codes work together, like the Location header in a 301 redirect or the ETag header enabling a 304 Not Modified response. This collaboration is a fundamental aspect of the protocol.
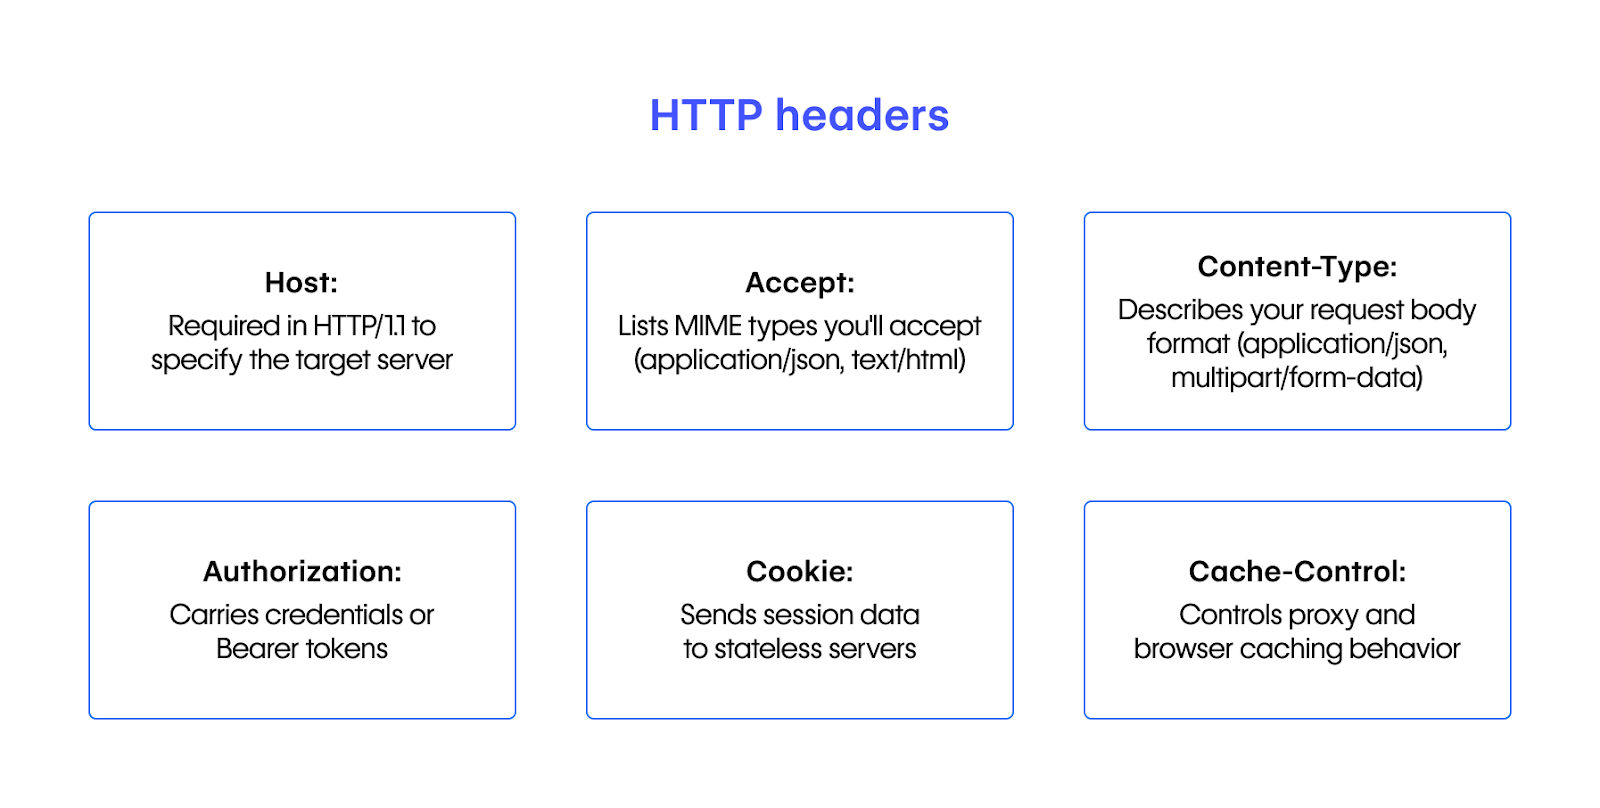
Today, we're going to put HTTP headers in the spotlight. If the HTTP method is the verb (what the client wants to do) and the URL is the noun (the resource), then headers are the adjectives and adverbs that provide crucial context. They are key-value pairs of metadata that tell the server and client how to handle the message.
Today's Goal: By the end of this lesson, you will be able to describe the purpose of key HTTP headers such as Content-Type, Authorization, and Accept. We'll explore how they manage the what and the who of an HTTP conversation.

The "What": Content Negotiation with Accept and Content-Type
Imagine you call a customer support line that offers service in multiple languages. The first thing the automated system might ask is, "For English, press 1. For Spanish, press 2." You make your selection, and the rest of the conversation happens in that language.
This is exactly what content negotiation is in HTTP. The client needs to tell the server what kind of content formats it can understand, and the server needs to tell the client what format it's actually sending back. This negotiation is primarily handled by the Accept and Content-Type headers.
To start, let's watch a video that introduces these two headers and their relationship.
Supercharge Your REST API with These Essential HTTP Headers
The video 'Supercharge Your REST API with These Essential HTTP Headers' by ByteMonk clearly explains the distinct roles of Content-Type and Accept and how they work together.
Watch the segments from 02:09 to 04:13. As you watch, focus on answering these two questions: Which party (client or server) sends the Content-Type header, and what does it describe? Which party sends the Accept header, and what does it communicate?
As the video explained, these two headers form a conversational pair:
-
Accept(Client to Server): This is the client telling the server, "Here are the data formats I can handle, listed in order of preference." It's sent with a request. For example:Accept: application/json- "I only want JSON."Accept: application/xml, application/json;q=0.9- "I prefer XML, but JSON is also acceptable (with a quality weighting of 0.9)."
-
Content-Type(Client to Server OR Server to Client): This header is declarative. It states, "The data in the body of this message is in this format."- When a client sends a
POSTrequest with a JSON payload, it includesContent-Type: application/jsonto tell the server how to parse the body. - When a server sends a response with a JSON payload, it includes
Content-Type: application/jsonto tell the client how to parse the body.
- When a client sends a
The format used (e.g., application/json, text/html) is called a MIME type.
The Negotiation Dance
Let's walk through a successful negotiation:
- A client wants to get user data and strongly prefers it as JSON. It sends a request:
GET /api/users/123 HTTP/1.1 Host: api.example.com Accept: application/json - The server receives the request. Its API is capable of producing JSON. It honors the client's preference.
- The server sends back the response, explicitly declaring the format of its body:
HTTP/1.1 200 OK
Content-Type: application/json
Content-Length: 52

{"id": 123, "name": "Krishna", "email": "test@example.com"}
What if the negotiation fails? If the client requests Accept: application/xml but the server can only produce JSON, the server should respond with a 406 Not Acceptable status code. This tells the client, "I understood your request, but I cannot generate a response in any of the formats you accept."
The "Who": Access Control with the Authorization Header
Now that we know how to negotiate the what of the data, let's talk about how we control who gets to access it. This is the domain of authentication and authorization, and the primary vehicle for this in HTTP is the Authorization header.
First, let's clarify two terms that are often confused:
- Authentication: Proving who you are. (e.g., logging in with a username and password).
- Authorization: Determining if you have permission to do something. (e.g., checking if a logged-in user is an admin before allowing them to delete a resource).
The Authorization header is used by the client to send credentials to the server to prove its identity. How those credentials are formatted is defined by an authentication scheme.
To understand the most common schemes you'll encounter, let's dive into a detailed video.
API Authentication Explained (Finally) — Basic Auth, Bearer & JWT
The video 'API Authentication Explained (Finally)' from LearnThatStack provides an excellent deep dive into the Authorization header, breaking down the most important schemes you'll use as a backend developer.
Watch the sections from 01:31 to 08:35. This covers three fundamental authentication schemes transmitted via the Authorization header: Basic Authentication Bearer Tokens (Opaque) Bearer Tokens (JWT) Pay close attention to the trade-offs of each approach, especially regarding security and performance.
This video was packed with critical information that goes to the core of your goal to understand backend systems. Let's summarize the key schemes.
Scheme 1: Basic
As the name implies, this is the simplest scheme.
- How it works: The client takes the
username:password, encodes it using Base64, and sends it.Authorization: Basic dXNlcm5hbWU6cGFzc3dvcmQ= - Key takeaway: Base64 is encoding, not encryption. Anyone who intercepts this header can easily decode it. Therefore, Basic Auth is only safe when used over an encrypted HTTPS connection. It sends the credentials on every single request.
Scheme 2: Bearer
This is the most common scheme in modern APIs. The word "bearer" means that whoever possesses (bears) the token is granted access. The token itself comes in different forms.
Authorization: Bearer <token>
Type A: Opaque Tokens
- How it works: The client logs in once with credentials. The server generates a random, meaningless string (the "opaque" token), stores it in a database associated with the user, and sends it to the client. The client then includes this token in the
Authorizationheader for all subsequent requests. - Trade-offs:
- Pro: Very secure revocation. To log a user out, you just delete the token from the database.
- Con: It's stateful. The server must perform a database lookup on every single request to validate the token. This can become a performance bottleneck and complicates scaling.
Type B: JSON Web Tokens (JWTs)
- How it works: A JWT is a self-contained token with three parts: a header, a payload, and a signature.
- Payload: Contains "claims" about the user (e.g., user ID, roles, expiration time). The payload is Base64 encoded, so it's readable by anyone. Never put sensitive data here.
- Signature: The server uses a secret key to create a cryptographic signature of the header and payload. This makes the token tamper-proof. If the payload is altered, the signature will no longer match.
- Trade-offs:
- Pro: It's stateless. The server can validate the token just by checking its signature and expiration date mathematically, without any database lookup. This is extremely fast and scales horizontally with ease.
- Con: Revocation is hard. Since the token is valid until it expires, you can't simply "kill" it. This requires more complex strategies like maintaining a blacklist of revoked tokens (which reintroduces state) or using very short-lived tokens.
When you've used libraries like Django REST Framework's TokenAuthentication or JWTAuthentication, they are doing this work for you under the hood—inspecting the Authorization header, extracting the token, and running these validation checks before your view code is ever executed.
Conclusion
Today we've demystified three of the most important headers in the HTTP world. They are the foundation for building APIs that are both flexible and secure.
Key Takeaways:
- Content Negotiation: The
Accept(from client) andContent-Type(from client or server) headers work together to ensure the client and server agree on the format of data being exchanged. A failure to agree results in a406 Not Acceptableerror. - Access Control: The
Authorizationheader is the standard way for a client to present credentials. - Authentication Schemes: The value of the
Authorizationheader is structured based on a scheme.Basicis simple but sends credentials on every request and must be used with HTTPS.Beareris the modern standard, carrying a token that can be either opaque (stateful, easy to revoke) or a JWT (stateless, fast, but hard to revoke).
Preview of the Next Lesson:
We've just discussed how the Authorization header carries sensitive credentials. This naturally leads to a crucial question: What stops a bad actor on the network from simply reading these headers and stealing the token? The answer is HTTPS. In our next lesson, we will explore how HTTPS works at a high level, covering the TLS handshake and the role of SSL certificates in encrypting the entire HTTP conversation, protecting not just the body but these vital headers as well.