Introduction
Welcome to Module 5! In our previous lessons, you've done the essential work of a designer: you built a full desktop landing page in Figma, established a component library, and then skillfully adapted that design to be responsive for tablet and mobile devices. Your Figma file now contains a complete visual blueprint for your website.
Today, we transition from designer to builder. This lesson covers the first, crucial step in launching your website: importing your Figma design into Framer and mapping your design elements to Framer's page structure. This is where your static visuals begin their transformation into a live, interactive website.
We'll operate under a core principle of this modern workflow: Figma is for designing, Framer is for building. Your meticulous work with Auto Layout and components in Figma wasn't just for organization; it was to create a structure that Framer can understand and rebuild using real web elements. By the end of this lesson, you'll have successfully transferred your design and will understand how its structure has been translated for the web.
1. Preparing for a Smooth Handoff
Before we copy anything over, it's vital to understand that the import process is a translation, not a perfect copy. Framer interprets your Figma file and rebuilds it using its own system of Stacks and Frames.
- Stacks in Framer are the equivalent of Figma's Auto Layout. They are essential for creating responsive layouts that adapt to different screen sizes.
- Frames are more like basic containers, similar to a
<div>in HTML. They are used for positioning and grouping but don't have the automatic layout capabilities of a Stack.
The cleaner and more logical your Figma file is, the better this translation will be. The work you did in the last lesson to name your layers and use Auto Layout consistently is about to pay off.
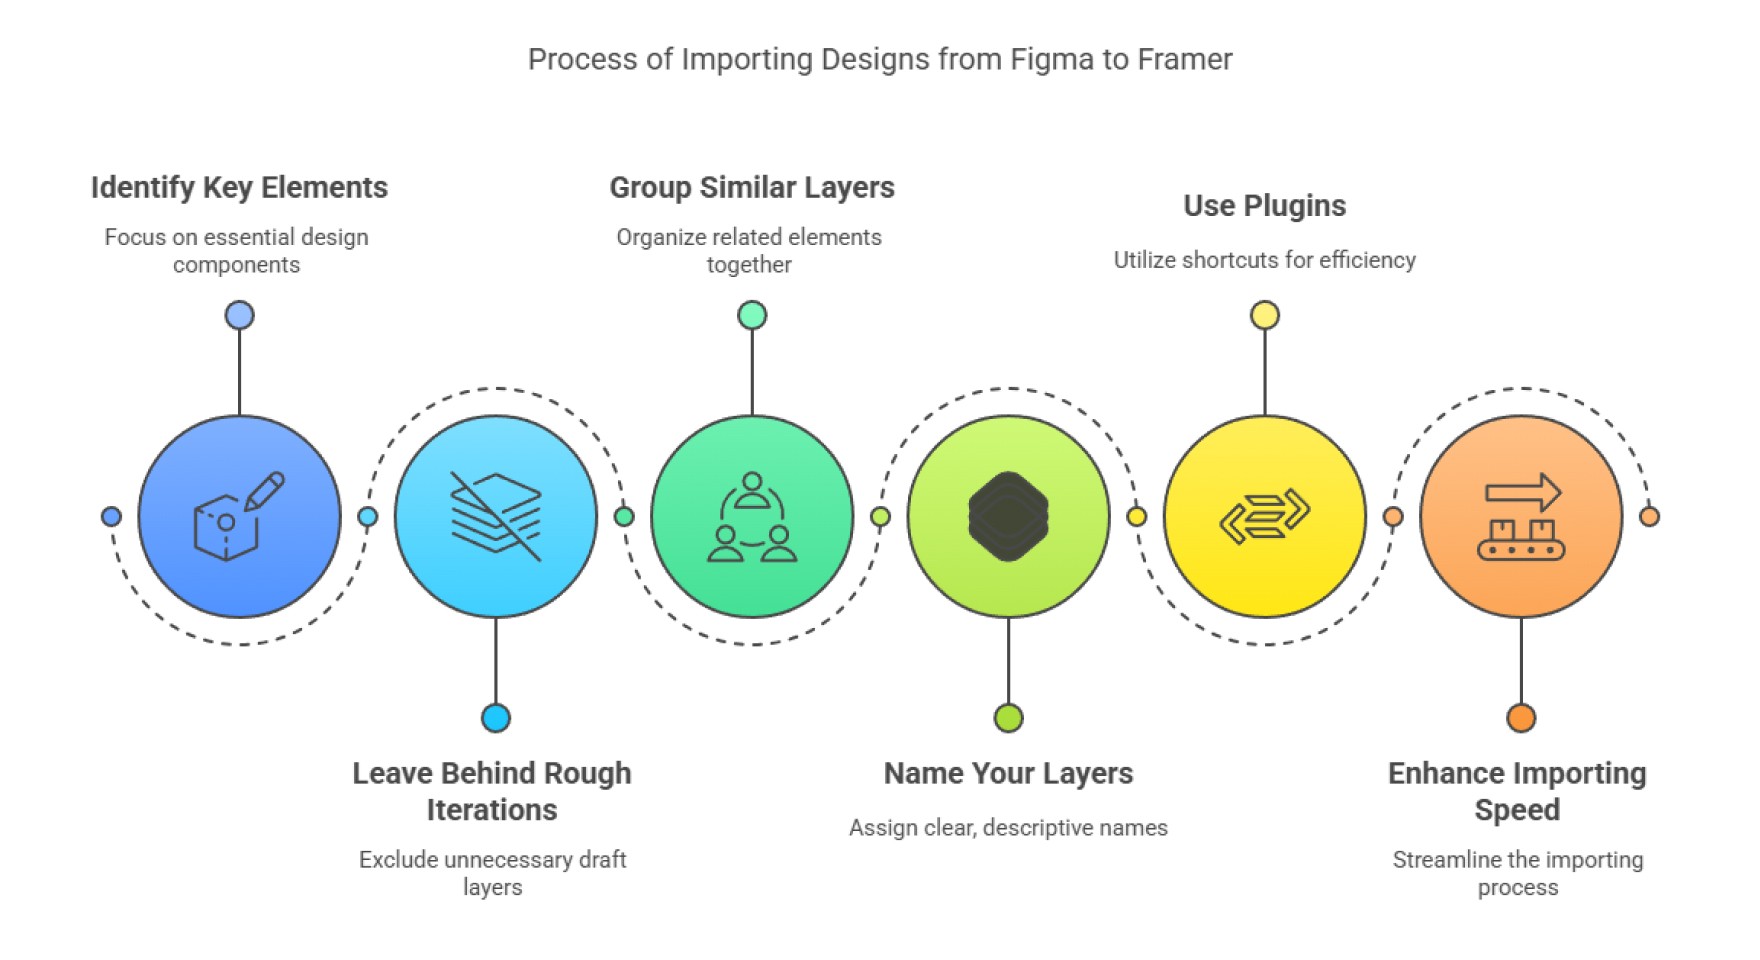
Let's quickly review the best practices for preparing a file, which will serve as a final checklist before you begin the import.
How to Import from Figma to Framer (A–Z Step-by-Step Guide)
This article, 'How to Import from Figma to Framer,' does an excellent job of outlining the foundational steps. Pay close attention to the first step, as it's a perfect summary of what makes an import successful.
Please read the introduction and 'Step 1: Prepare Your Figma File Properly'. This section reinforces the importance of using Auto Layout, structuring your design into logical sections (Header, Hero, etc.), and cleaning up your layer names. Think of this as a final quality check on your Figma file.
2. The Import Process: From Figma to Framer
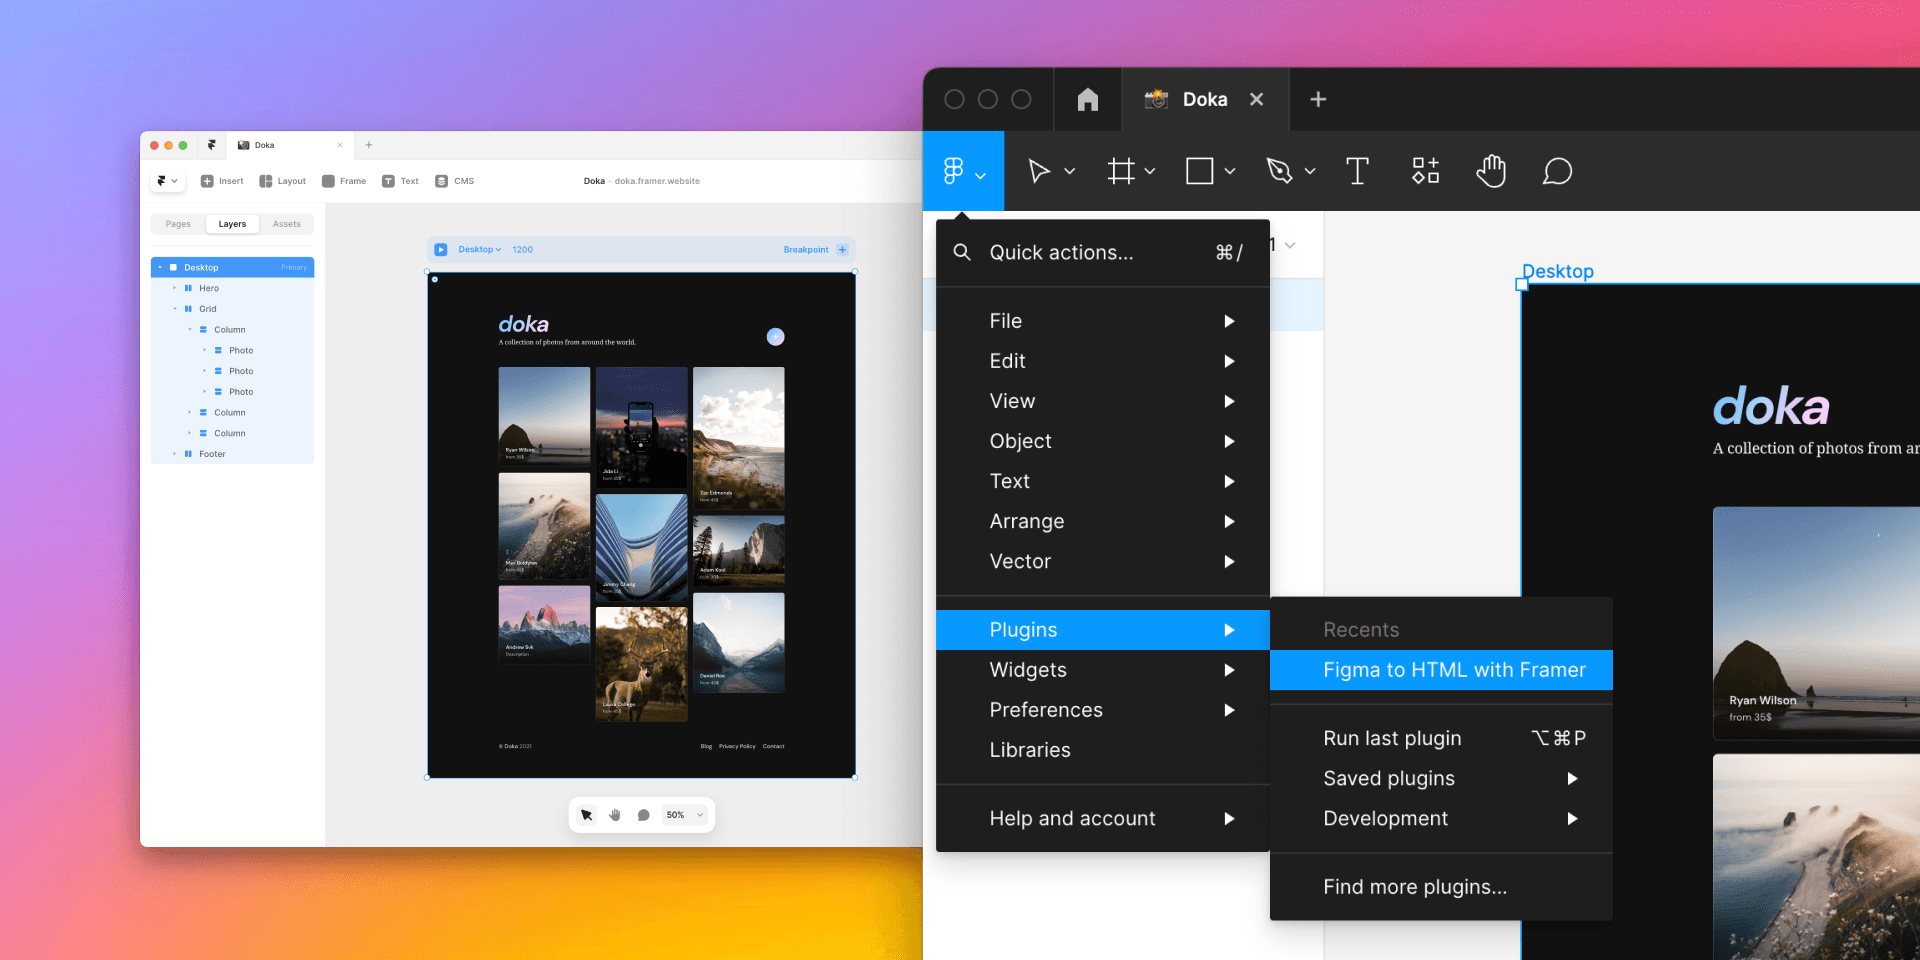
With your file prepped, it's time for the main event. We'll use the official Framer plugin for Figma, which is the most reliable method for transferring your design.
The key to a successful import, especially with a full-page design, is to work in sections. Instead of copying the entire page at once, you'll copy the header, then the hero section, then the features section, and so on. This makes troubleshooting much easier.
This video from Framer provides a concise walkthrough of the entire process.
Importing from Figma and the Web to Framer (Fundamentals Lesson 14)
Watch this official tutorial from Framer, 'Importing from Figma and the Web to Framer,' to see the standard workflow in action.
Follow the video's steps closely: Install the Plugin (00:43 - 01:37): See how to find and save the 'Figma to HTML with Framer' plugin. Copy & Paste the First Section (01:37 - 03:27): Notice how they select only the navbar in Figma, run the plugin, and paste it into Framer. Pay attention to how the Auto Layout properties are preserved. Set Up the Framer Canvas (03:27 - 04:16): This is a critical step. Observe how they add a Layout (a Stack) to the main desktop frame and set its Height to Fit Content. This prepares the page to automatically grow as you add more sections. Import Another Section (04:16 - 05:39): Watch how they copy a more complex section and paste it into the main desktop frame. It automatically stacks vertically below the navbar.
Activity: Import Your Landing Page (~25 minutes)
Now it's your turn. Open your Figma design and a new, blank Framer project.
- Install the Plugin: In Figma, find and run the Figma to HTML with Framer plugin as shown in the video. You can search for it in the
Resourcesmenu (Shift + I). - Prepare Your Framer Project:
- In your new Framer project, select the "Desktop" breakpoint on the canvas.
- In the properties panel on the right, ensure its width matches your main Figma frame (e.g., 1440px).
- Click the
+next to Layout to add a Stack. - Set the Height property to
Fit Content.
- Import Your Navbar:
- Go to your Figma file. Select the top-level frame for your header/navigation.
- Run the plugin. It will copy the layers to your clipboard.
- Switch to Framer. Make sure your main Desktop frame is selected, then paste (
Cmd/Ctrl + V). Your navbar should appear at the top.
- Import Remaining Sections:
- One by one, repeat the process for each major section of your page (Hero, Social Proof, Features, Footer).
- Select the section's frame in Figma, run the plugin, and paste it into the Desktop frame in Framer.
- Thanks to the Stack you applied in step 2, each new section should appear neatly below the previous one.
3. Reviewing the Imported Structure
After pasting, your design in Framer should look nearly identical to your Figma design. However, what's more important is what's happened in the Layers panel on the left.
Framer has translated:
- Your Figma frames with Auto Layout into Framer Stacks.
- Your regular Figma frames and groups into Framer Frames.
It's helpful to see a real-world example of this, including what to do when things don't go perfectly.
Figma to Framer Website Tutorial for Beginners (No Code Needed)
In this video, creator Megan Weeks demonstrates her import process and, importantly, what she does when a section doesn't import correctly. This highlights the value of importing in chunks.
Watch these two key segments: Troubleshooting an Import (06:12 - 09:04): Notice how some elements don't import correctly. She simply deletes the broken section in Framer, goes back to Figma, adjusts the grouping, and re-imports just that piece. This is a common and effective troubleshooting technique. Frames vs. Stacks Explained (09:04 - 10:39): Listen to her excellent explanation of the difference between a Frame (a basic div-like container) and a Stack (Framer's version of Auto Layout for responsive arrangement).
Take a few minutes to explore your own Framer file. Click on the different elements you imported. Look at the properties panel on the right. Do you see elements with Layout enabled? Those are Stacks. Can you see how your nested Auto Layouts in Figma have become nested Stacks in Framer? This one-to-one mapping is the foundation of the Figma-to-Framer workflow.
A common post-import task is to change some elements' widths from Fixed to Fill to ensure they are fully responsive, as mentioned in the first video from Framer (at 05:39). We will focus more on responsiveness in a later lesson, but it's good to be aware of this now.
Conclusion
Congratulations on successfully moving your design from Figma to Framer! You have taken a static mockup and laid the structural foundation for a real website. This process is a powerful demonstration of how systematic design choices directly impact the build phase.
Key Takeaways:
- The Figma-to-Framer plugin is the primary tool for transferring designs.
- The best practice is to import your design section by section, which makes troubleshooting easier.
- Framer translates your Figma design into its own structure: Figma Auto Layouts become Framer Stacks, and regular groups become Frames.
- Setting the main Framer page to a vertical Stack with Height: Fit Content is a crucial setup step for a seamless vertical layout.
Preview of the Next Lesson:
Your design is now in Framer, but it's still just a static page. In the next lesson, we'll start bringing it to life by learning how to configure site navigation, page routing, and internal links. You'll learn how to make your navigation bar actually work and set up the structure for a multi-page site.