Introduction
Welcome back! In our last few lessons, we've been building the engine of your digital business. You've chosen an e-commerce platform, created a lead magnet to attract an audience, and even set up an automated system to deliver it. These are crucial steps for building an email list.
Today, we shift our focus from the free lead magnet to your first paid product. This lesson is where your design work, market research, and branding all come together. Our goal is to upload your final product listing with all deliverables and promotional mockup images. You'll take the product you've designed—be it wallpapers, icons, or a template—and prepare it for sale on your storefront.
This is a significant milestone. By the end of this lesson, you will have a live product page, ready for your first customer. Let's get started.
Step 1: The Pre-Launch Checklist
Before you even log into Gumroad or Payhip, a little organization will make the process much smoother. A successful product listing is a package of several distinct assets. Let's gather everything you need.
Think of this as assembling your launch kit. Here is a checklist of the components you should have ready:
1. Product Deliverables:
- The Core File(s): This is what your customer actually gets. Whether it's a folder of presets, a
.figfile, or a collection of wallpapers, they should be finalized. - A Compressed Archive: Combine all your files into a single
.ziparchive. This is standard practice and makes the download process clean and simple for the customer. - (Optional)
README.txt: It's good practice to include a simple text file with instructions on how to use the product, your contact/support info, or a thank you message.
2. Promotional Images:
- Cover Image: This is the "face" of your product. It's the first thing customers see. As you're aiming for a professional aesthetic, make sure it's high-quality and clearly represents the product.
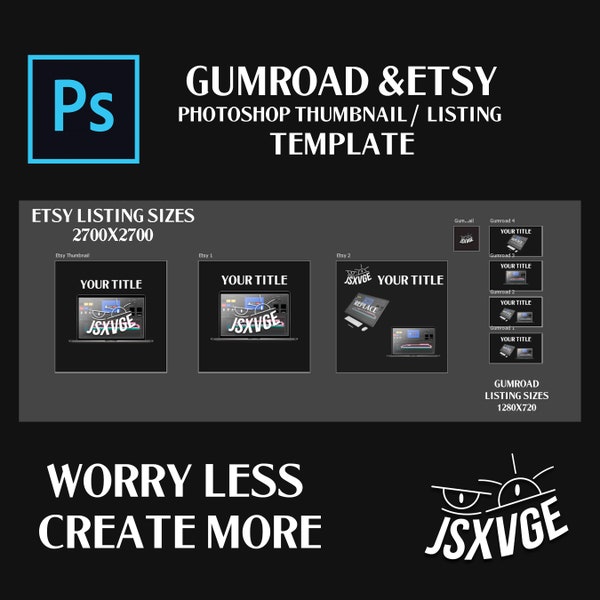
- Gallery/Mockup Images: Have 3-5 high-fidelity mockups ready. These should showcase your product in use and highlight its value. We created these back in Module 6.

3. Product Copy & Metadata:
- Title: The final, optimized product title you wrote in Module 10.
- Description: Your benefit-driven description, also from Module 10. Have it ready to copy and paste.
- Price: The price you decided on based on your pricing strategy.
- Tags: A list of 5-10 relevant keywords or tags that will help people find your product in the platform's marketplace. Think about what terms a potential customer would search for.
Once you have all these assets organized in a single folder on your computer, you're ready for the main event.
Step 2: Creating Your Product Listing
Now we'll walk through the process of creating the listing on your chosen platform. The steps are very similar for both Gumroad and Payhip. Follow the path that applies to you.
Path A: Listing on Gumroad
The Gumroad interface is straightforward. You'll move through tabs to add your product's details, content, and promotional assets.
How To Sell Digital Products on Gumroad 2025
This video from Aurelius Tjin provides a clear, concise walkthrough of the entire process. It's the best way to see the Gumroad dashboard in action.
Watch from 1:15 to 3:52. Pay close attention to these four key stages: New Product (1:15): How to start a new listing and give it a name. Description & Cover (1:26): Filling out the description and uploading your 1280x720px cover image. Content (1:59): This is where you upload your product's .zip file. This is the 'deliverable' the customer receives after purchase. Tags for Discovery (2:55): How to add relevant tags to help your product appear in Gumroad's 'Discover' marketplace.
For more granular details on options like pricing and product versions, the official Gumroad Help Center article is an excellent reference.
Adding a product - Gumroad Help Center
The official 'Adding a product' guide from Gumroad covers some settings not detailed in the video, such as 'Pay What You Want' pricing and product versions.
Skim this article, focusing on these sections: 'Set a price': Note the ability to use 'Pay What You Want' by adding a + (e.g., $5+). 'Describe your product': Confirms you can upload multiple images to your description, which is where your gallery/mockup images will go. 'Add content to your product': Explains how you can organize your content into pages or folders within the product itself. 'Versions': A powerful feature if you want to offer different tiers (e.g., a 'Basic' pack and a 'Pro' pack with more files). 'Publish your product': The final step to make it live.
With these two resources, you have a complete guide to listing your product on Gumroad.
Path B: Listing on Payhip
Payhip's process is also streamlined into a single page where you fill out all the necessary details. It has robust support for multiple cover images and product variations.
Complete Payhip Tutorial 2025 - Start Selling Today!
For a visual guide to the Payhip interface, this tutorial is extremely helpful. It walks through each field you'll need to complete.
Watch from 10:05 to 18:02. This long segment covers the entire process, but focus on these key parts: Adding a Product (10:05): See how to upload your .zip file, set the title and price, and upload multiple cover/mockup images. Writing the Description (11:42): The video demonstrates using the text editor to format your sales copy with headings and bullet points. Advanced Options & Variants (14:05): Pay close attention to how you can add different product 'variations', which is perfect for offering multiple tiers (e.g., Personal vs. Commercial license, or Standard vs. Pro pack). Previewing the Page (15:57): See how to preview your listing before it goes live.
To supplement the video, Payhip's official help documentation provides a quick, text-based overview of the same features.
Add Digital Products - Help Center
Payhip's 'Add Digital Products' guide is a great quick reference for all the settings on the product creation page.
Quickly read through this article. It concisely explains each option you saw in the video: The main upload process (files, title, price, images, description). How to implement 'Pay What You Want' pricing. The difference between 'Visible', 'Invisible', and 'Unlisted' products. The purpose of advanced options like tax exemption and limiting sales.
Using these guides, you'll be able to create a professional and comprehensive product listing on Payhip.
Your Task: Go Live! (20 minutes)
It's time to put everything into action. Using the assets you gathered in your pre-launch checklist and the guides above, your task is to create and publish your first product listing.
Instructions:
- Navigate to the Products section of your Gumroad or Payhip dashboard.
- Click "New Product" (Gumroad) or "Add new product" (Payhip).
- Systematically work your way through the fields, uploading your assets and pasting your copy from your pre-launch kit:
- Set the title, price, and description.
- Upload your cover image and gallery/mockup images.
- Upload your final
.zipfile in the "Content" section. - Add relevant tags/categories for discoverability.
- Configure any advanced settings like versions/variants if you plan to use them.
- Review everything. Read through the description one last time and check that all your images have uploaded correctly.
- When you're satisfied, click "Publish".
- Final Check: Copy the public URL of your new product page and open it in an incognito or private browser window. Look at it from a customer's perspective. Does it look professional? Is the "buy" button clear? Does everything match your brand aesthetic?
Congratulations! You are now officially a digital product creator with a product for sale.
Conclusion
You've just completed one of the most important and rewarding steps in this entire journey. You've transformed an idea into a tangible digital asset and made it available to the world. This process bridges the gap between design and commerce, and it's a skill you'll use repeatedly as you expand your product ecosystem.
Key Takeaways:
- Preparation is crucial: A pre-launch checklist with all your assets (files, images, copy) makes the upload process fast and error-free.
- A listing has key components: Every product page is built from the same core blocks: a compelling title, descriptive copy, professional visuals (cover and mockups), and the actual downloadable content.
- Leverage platform features: Use tags for discoverability and consider variants/versions to offer more value and increase your potential revenue per customer.
- Always review from the customer's perspective: Your product page is your digital storefront. Ensure it's polished, professional, and easy to navigate.
Preview of the Next Lesson
Having a product live is a huge accomplishment, but now we need to get people to see it. In the next lesson, we will begin focusing on email marketing strategy by crafting your welcome email. This is the first, most-opened email your new subscribers will receive. We'll learn how to write a message that not only delivers your lead magnet but also introduces your brand, sets expectations for future emails, and begins to build a relationship with your new audience—who are now potential customers for the product you just launched.