Introduction
In the previous lesson, you designed a complete vector wallpaper in Adobe Illustrator, focusing on either a gradient-dominant or a pattern-based approach. You now have a finished design saved as a native .ai file. A beautiful design, however, is only effective if it's delivered to the end-user correctly.
This lesson bridges the gap between creation and distribution. We will focus on exporting your vector assets into SVG, PNG, and PDF formats, each optimized for a specific use case. You'll learn the technical specifications and workflows required to produce files that are high-quality, performant on the web, and ready for professional printing. This is a critical production skill for any digital creator.
By the end of this lesson, you will be able to take any vector design and confidently export it into a suite of professional-grade files for any purpose.
1. The Core Concepts: Format, Color, and Resolution
Before exporting, you must answer a fundamental question: Where will this design be used? The answer determines the file format, color mode, and resolution you choose. The guide below from Pixflow provides an excellent overview of these foundational concepts.
The Ultimate Guide to Exporting Files from Adobe Illustrator
To understand the 'why' behind different export settings, please read two key sections from 'The Ultimate Guide to Exporting Files from Adobe Illustrator'.
Please read the following sections of the article: "The Core Concept: Web vs. Print": This section explains the critical difference between RGB (for screens) and CMYK (for print) color modes, as well as PPI vs. DPI for resolution. "Choosing the Right File Format: A Cheat Sheet": This gives a concise breakdown of when to use SVG, PNG, JPG, and PDF. Focus on the 'Why' for each format.
Here's a summary of the key takeaways for the formats we're focusing on today:
| Format | Primary Use Case | Key Characteristics |
|---|---|---|
| SVG | Web graphics, logos, icons | Vector-based: Scales infinitely without quality loss. Small file size. The code can be manipulated with CSS/JS. |
| PNG | Web graphics, social media | Raster-based: Supports lossless compression and, crucially, transparent backgrounds. |
| Professional printing, document sharing | Container: Packages fonts, vectors, and images into a single, reliable file. The industry standard for print. |
2. The Modern Illustrator Workflow: The Asset Export Panel
For digital products like wallpaper packs, you'll often need to export the same design in multiple sizes or formats. Illustrator's modern tools are built for this kind of efficiency.
The Asset Export panel (Window > Asset Export) is the most efficient method for managing and exporting assets for digital use (web, apps, UI design). It allows you to drag objects or entire artboards into a queue and export them to multiple formats and scales with a single click.

While the Asset Export panel is excellent for web formats like PNG and SVG, for a print-ready PDF with specific marks, we will still rely on the traditional File > Save As method, which offers more granular control for print production.
3. Practical Exporting for Web & Devices (PNG & SVG)
Let's take the wallpaper you designed in the last lesson and export it for digital use.
Step 1: File Preparation
Before you export, it's critical to prepare your artwork to prevent any unexpected issues. A good practice is to work on a copy of your file (File > Save a Copy) specifically for exporting.
- Outline Text: If your design includes any live text, it must be converted to shapes. If a user doesn't have the font you used, it will be substituted and your design will break. Select the text and go to
Type > Create Outlines(Shift+Cmd+O). - Expand Appearance: If you used complex effects, strokes, or patterns, it's wise to expand them to ensure they render correctly. Select the object and go to
Object > Expand Appearance, followed byObject > Expand.
Step 2: Exporting as a PNG
Let's use the Asset Export panel to create a high-resolution PNG of your wallpaper.
- Open your wallpaper
.aifile. - Open the Asset Export panel (
Window > Asset Export). - Select the Artboard Tool (Shift+O) and click on your wallpaper artboard.
- In the Asset Export panel, click "Generate from selection". Your artboard will appear in the panel.
- In the Export Settings at the bottom of the panel, choose PNG as the format.
- Click Export, choose a location, and Illustrator will save the file.
By default, this will export at the artboard's native resolution. For a wallpaper, this is typically what you want.
Step 3: Exporting and Optimizing an SVG
SVG is a powerful format, but because it's code, it can be optimized. The export settings in Illustrator have a significant impact on file size and quality.
This video provides a focused look at the SVG export dialog.
How To Export A SVG File In Illustrator CC
This tutorial, 'How To Export A SVG File In Illustrator CC', walks through the specific 'Save As' process for SVGs and explains the crucial options in the SVG dialog box.
Watch from the beginning to 02:50. Pay close attention to the explanation of the SVG Options dialog. The settings chosen here—like setting 'Styling' to 'Presentation Attributes' and 'Decimal' to 2—are key for creating clean, optimized SVGs.
For someone with your technical interest, we can go a level deeper. Exporting with the right settings is step one; advanced optimization involves post-processing.
The Definitive SVG Optimization Study: 50 Techniques ...
For a deep dive into SVG optimization, review the following sections of 'The Definitive SVG Optimization Study'. This is an advanced resource that will give you a significant edge.
Scan through these two sections: Section 4.1, 'Adobe Illustrator Export Settings': Look at the table and the 'Optimal Illustrator Export Configuration'. This is a cheat sheet for the best settings to use directly in Illustrator. Section 8.4, 'Designer Checklist for Optimal Exports': This provides a practical, actionable checklist to follow before you export any SVG.
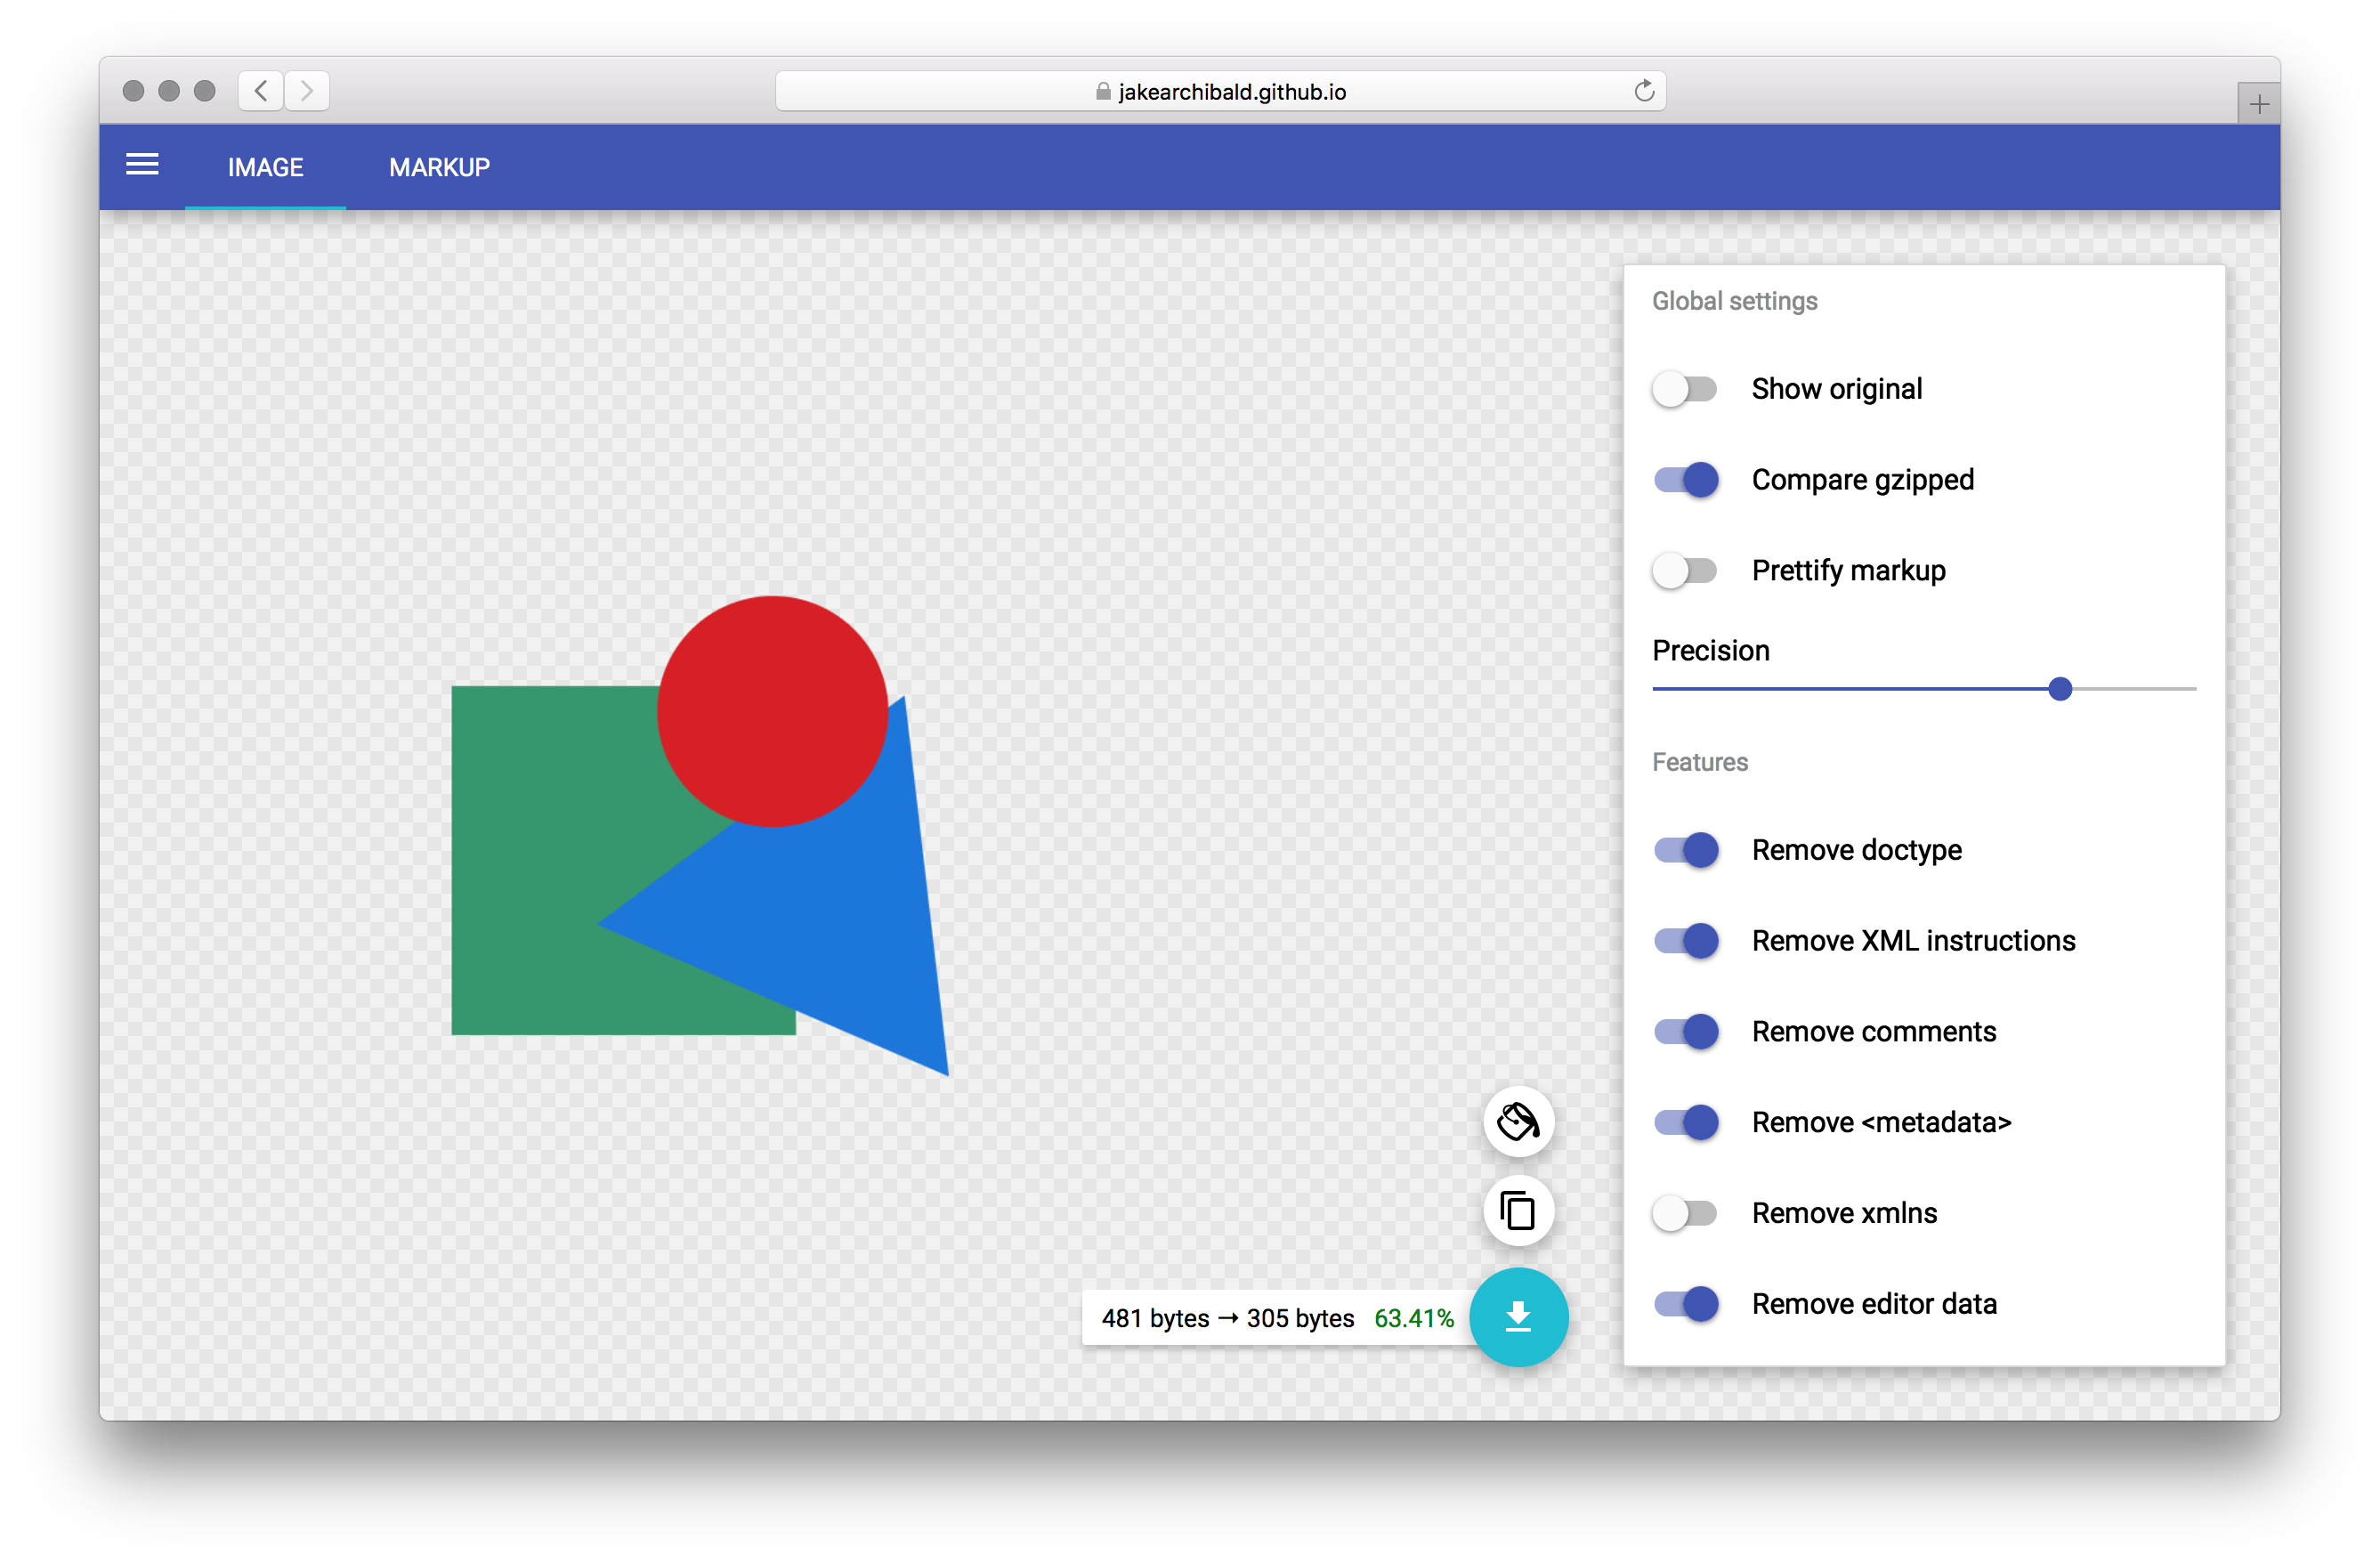
Your Task (Part 1):
- Open the wallpaper design you created in the previous lesson.
- Export a PNG: Use the Asset Export panel to export a full-resolution PNG of your wallpaper.
- Export an SVG: Use
File > Save As...and selectSVG. In the SVG Options dialog, apply the "optimal" settings from the SVG Optimization Study resource (Styling: Presentation Attributes, Decimal: 2, Minify: Enabled).
4. Practical Exporting for Print (PDF)
Now, let's imagine you want to print your wallpaper design as a poster for your dorm room. This requires a completely different set of export settings, focusing on quality and printer requirements. This is where PDF shines.
The Ultimate Guide to Exporting Files from Adobe Illustrator
The Pixflow guide we looked at earlier also contains a concise, step-by-step section on creating a print-ready PDF. This is exactly what you need for your poster.
Read the section "How to Create a Print-Ready PDF". Pay close attention to the two key settings under 'Marks and Bleeds': Trim Marks: These show the printer where to cut the paper. Bleed: This is an extra margin of your design that extends past the trim edge. It ensures that when the paper is trimmed, there are no unprinted white edges.
Your Task (Part 2):
- Set up your document for print:
- Change the Color Mode to CMYK (
File > Document Color Mode > CMYK Color). - Set up a bleed. Go to
File > Document Setup...and enter0.125 in(or 3 mm) for the Bleed value on all sides. You will see a red guide appear around your artboard. Extend your design to fill this bleed area.
- Change the Color Mode to CMYK (
- Export the Print-Ready PDF:
- Go to
File > Save As...and chooseAdobe PDF. - In the dialog box, select the
[High Quality Print]preset at the top. - Go to the Marks and Bleeds tab on the left.
- Check
Trim Marks. - Check
Use Document Bleed Settings. - Click
Save PDF.
- Go to
You now have a professional-grade file you could send to a print shop.
Conclusion
Congratulations! You've successfully navigated the final—and one of the most important—steps in the design production process. You've taken a single creative asset and produced multiple, highly-optimized deliverables for distinct purposes.
Key Takeaways:
- Context is King: The intended use of an asset (web vs. print) dictates the format, color mode, and resolution.
- Efficient Workflows: The Asset Export panel is the best tool for batch-exporting web and digital assets like PNGs and SVGs.
- Preparation is Crucial: Always prepare your files by outlining text and expanding appearance to ensure consistent rendering.
- Optimization Levels: SVG optimization starts with smart export settings in Illustrator and can be taken further with external tools like SVGO.
- Print-Ready Means Bleed: For professional printing, a PDF with CMYK color, 300 DPI, trim marks, and bleed is the industry standard.
Preview of the Next Lesson
Having mastered the creation of individual assets like icons and wallpapers, we're now ready to tackle more complex digital products. The next module is about creating Systemized Templates. We will begin by deconstructing successful social media templates to understand their modular structure and what makes them easy for a customer to edit. This will lay the groundwork for you to design and build your own marketable templates.